Korean fried chicken comes in many different forms, and though I’ve enjoyed it many times, I’ve never tried to make it at home—until now.
When it comes to eating out, my favorite Korean fried chicken comes from a South Korean international chain—Bonchon Chicken, a restaurant with over 100 stores in North America and more across Asia.
It’s also a favorite of my grade school buddy and retired Air Force veteran, David. I’ve known David—better known as Gordo—since kindergarten, and I have often called him in the midst of enjoying a takeout box of Bonchon chicken tenders! We often get together, the last time hiking at one of our favorite places, Mohonk Mountain.


One day, I gave him a call to catch up, and he was in the midst of making his own soy garlic Korean fried chicken at home. He proudly called it, not Bon-chon chicken, but Bon-Davi chicken, because he had developed the recipe himself after trying many different recipes.
The next time we got together, he made it for dinner, and it was out-of-the-ball-park homerun good. Have I got your attention yet?
Sometimes, the best recipes come from those who enjoy eating more than those who enjoy cooking.
That’s the case for Gordo’s “Bon-Davi” Korean Fried Chicken recipe, which I’ve documented here. You must try it. And that’s all I’m gonna say about that!
Keep reading for:
- Answers to all your fried chicken questions
- Step-by-step recipe instructions and photos
- What to do with leftover frying oil
- Instructions on how to oven-fry (or air-fry) instead of deep-frying!
What is Korean Fried Chicken?
Korean-style fried chicken is similar to American fried chicken in that it has a crispy coating and juicy meat. Two things set it apart:
- The sauce—a sweet or spicy sticky concoction that thinly coats the chicken
- The double-frying process that yields an incredibly crispy, crunchy exterior.
Two of the main types are dakgangjeong and yangnyeom. Dakgangjeong is the classic—it’s basically a soy garlic fried chicken. Yangnyeom is another variation, a spicy Korean fried chicken with a slightly different dredging and frying process.
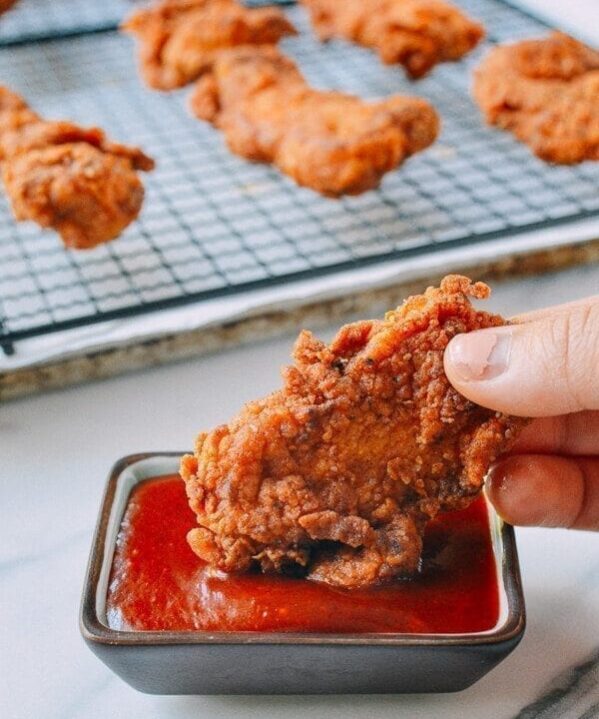
I’m honestly not exactly sure where this recipe falls, but I can say that it has elements of both sweet and spicy, with a garlicky kick. I CAN tell you that it is the most delicious version of Korean fried chicken I have ever had.

What Chicken Should I Use?
You have many different options when it comes to which parts of the chicken to use for Korean Fried Chicken:
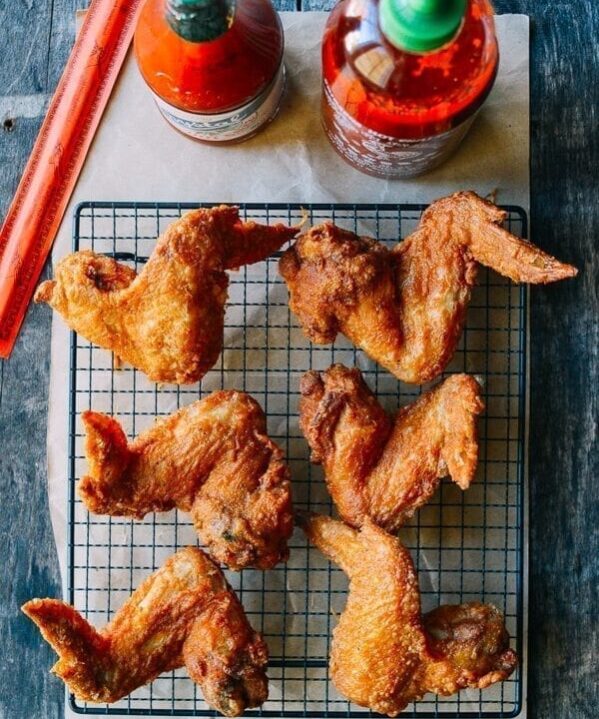
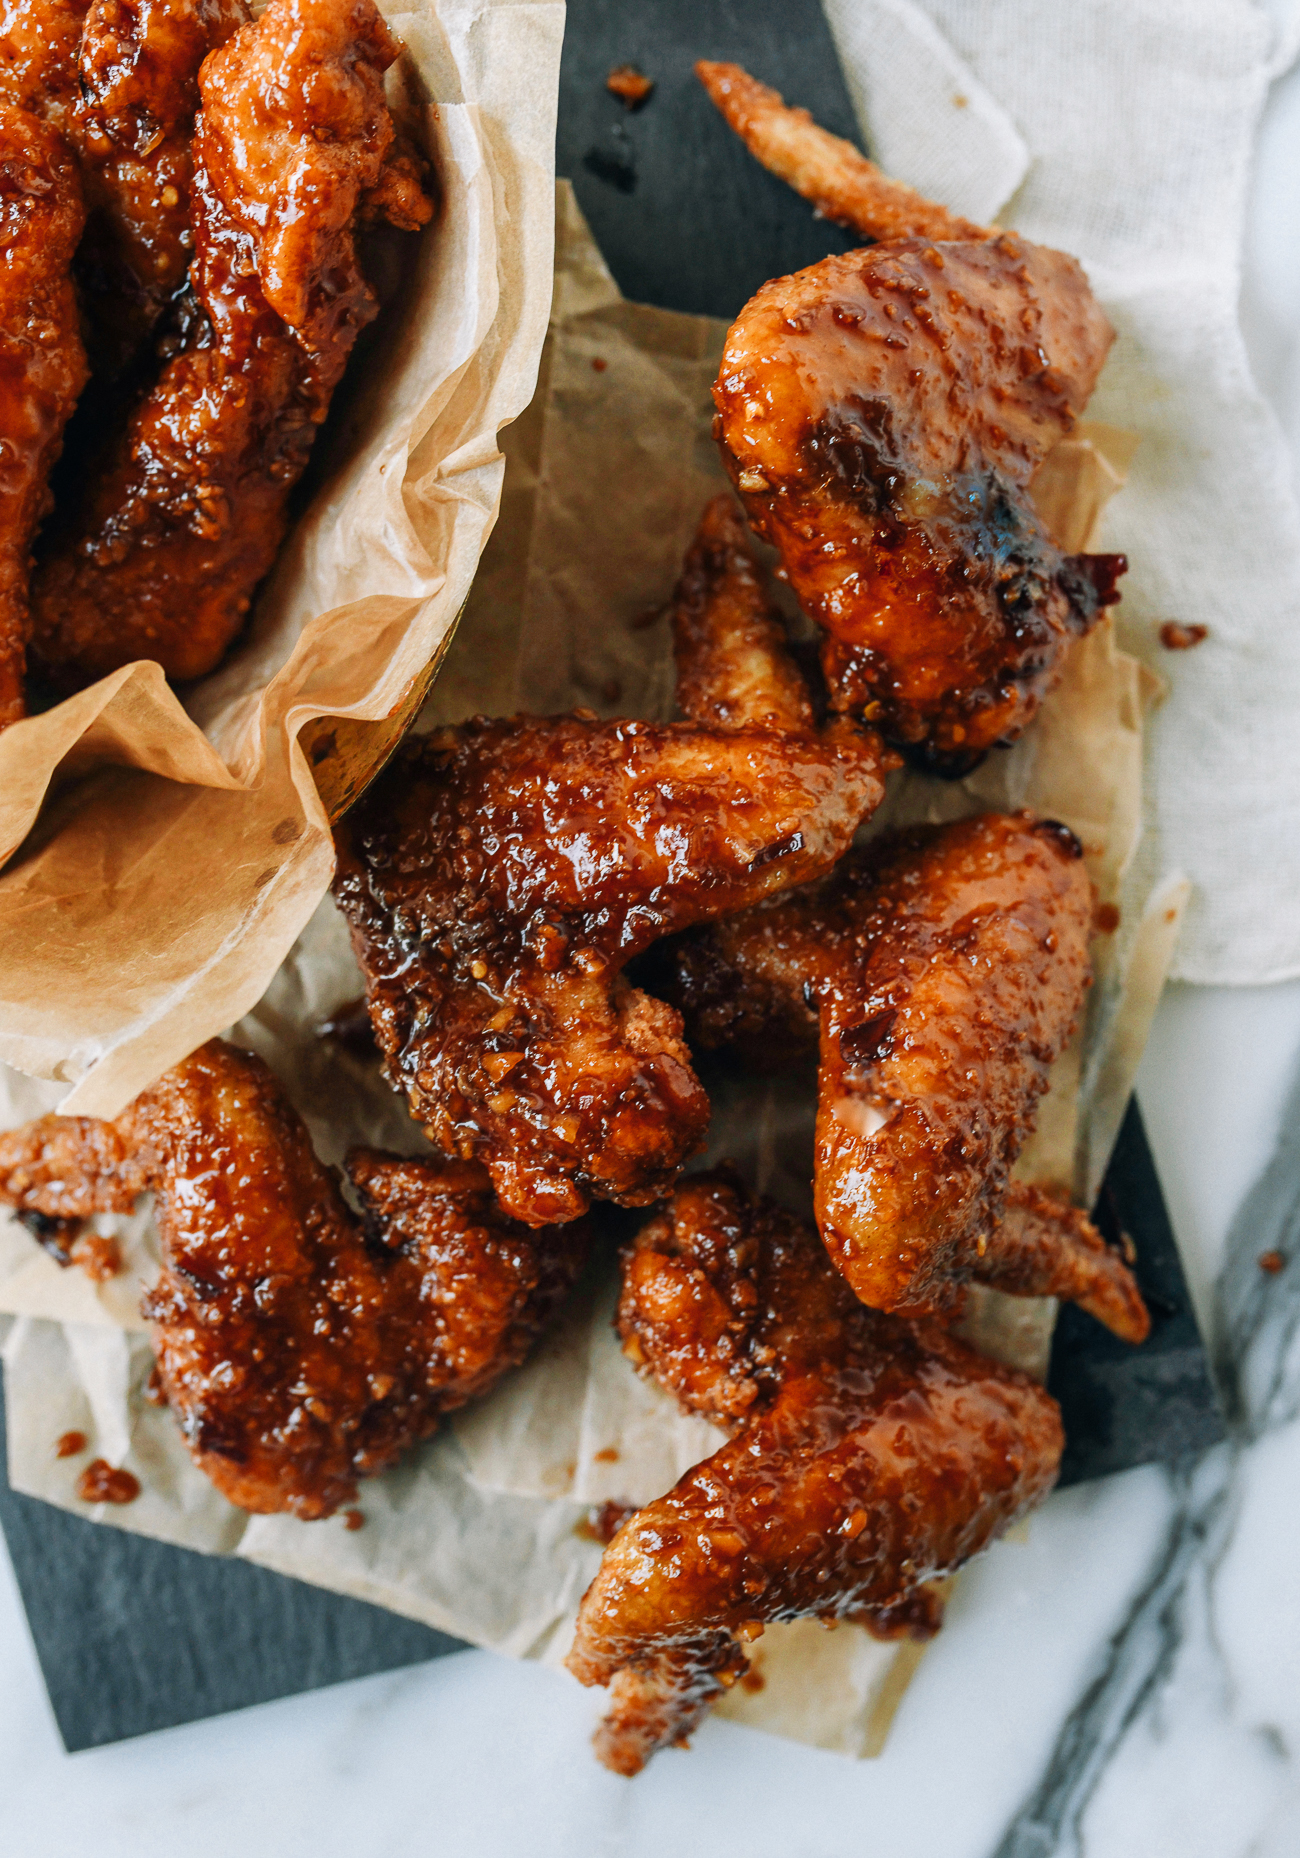
- Chicken wings are always a favorite. The Bonchon Soy Garlic Wings are a favorite of many, and they are usually fried whole, though you can choose to use flats and drumettes with the wing tip discarded. I prefer to keep them whole, though whole wings can be a bit harder to deep-fry, requiring more oil and longer cooking times.
- Chicken tenders: Using boneless skinless chicken breast to make tenders is great for those who love white meat. Boneless chicken cooks much faster, and all you have to worry about is not overcooking them.
- Boneless Skinless Chicken thighs: If you’re looking for dark meat, but what the ease and speed of frying boneless chicken, use boneless skinless chicken thighs to make small chicken nuggets!
- Drumsticks: These are always a favorite. They’re economical, full of juicy meat, and stay moist while on the bone.
- Bone-in Chicken Thighs: Another great option for dark meat lovers, though less often seen in Korean Fried Chicken restaurants.
You can choose one of these options, or a mix. Just keep in mind that the frying times will vary depending on which chicken parts you use and their overall size.
Korean Fried Chicken: Recipe Instructions
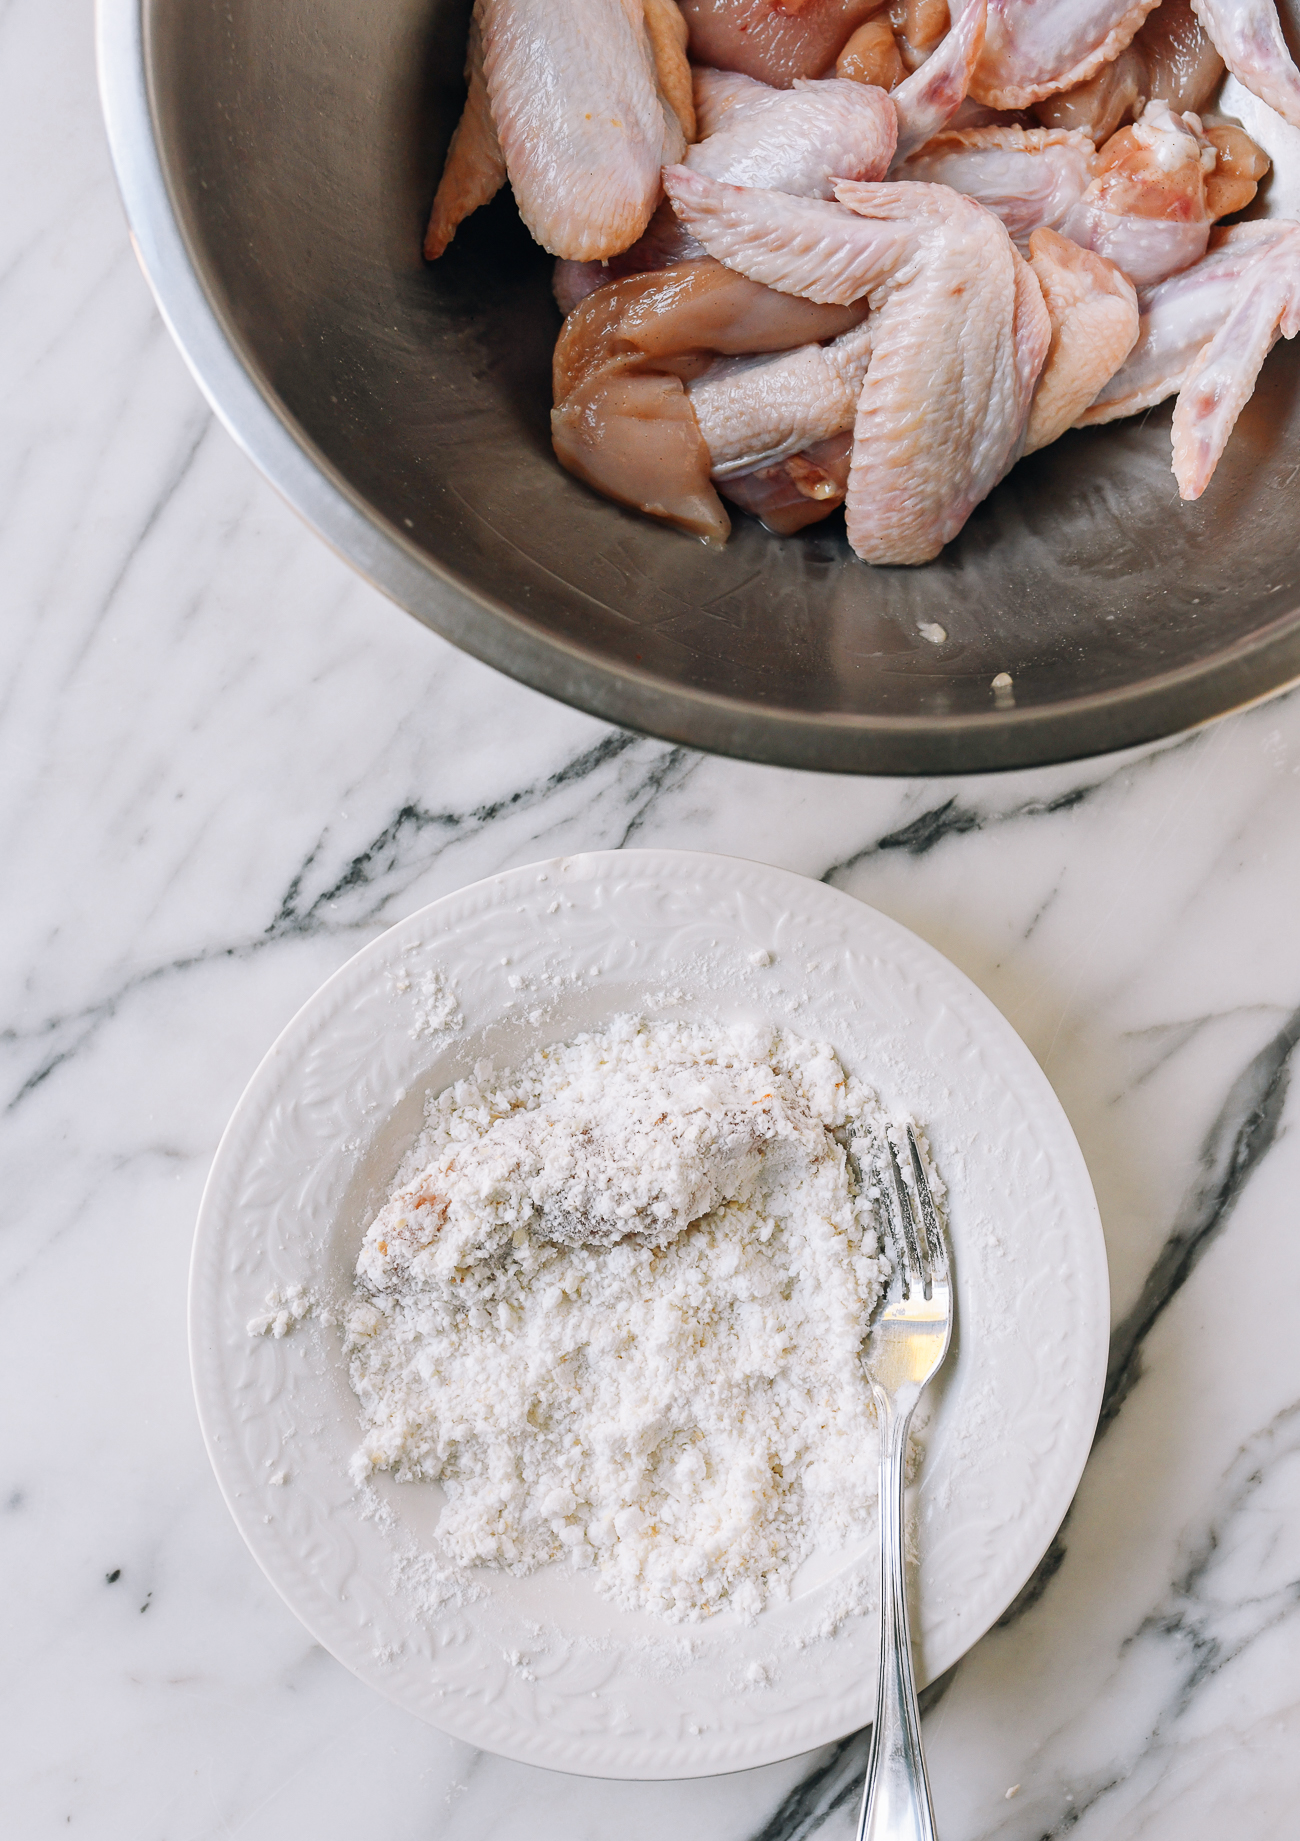
Step 1. Marinate and dredge the chicken:
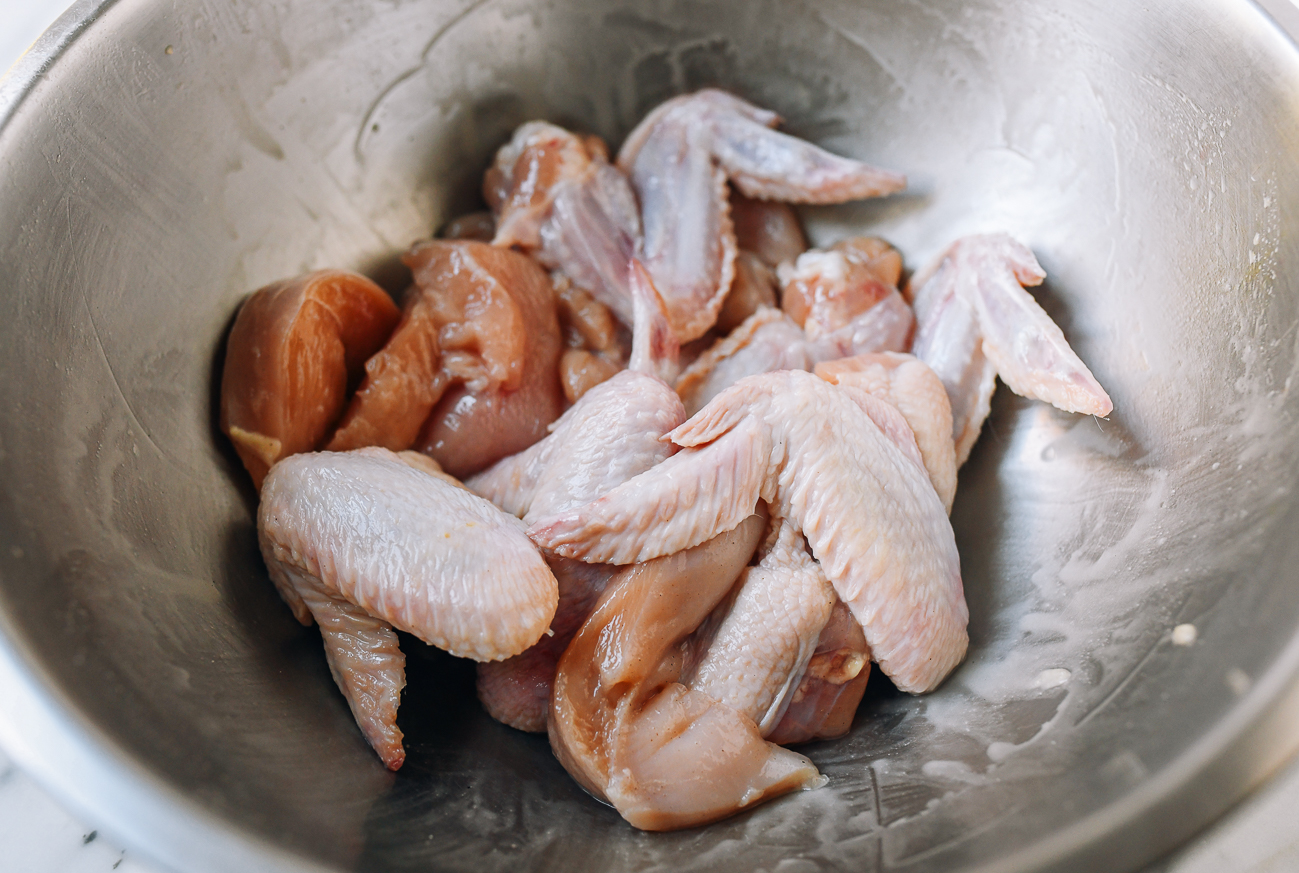
Add the chicken to a large mixing bowl along with the salt, white pepper, ginger, sesame oil, and 2 tablespoons of water. Mix thoroughly and set aside for 15 minutes.
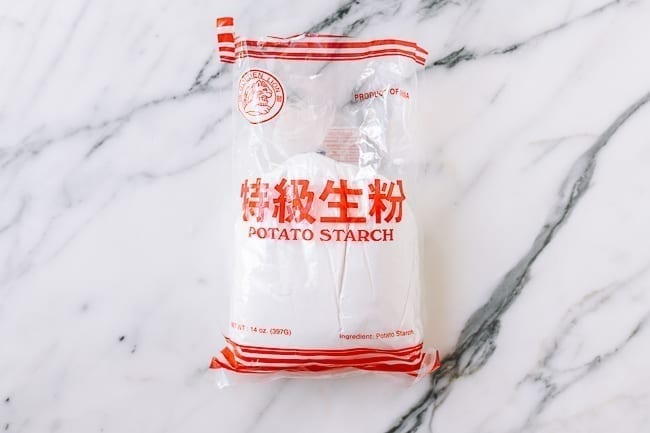
Meanwhile, make the coating. In a shallow bowl, combine the potato starch and panko.
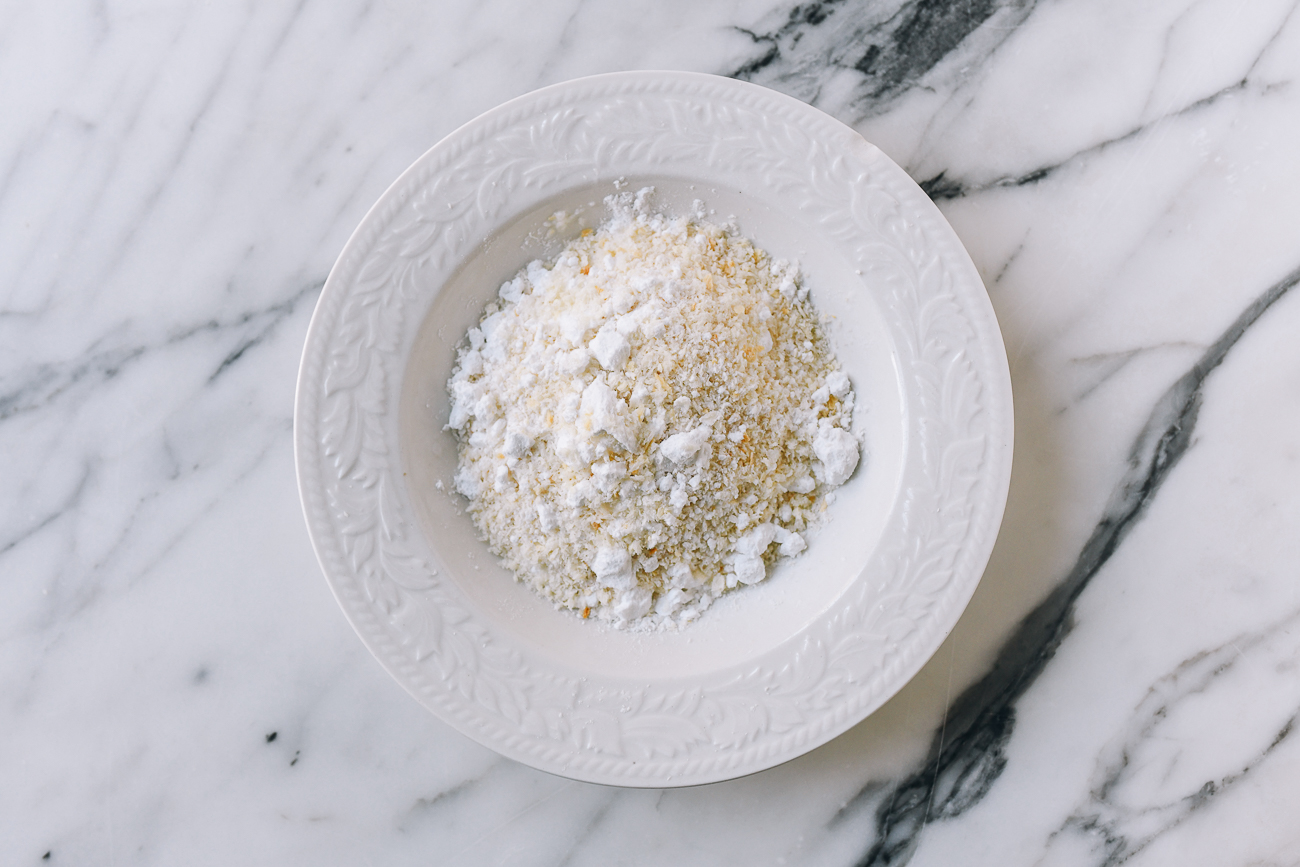
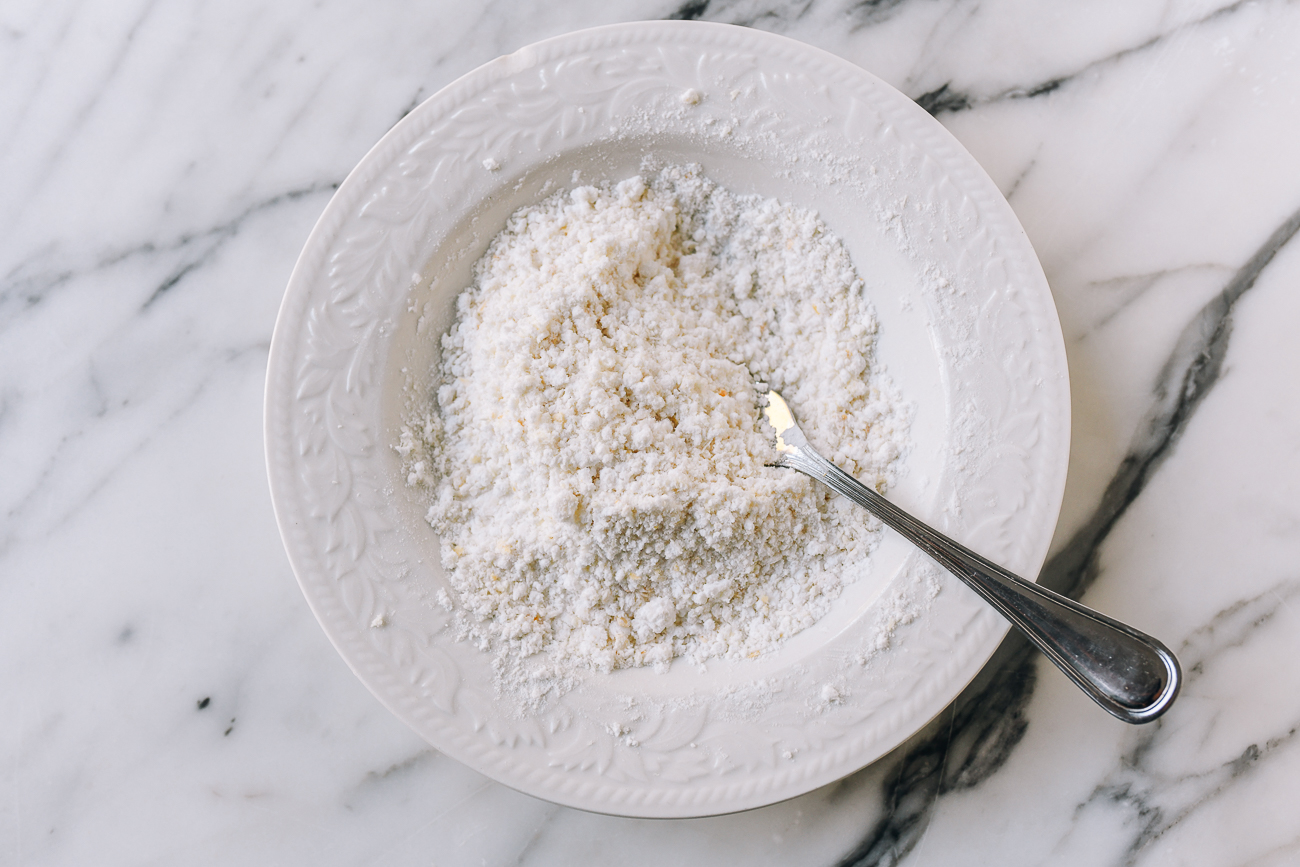
Sprinkle 2 tablespoons of water over the top, and mix with your hands. This creates some clumps in the dry mix to give more texture to the coating.
Toss the chicken in the marinade once more to ensure the pieces are evenly moist. Dredge chicken pieces until they’re completely coated.
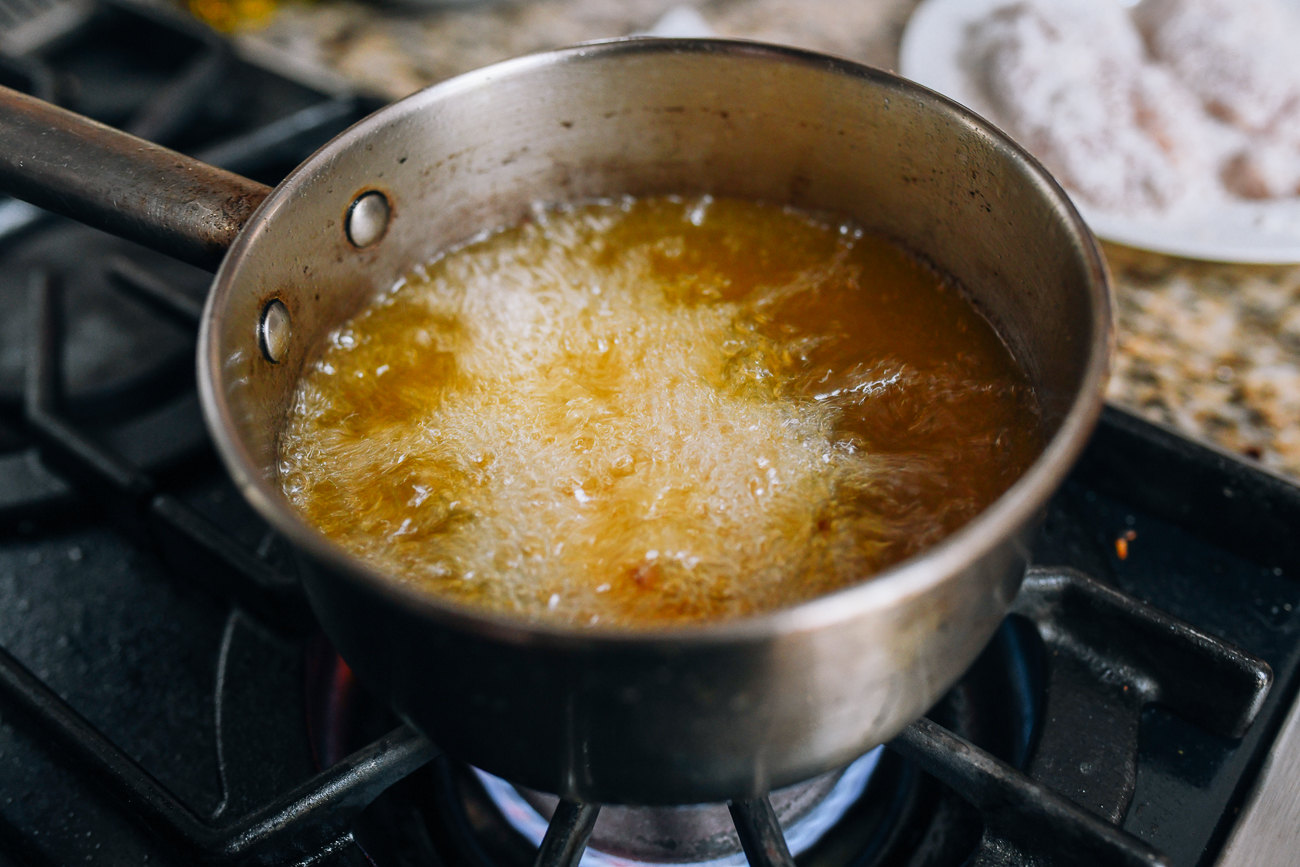
2. Fry the chicken for the first time:
Heat 4-5 cups of oil in a deep pot to 325°F/163°C. The oil should ideally fill the pot about halfway, so hot oil won’t overflow or splatter too much while frying.
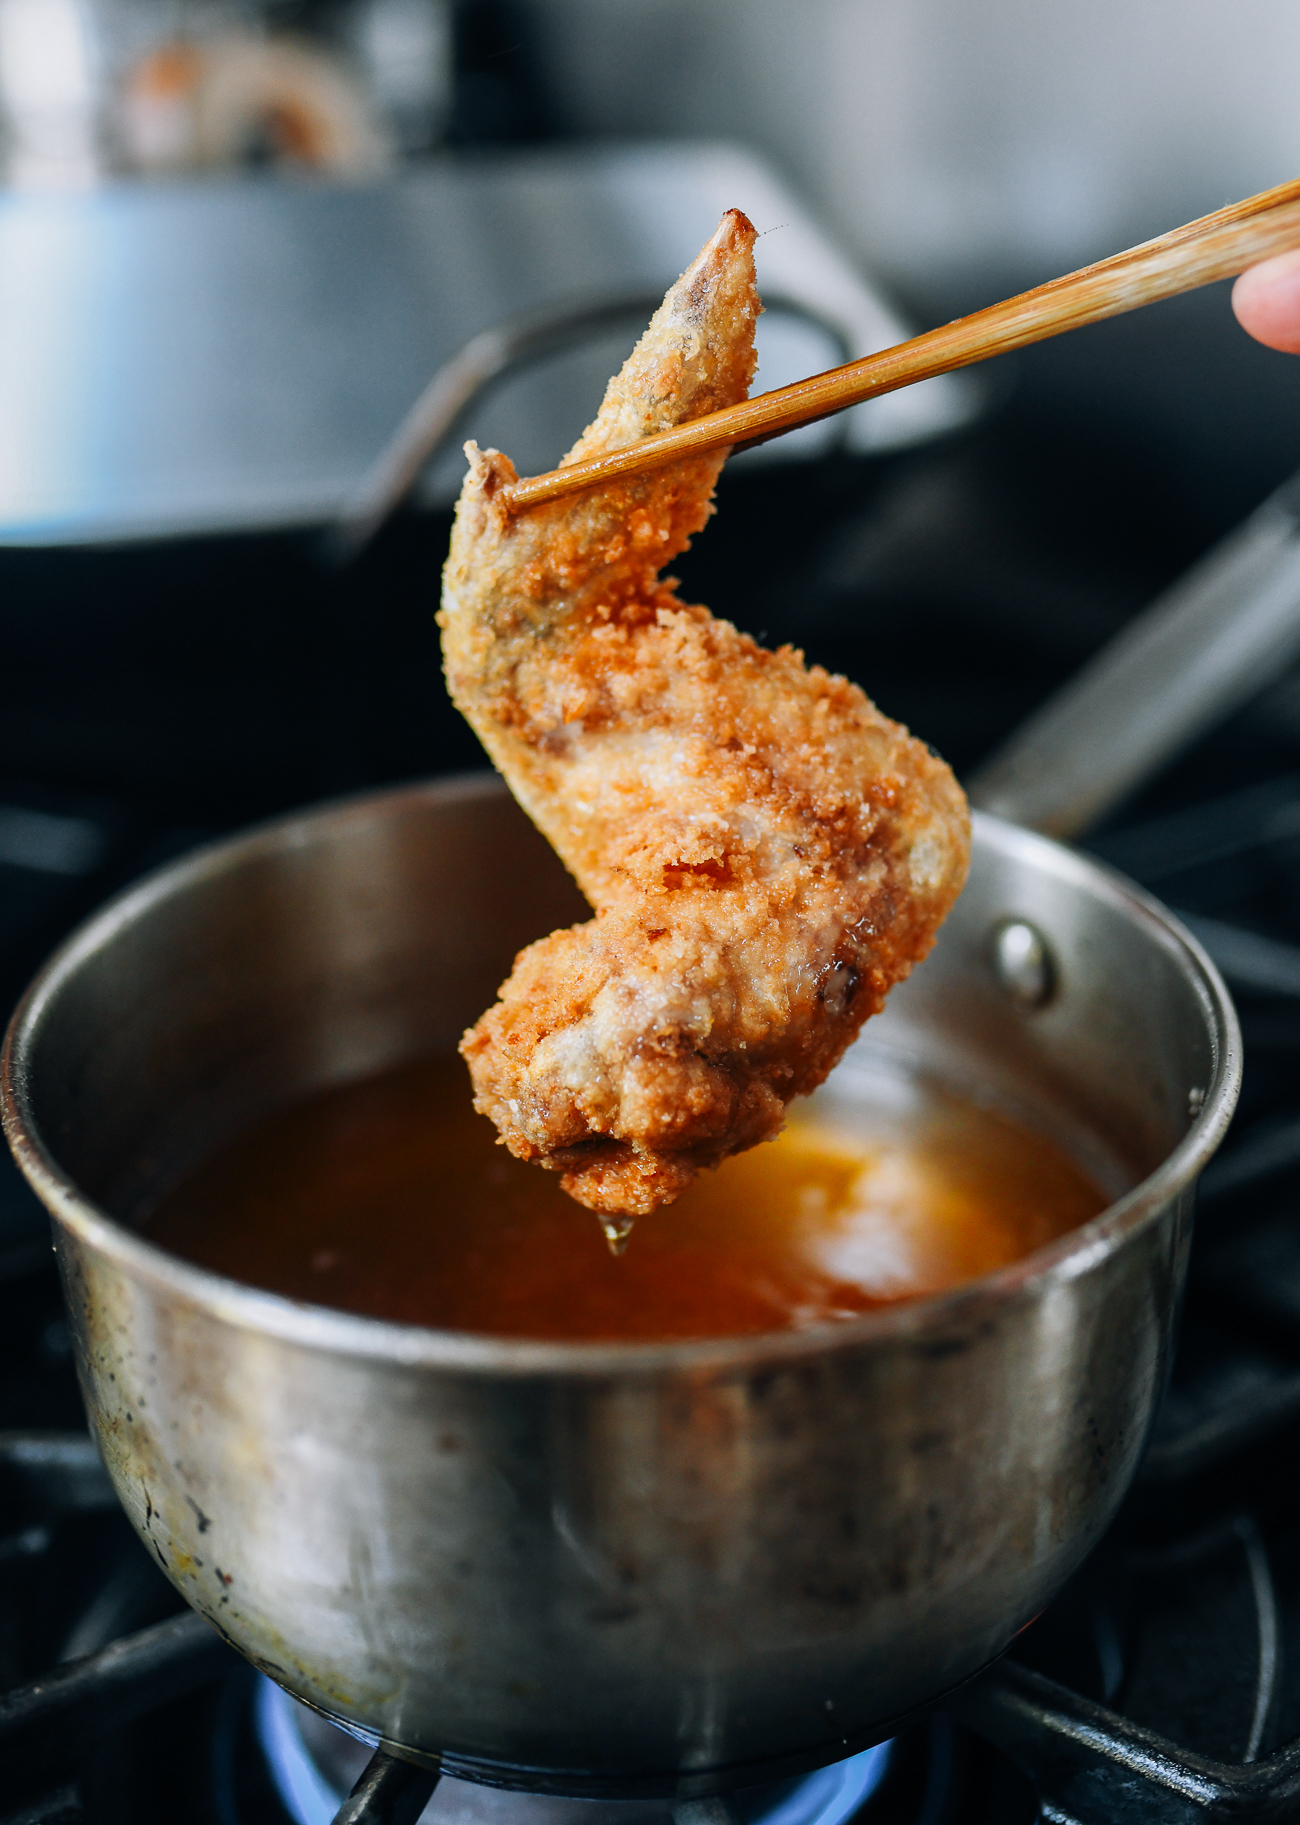
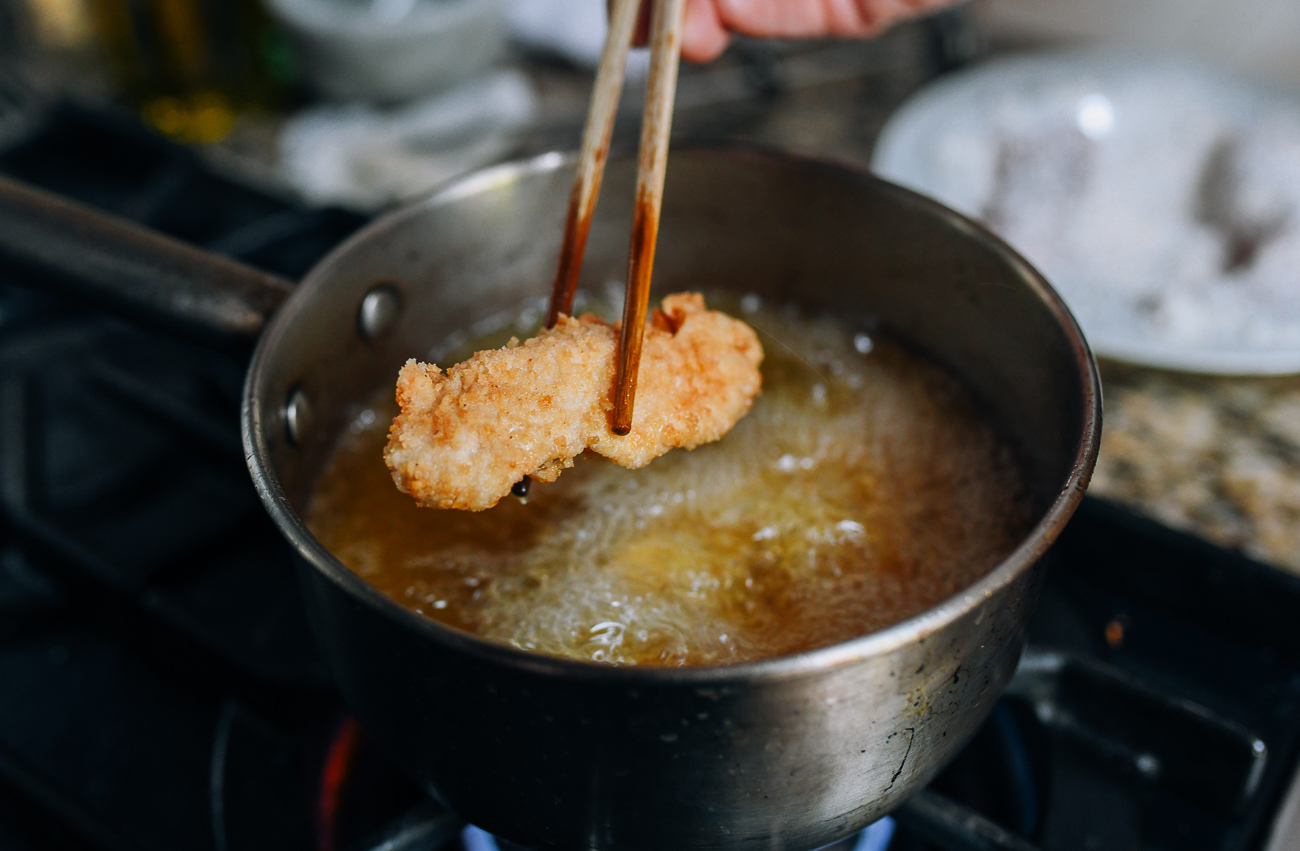
Fry the chicken in batches until they’re lightly golden, according to the following frying times for each type:
Frying times for each cut of chicken
- Boneless chicken tenders: 3-4 minutes
- Boneless chicken nuggets: 2-3 minutes
- Whole chicken wings: 6-8 minutes
- Drumettes and flats/wingettes: 4-6 minutes
- Drumsticks: 9-11 minutes
- Whole bone-in chicken thighs: 9-11 minutes
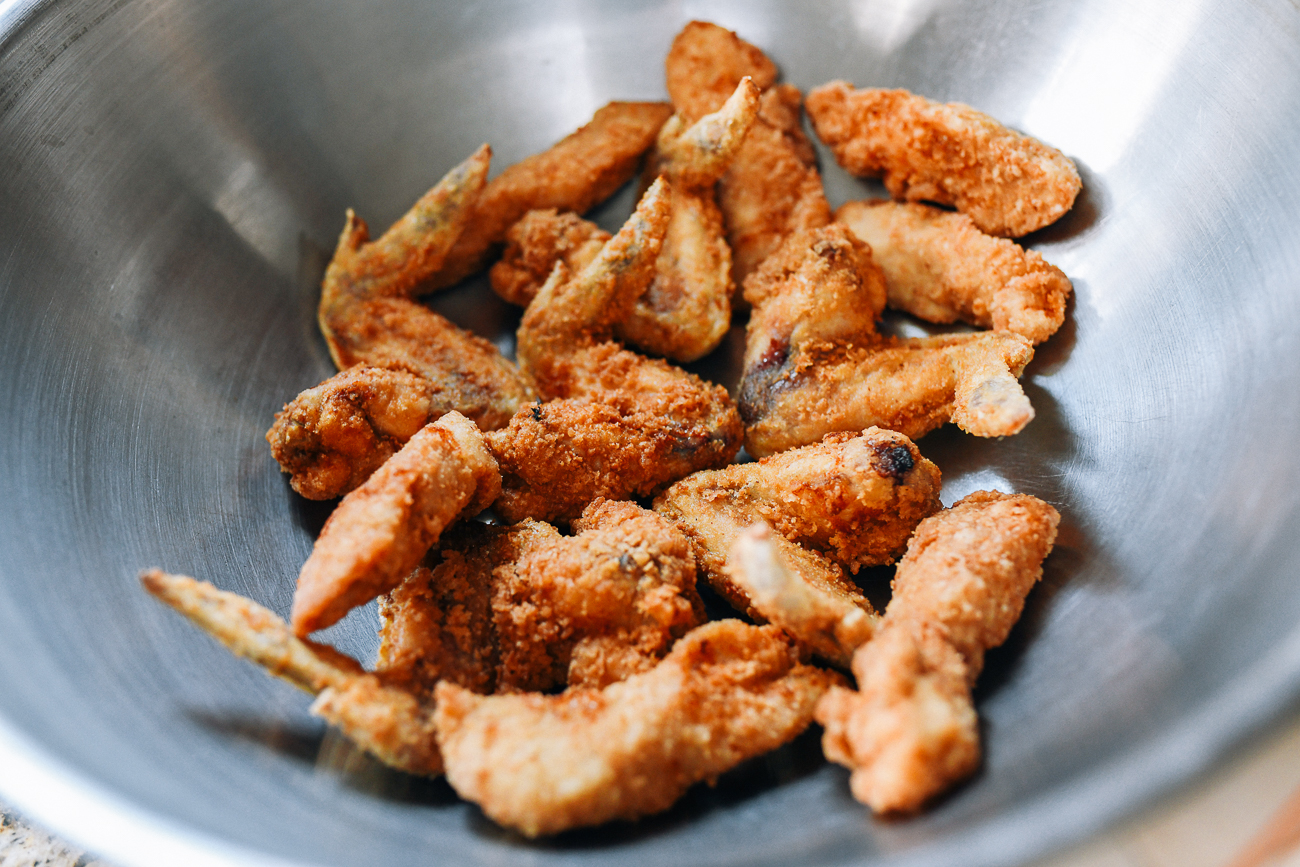
The times above are for the first frying. Let your chicken drain on a cooling rack over a sheet pan. The next step is to make the sauce, followed by the second and final frying!
Tips for frying chicken:
- It’s very important that the chicken (especially bone-in pieces) is fully submerged in oil, so make sure you have enough oil depth in the pot.
- Use a thermometer to measure oil temperature, and be sure to adjust the heat after adding the chicken to maintain that temperature.
- Between batches, use a small fine mesh strainer to remove any particles left in the oil. This prolongs the life of your oil and keeps the flavors clean (rather than adding a burnt aroma to your chicken).
3. Make the glaze:
In a saucepan over medium low heat, add 2 tablespoons vegetable oil, along with the shallot, garlic, and dried chili peppers (if using, for optional spice). Cook for 3-4 minutes, stirring occasionally, or until the shallots are translucent.
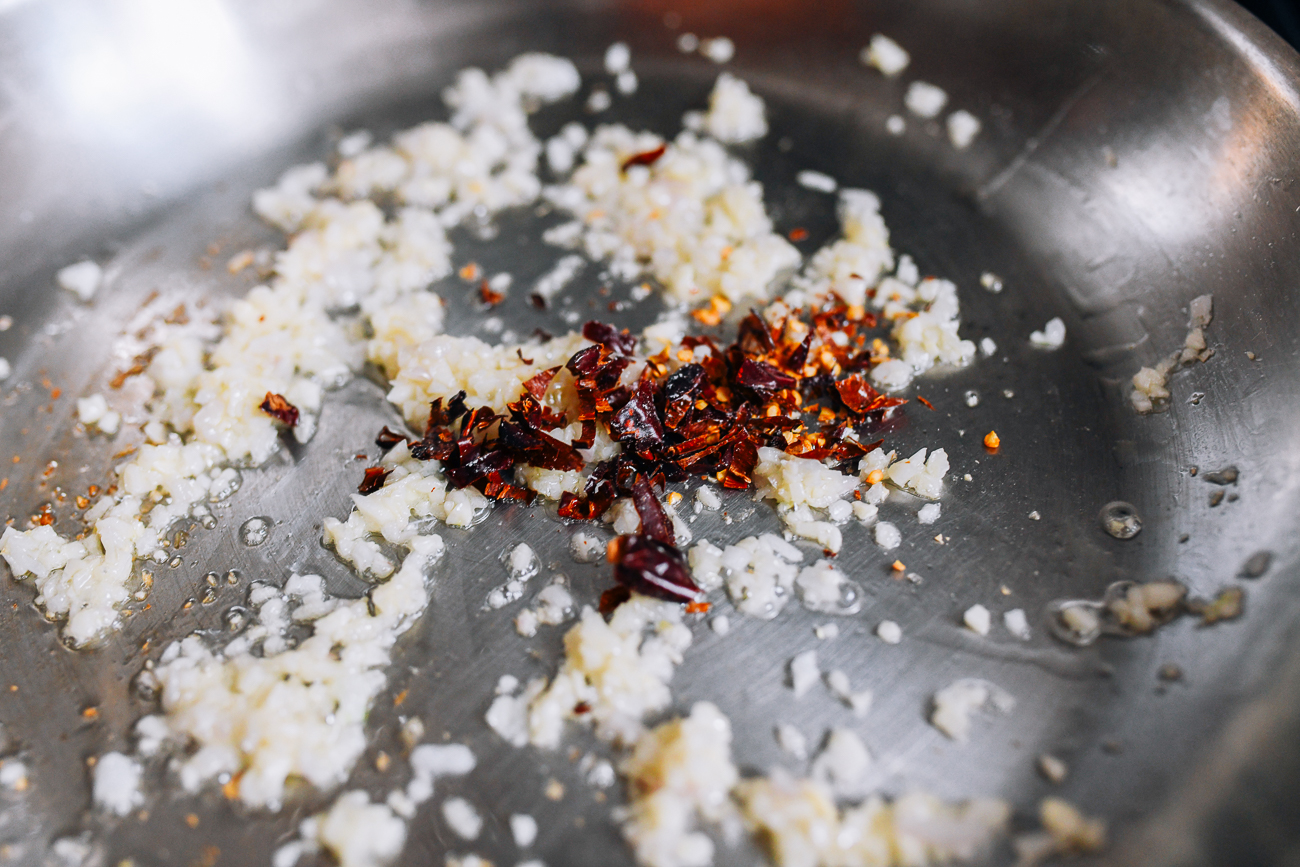
If using the dried chili peppers, you can de-seed them and chop them, or simply chop and include the seeds for an extra spicy kick. If you’d like to keep your sauce more mild, omit them entirely.
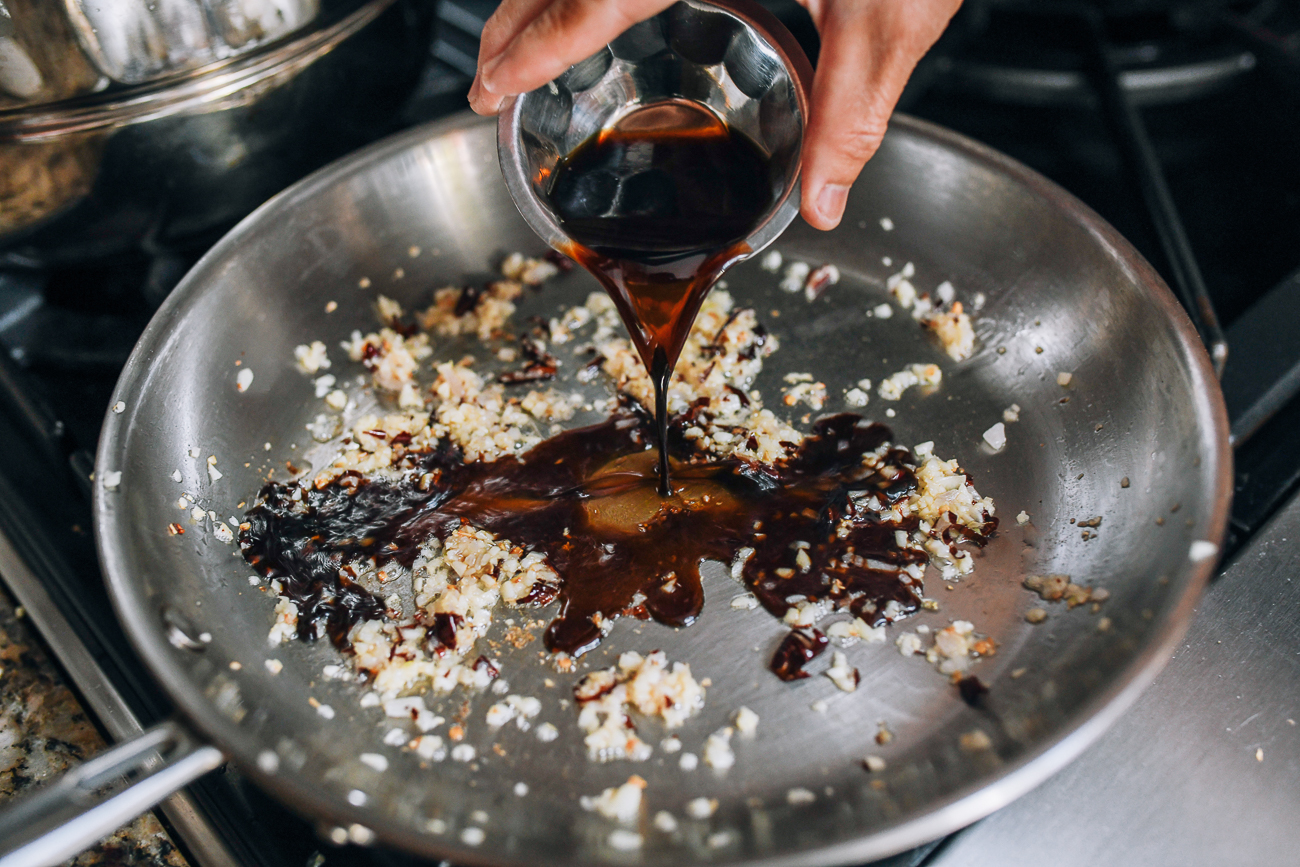
Now it’s time to add some sauce ingredients.
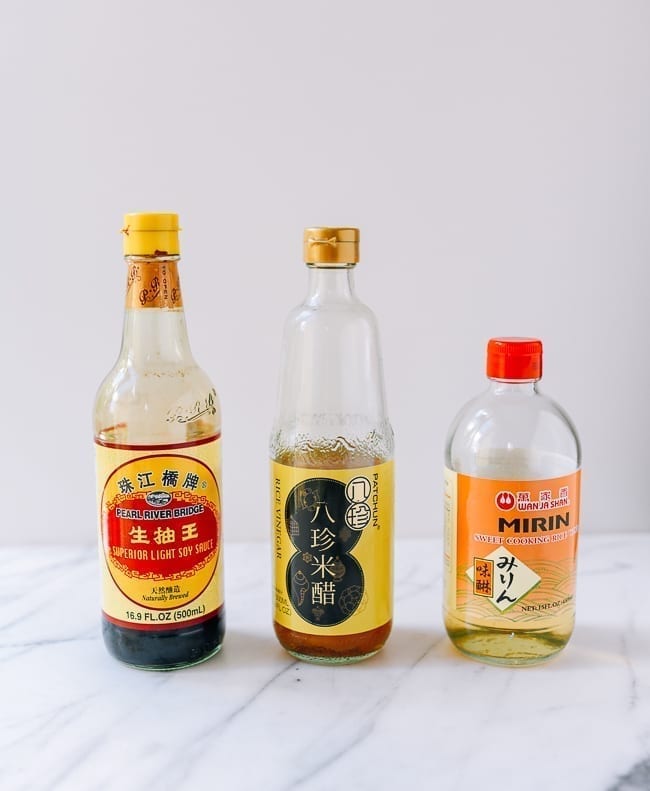
Next, add the soy sauce and water…
And the mirin…
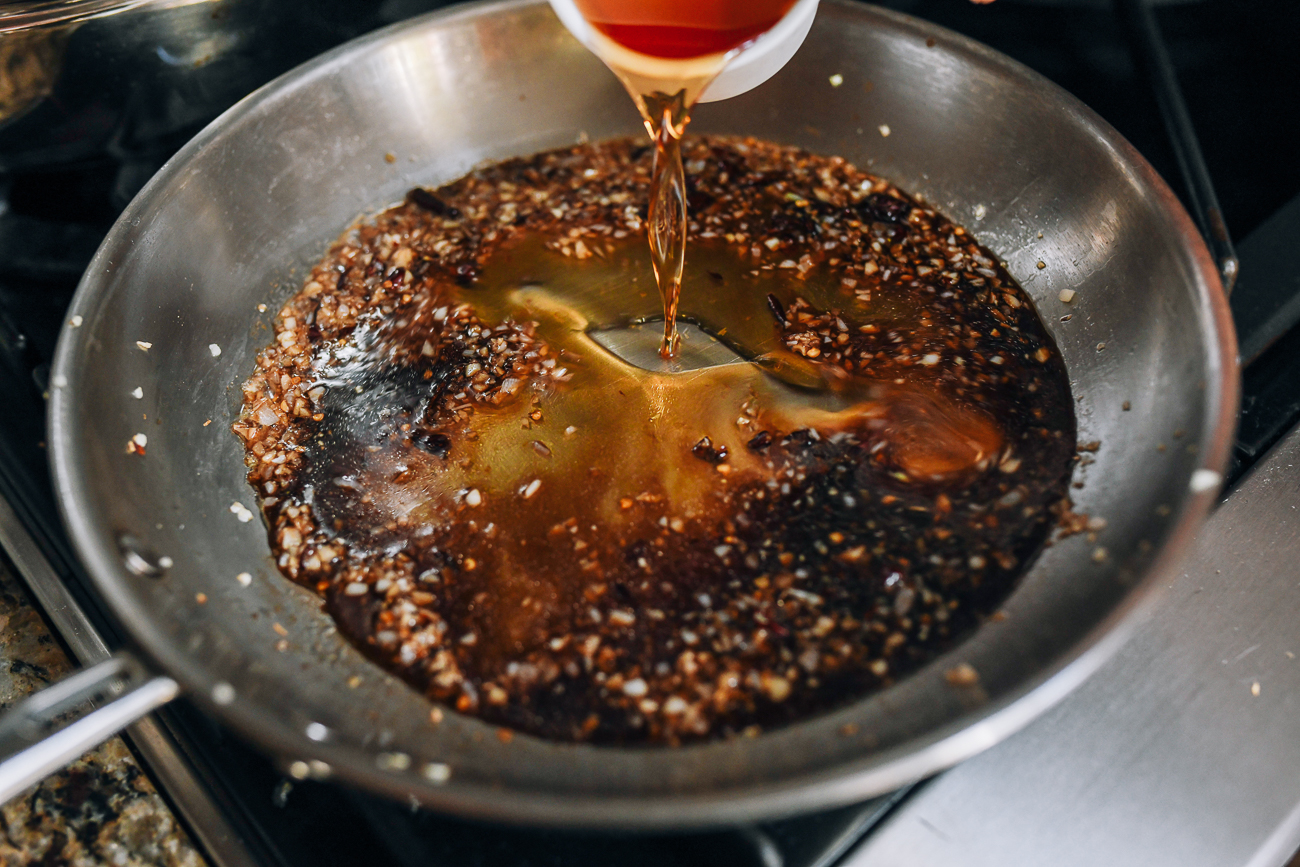
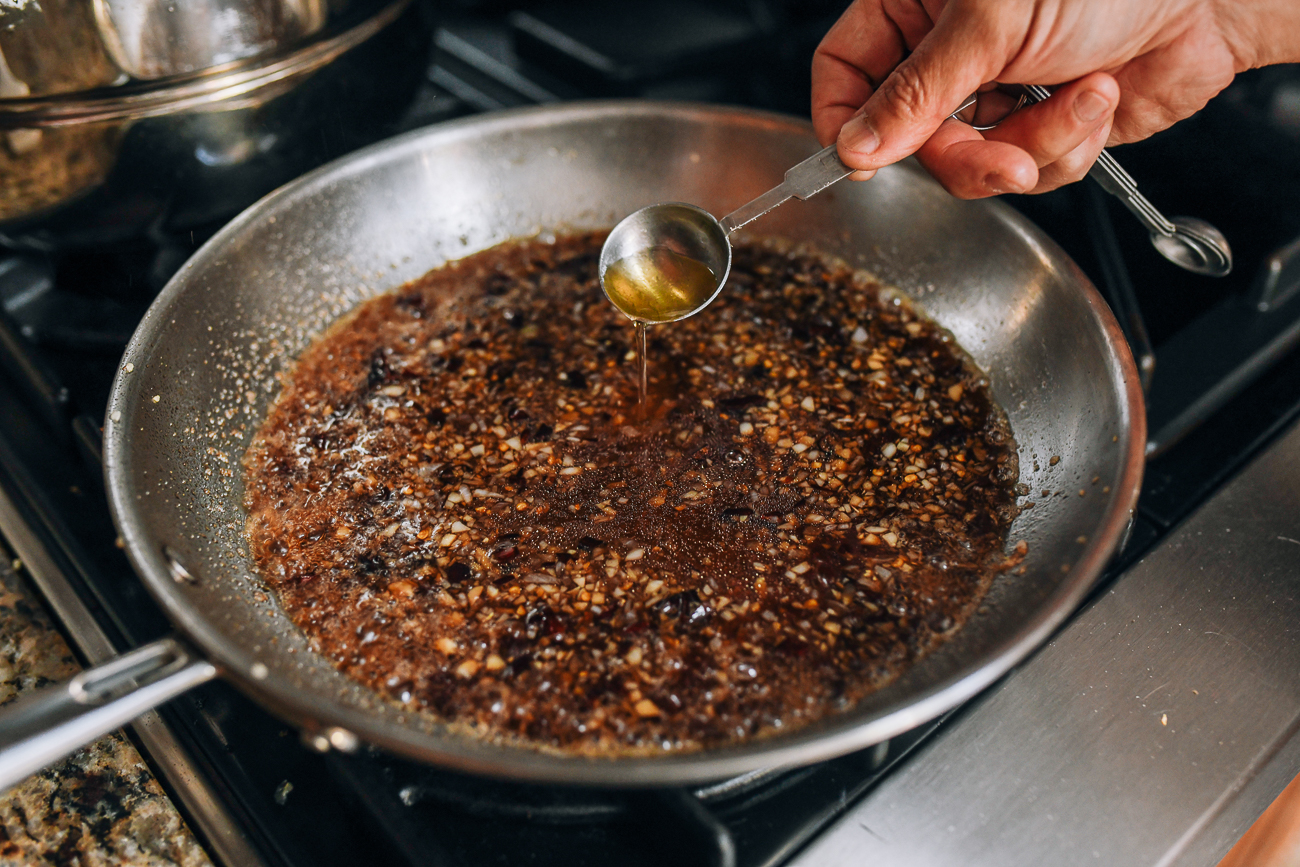
And the light brown sugar, gochujang, and dijon mustard.
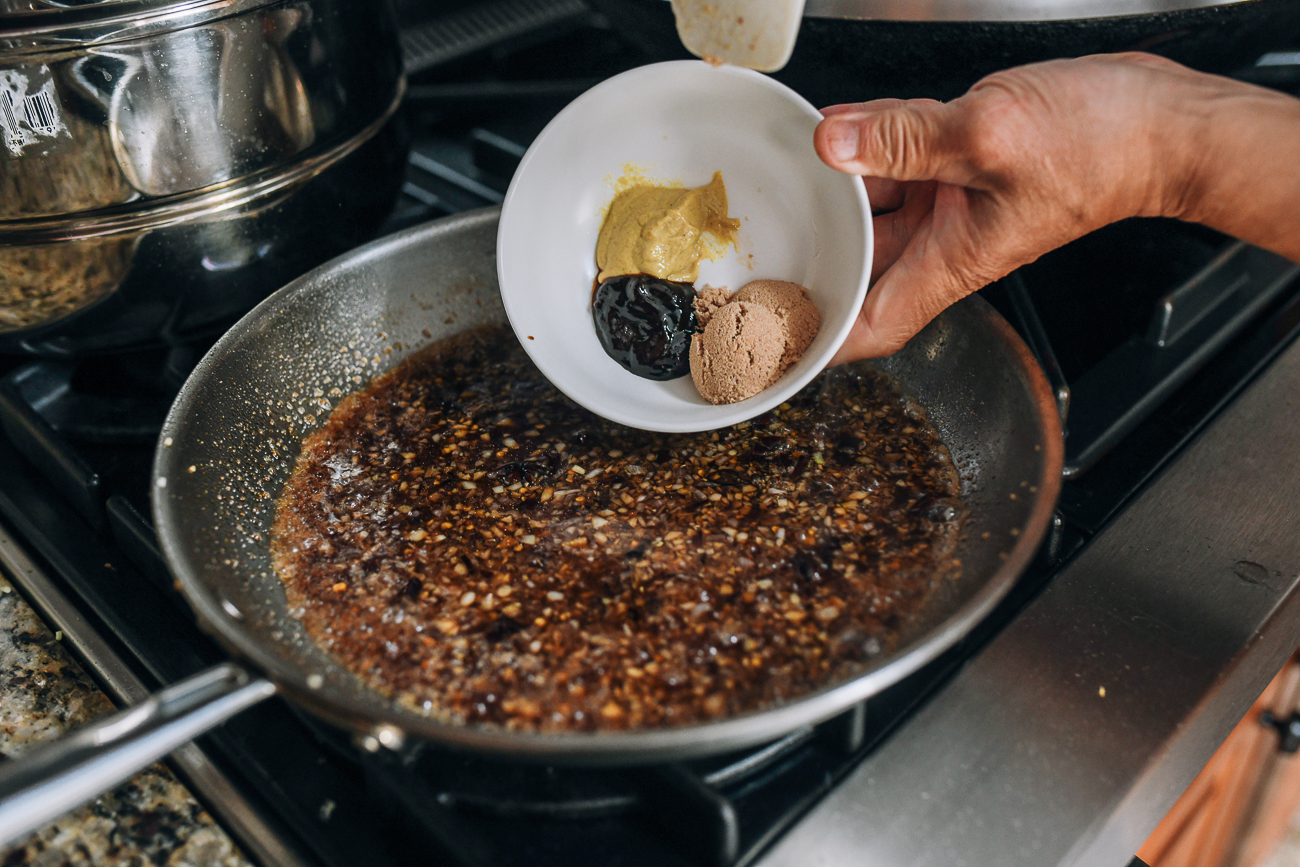
Stir and bring the sauce to a simmer, stirring continuously (4-5 minutes). When the sauce has come to a simmer, remove from the heat, cover, and set aside to keep warm.
Resist cooking the sauce for too long. This may sound counter-intuitive but it’s not! We’ve tried simmering the sauce longer to let the flavors meld, but as it turns out, cooking the sauce just until it comes to a simmer allows the individual flavors of the ingredients to come through, making a much tastier sauce.
While the sauce might seem thin, that’s the way it should be. When you toss the freshly fried chicken in the glaze, it soaks up the glaze evenly. A thicker sauce won’t coat the chicken as easily.
4. Re-fry chicken and toss in sauce:
For the second and final fry, bring the oil temperature up to 375°F/190°C. Fry the chicken in batches—1 minute for bone-in pieces and 30 seconds for boneless pieces. Drain on a cooling rack.
Once you’ve fried all the chicken for the second time, add it to a large bowl.
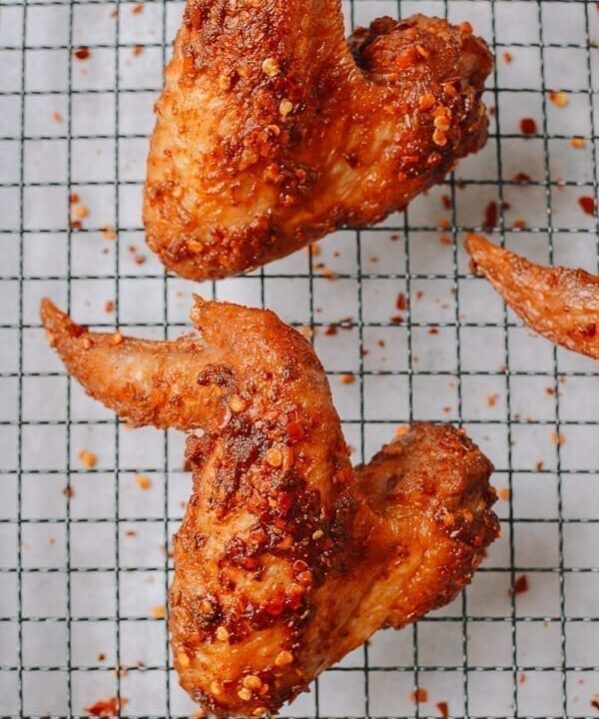
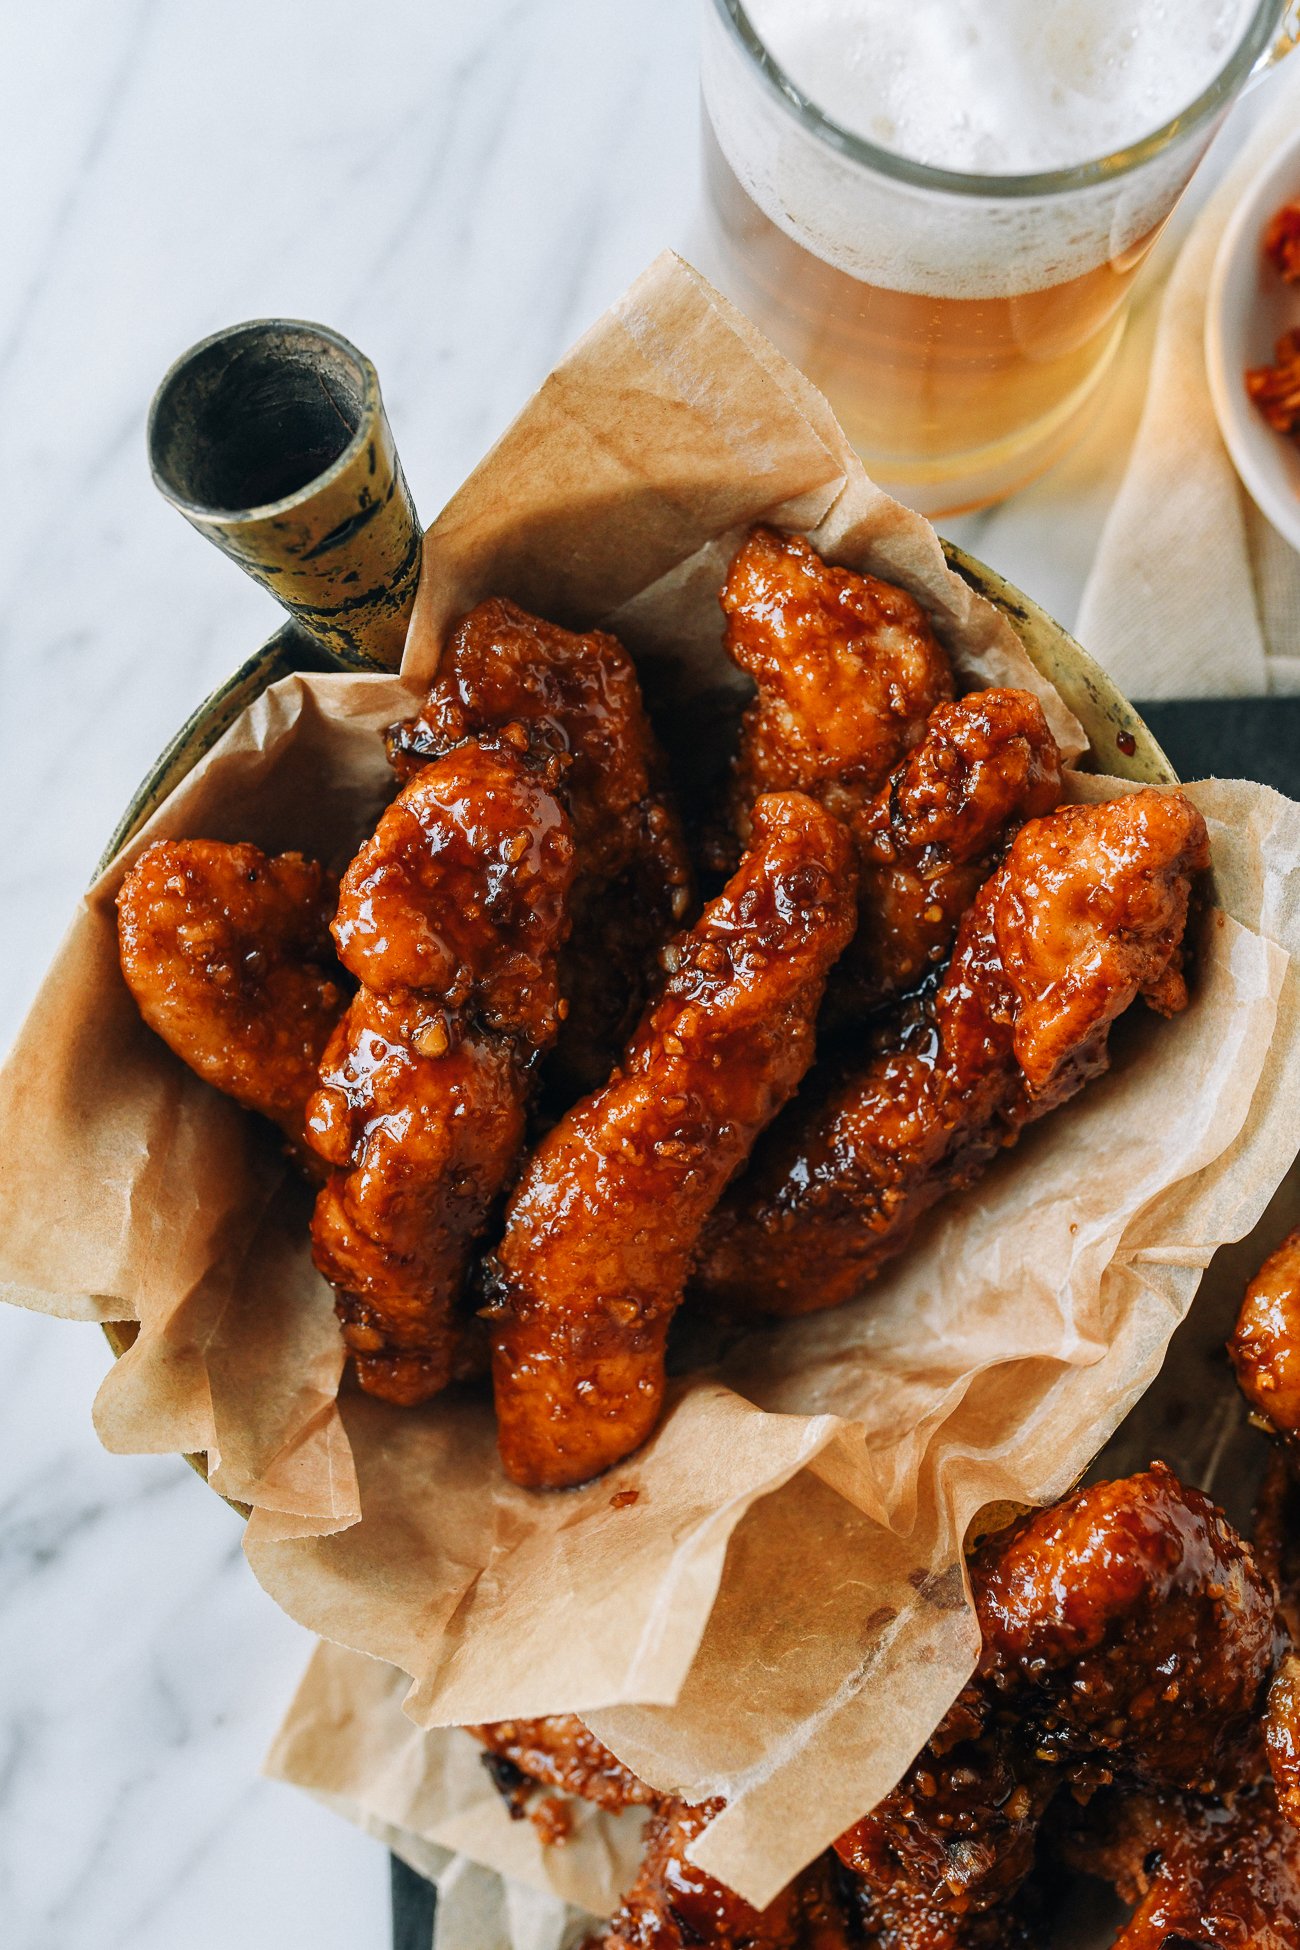
Pour the sauce over the top. Toss the chicken in the sauce until the pieces are well-coated.
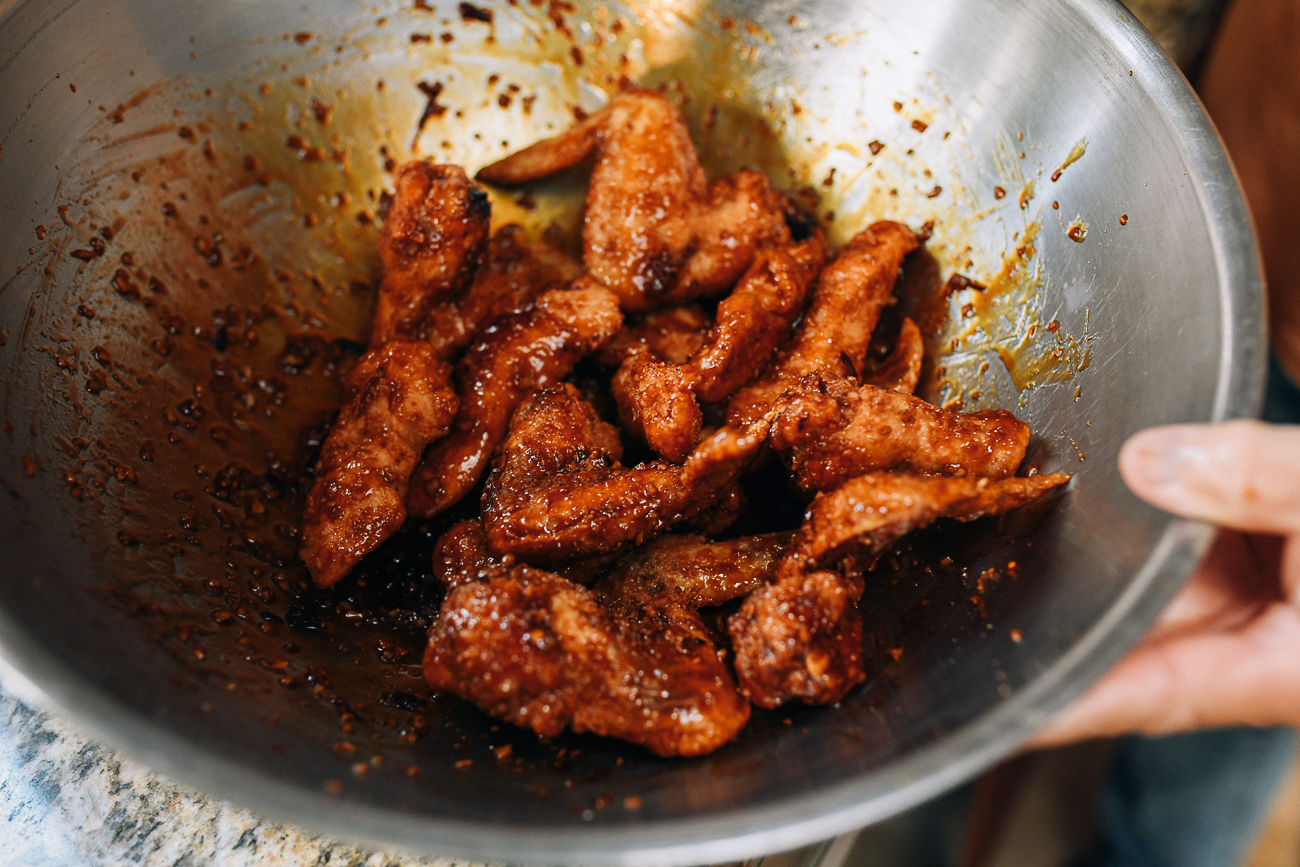
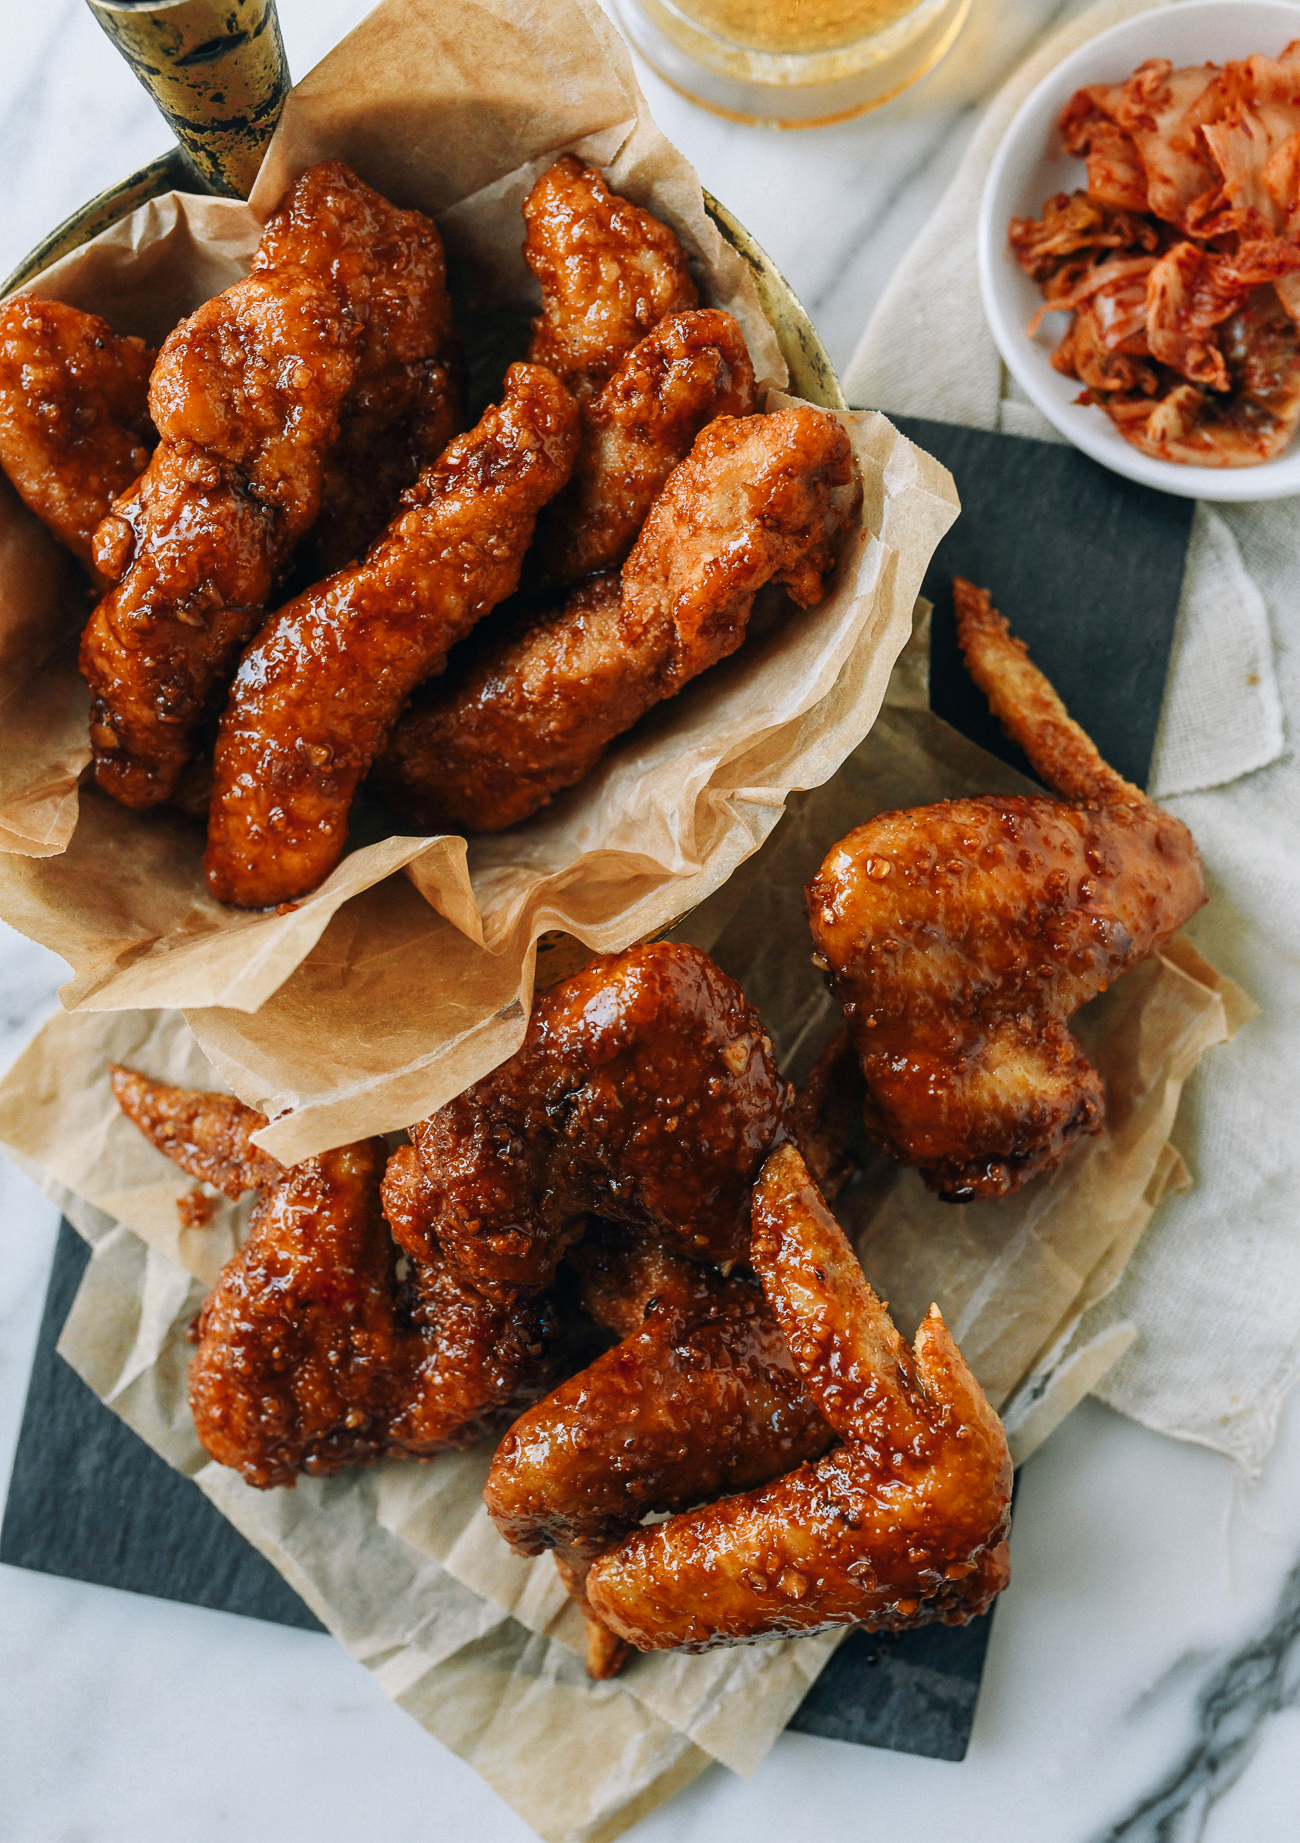
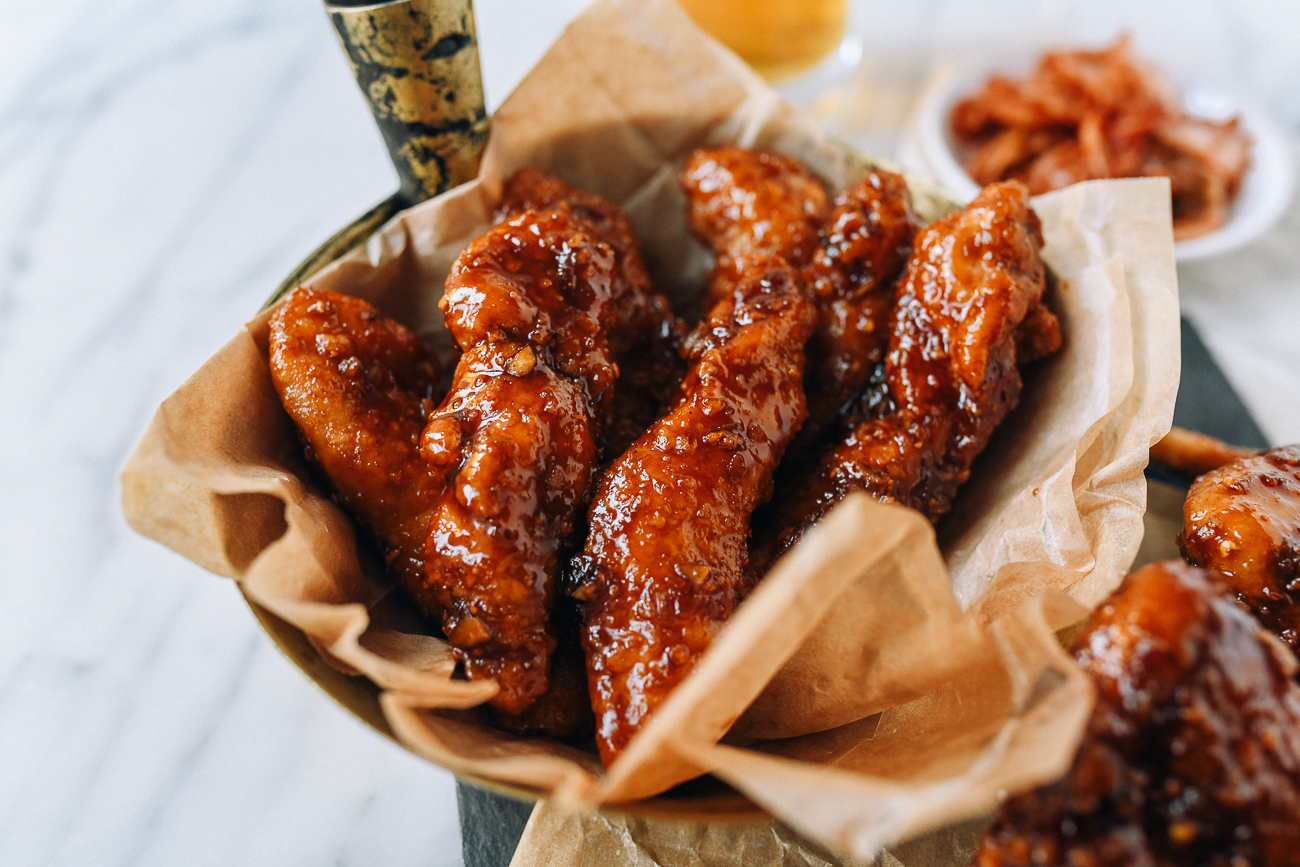
Sprinkle toasted sesame seeds on top if desired, and serve!
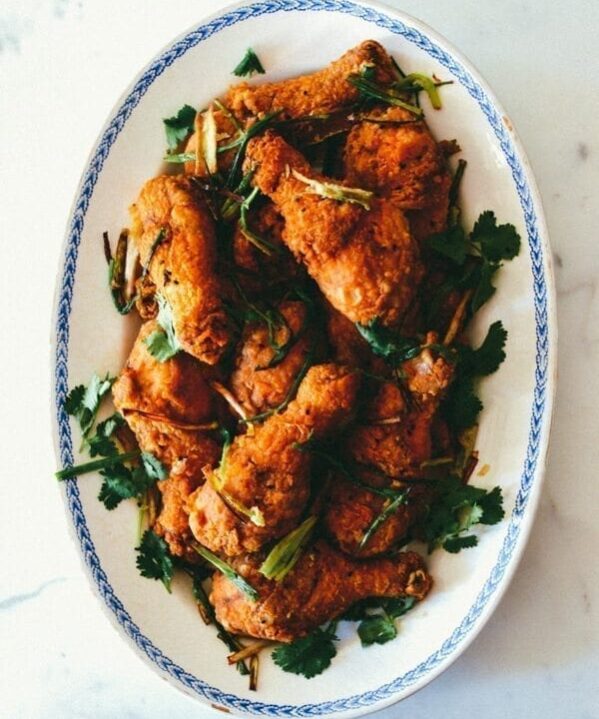
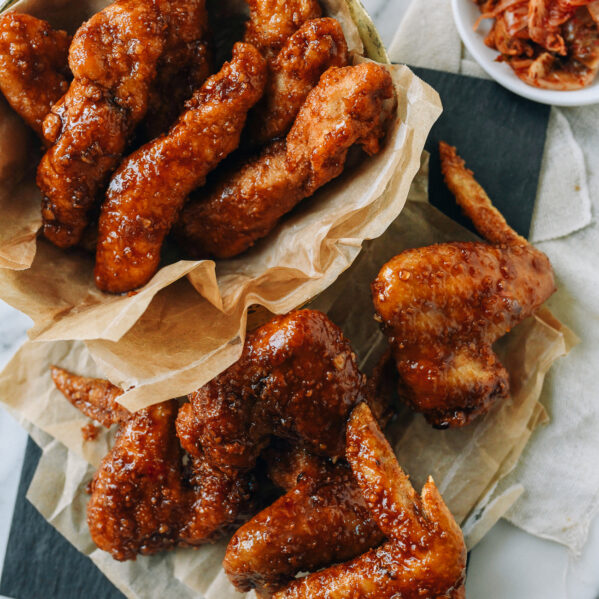
Korean fried chicken is often served with refreshing pickled radishes, but you can also serve this Bon-Davi soy garlic fried chicken with rice and a side of vegetables.

What to Do With Leftover Frying Oil
We get this question a lot. What do you do with all that leftover oil you used to fry the chicken? Can it be reused?
The short answer is yes.
- Once you’re done with the oil, let it cool until it is warm but not hot. Pour it through a fine mesh strainer into a jar or other airtight container. Seal and refrigerate. You can use this oil in stir-fries or other deep-frying recipes for up to 3 months!
- If the oil is too far gone (cloudy/murky/dark), check to see if there is a used frying oil recycling drop-off near you—it may be able to be made into biodiesel or soap!
- Another way to reuse it if you have a backyard fire pit: save it in a bottle and pour a bit of it over logs to get your campfire going (another useful tip from Gordo!). Of course, be safe, and do this at your own risk.
- If you can’t recycle or reuse it, you can discard it by pouring it into a sealable non-recyclable container, and throw the container in your household trash.
Can You Make This In the Oven Or Air-Fryer?
If you hate deep-frying at home, you can bake your chicken instead. It won’t be quite as crispy, but if you have tried Kaitlin’s white pepper baked chicken wings, you know this baking method works.
Bone-in skin-on pieces are better suited to oven frying, as they have skin and fat, and will stay moist on the bone.
Preheat the oven to 475 degrees F, and place the chicken on a sheet pan lined with non-stick aluminum foil or parchment paper.
Brush the chicken on all sides lightly with vegetable oil. Bake in the oven, flipping them once halfway through.
If using chicken wings, bake for 30-35 minutes. If using boneless pieces or drumettes/flats, bake for about 15-20 minutes. For thighs and drumsticks, bake for about 40 minutes. Use a meat thermometer to ensure they are cooked through. It should read 160-165°F/71-74°C.
Whatever the baking time be sure to flip them once, halfway through baking.
You can also do this in an air fryer at 400°F, for the same cooking times described above. Again, be sure to flip them halfway through!
Hope you enjoy this Bon-Davi chicken from my friend David as much as we have!
Korean Fried Chicken (Dakgangjeong)
Ingredients
For the chicken & marinade:
- 3 pounds chicken tenders, wings, drumsticks and/or thighs (we used: 1¼ pounds chicken breast and 1¾ pounds chicken wings
- 1 teaspoon salt
- 1/2 teaspoon white pepper
- 1/2 teaspoon ground ginger
- 1/2 teaspoon sesame oil (toasted)
- 2 tablespoons water
For the coating & frying:
- 1/3 cup potato starch
- 1/3 cup panko breadcrumbs
- 2 tablespoons water
- 4-5 cups vegetable oil (for frying, can also use canola or peanut oil)
For the soy garlic glaze:
- 2 tablespoons vegetable oil
- 1 small shallot (finely minced)
- 7 cloves garlic (minced
- 3 dried chili peppers (optional)
- 3 tablespoons soy sauce
- 2 tablespoons water
- 2/3 cup mirin
- 1 1/2 tablespoons rice vinegar
- 2 tablespoons light brown sugar
- 1 tablespoon gochujang
- 1 tablespoon Dijon mustard
- 2 tablespoons toasted sesame seeds (optional)
Instructions
Marinate and dredge the chicken:
- Add the chicken to a large mixing bowl along with the salt, white pepper, ginger, sesame oil, and 2 tablespoons of water. Mix thoroughly and set aside for 15 minutes.
- Meanwhile, make the coating. In a shallow bowl, combine the potato starch and panko. Sprinkle 2 tablespoons of water over the top, and mix with your hands. This creates some clumps in the dry mix to give more texture to the coating.
- Toss the chicken in the marinade once more to ensure the pieces are evenly moist. Dredge chicken pieces until they’re completely coated.
Fry the chicken for the first time:
- Heat 4-5 cups of oil in a deep pot to 325°F/163°C. The oil should ideally fill the pot about halfway, so hot oil won’t overflow or splatter too much while frying.
- Fry the chicken in batches until lightly golden, 2-3 mins for nuggets, 3-4 mins for tenders, 6-8 mins for whole wings, 4-6 mins for drumettes and flats, and 9-11 mins for drumsticks or bone-in thighs. Drain on a cooling rack placed over a sheet pan, and between batches, remove any particles left in the oil using a strainer.
Make the glaze:
- In a saucepan over medium low heat, add 2 tablespoons vegetable oil, along with the shallot, garlic, and dried chili peppers (if using, for optional spice). Cook for 3-4 minutes, stirring occasionally, or until the shallots are translucent. If using the dried chili peppers, you can de-seed them and chop them, or simply chop and include the seeds for an extra spicy kick. If you’d like to keep your sauce more mild, omit them entirely.
- Next, add the soy sauce, water, mirin, rice vinegar, light brown sugar, gochujang, and dijon mustard.
- Stir and bring the sauce to a simmer, stirring continuously (4-5 minutes). When the sauce has come to a simmer, remove from the heat, cover, and set aside to keep warm.
Re-fry chicken and toss in sauce:
- For the second and final fry, bring the oil temperature up to 375°F/190°C. Fry the chicken in batches—1 minute for bone-in pieces and 30 seconds for boneless pieces. Drain on a cooling rack.
- Once you’ve fried all the chicken for the second time, add it to a large bowl, and pour the sauce over the top. Toss the chicken in the sauce until the pieces are well-coated. Sprinkle toasted sesame seeds on top if desired, and serve!