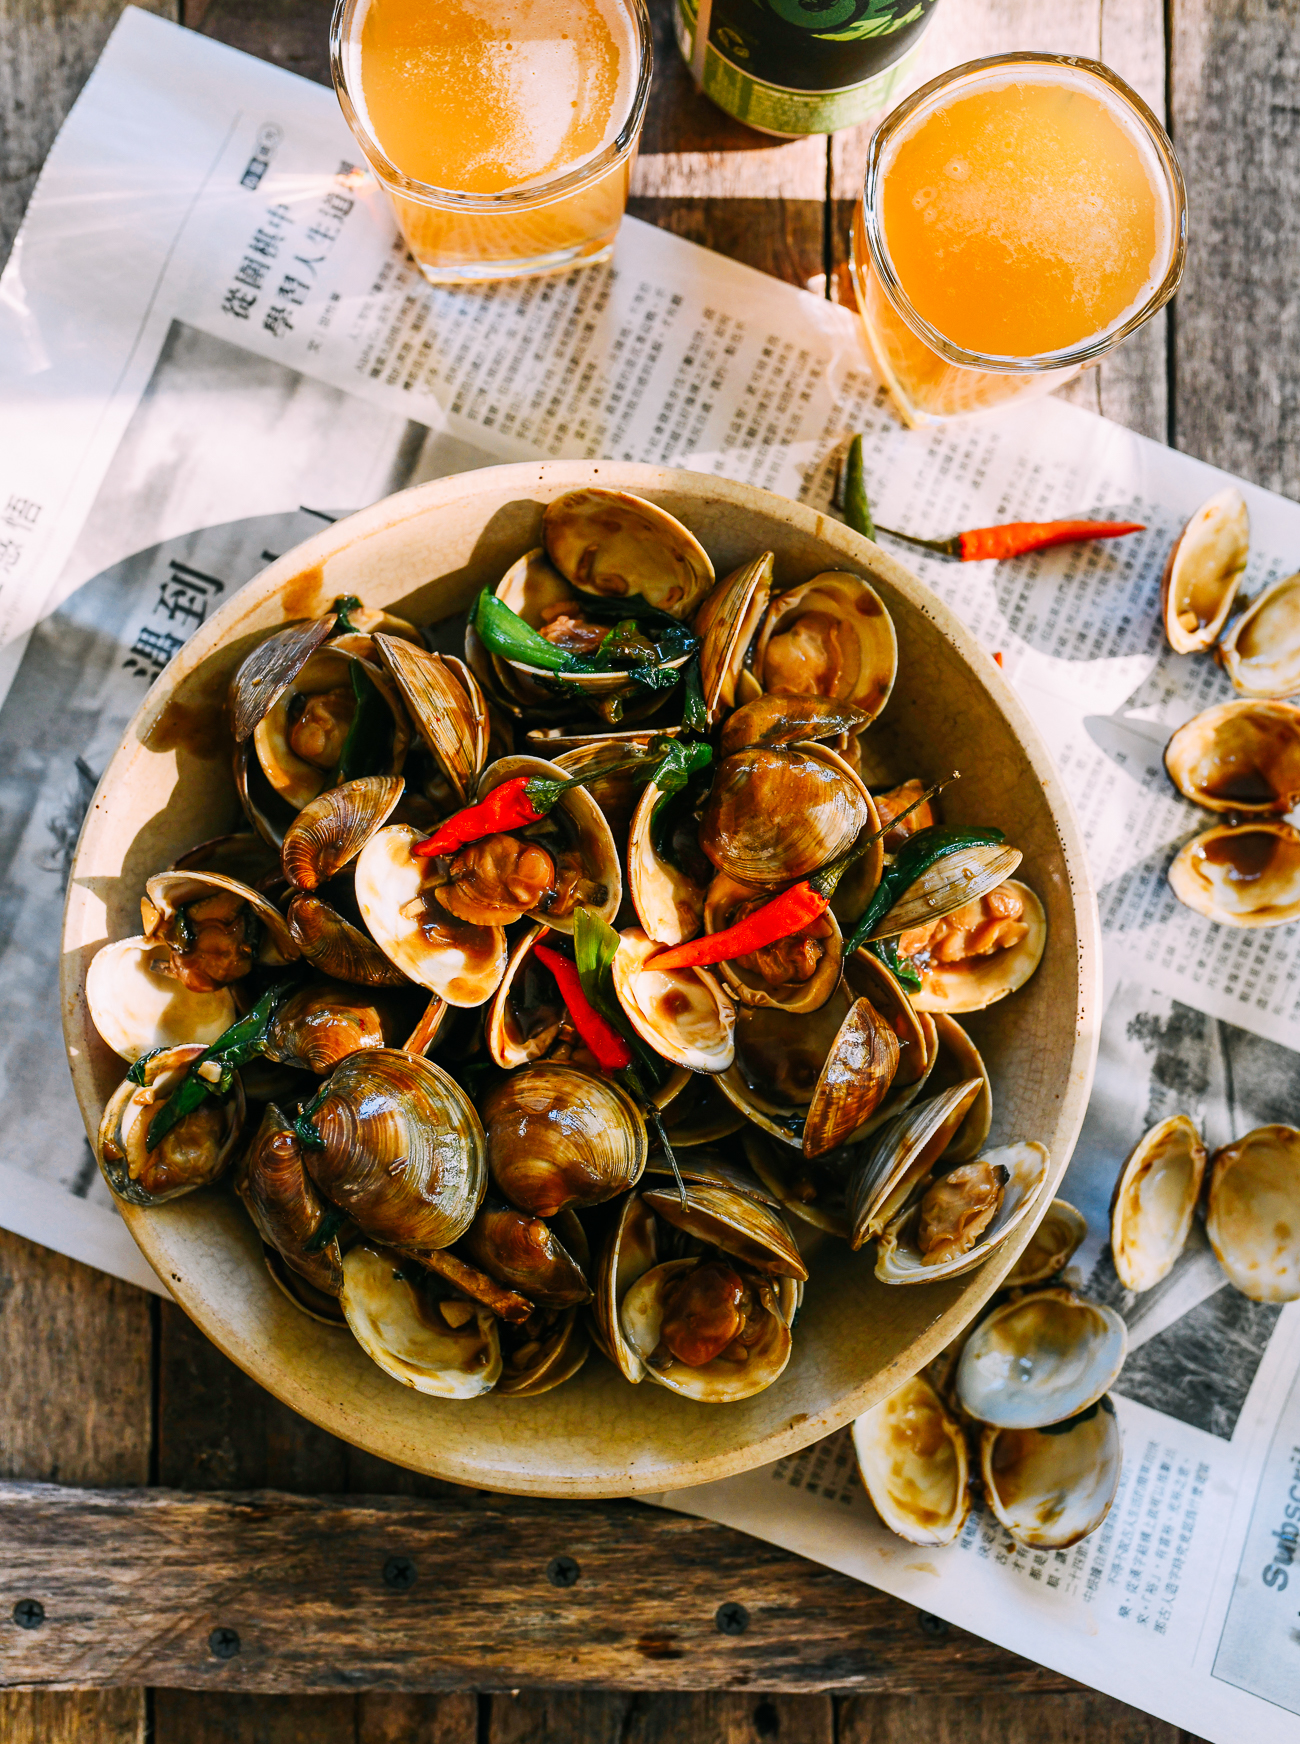
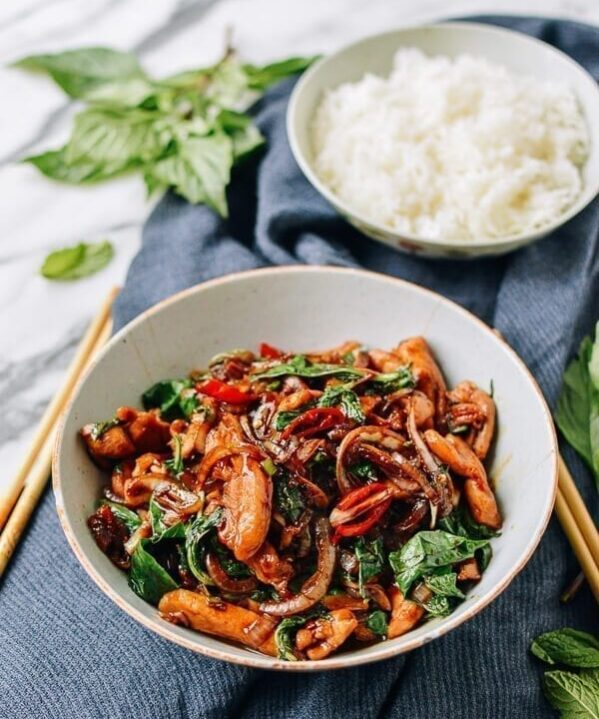
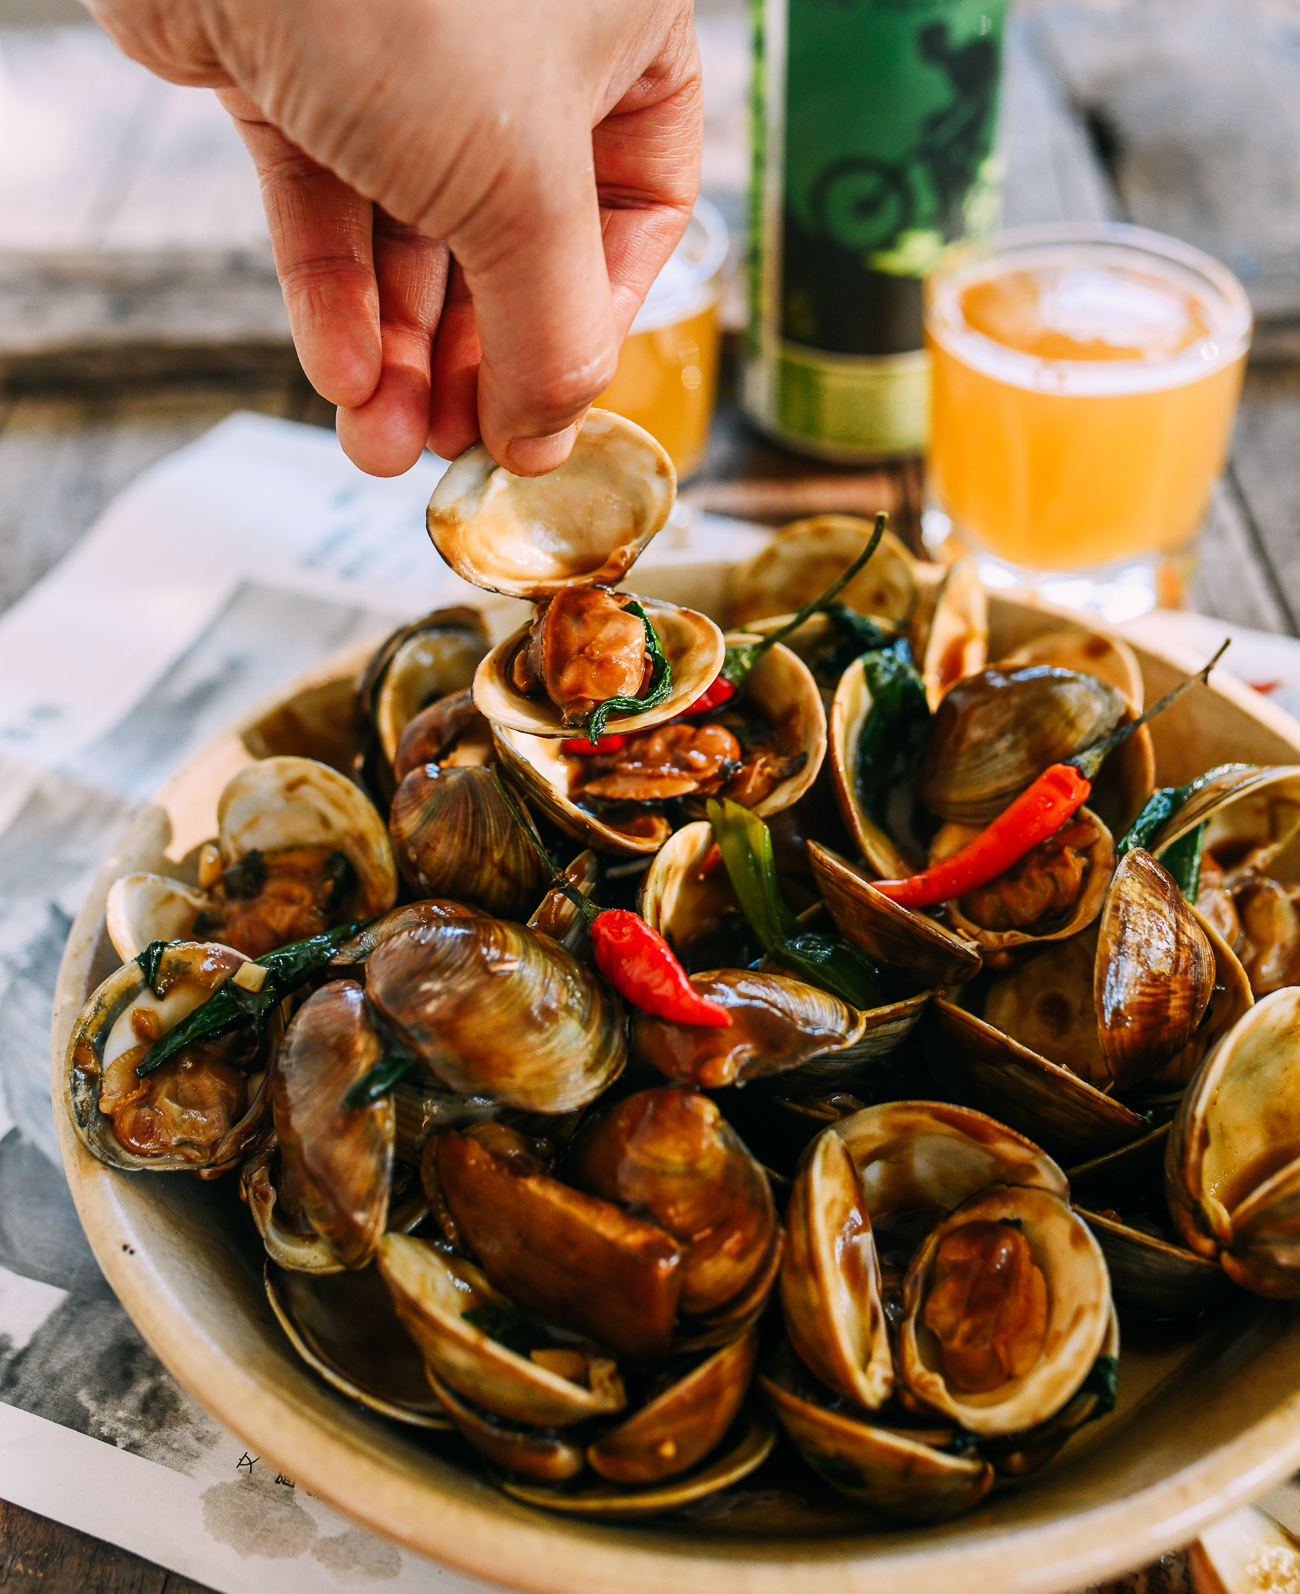
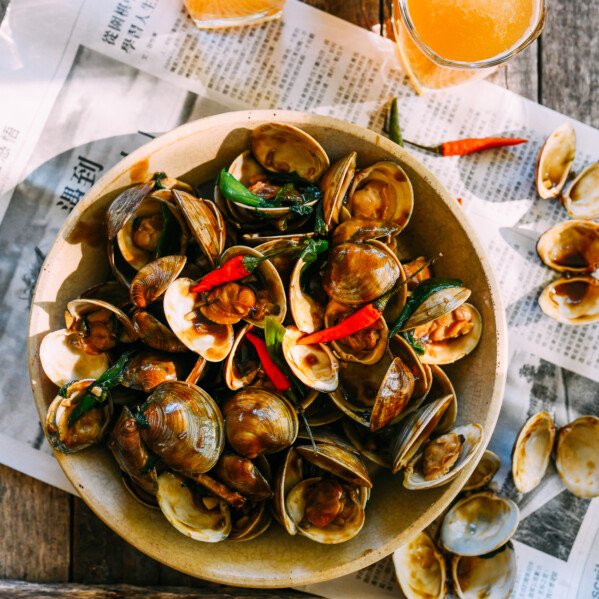
This recipe for spicy Thai basil clams is a tasty take on stir-fried clams that’s great with a cold beer. You can use littlenecks or cherrystone clams here, and we have a great method for purging them to make sure you end up with a really clean, fresh-tasting dish!
A Long Journey to Clam Appreciation
(If you want to get straight to the nitty gritty of this recipe, skip down to the next section. If you’re open to a little storytime, keep reading!)
There was a time when the idea of me posting a seafood recipe would’ve been laughable—bordering on absurd.
Here’s a somewhat shocking fact about me, Sarah Leung, food blogger, recipe developer, and self-professed lover of all things food: I HATED seafood when I was growing up.
I didn’t touch sushi. Shied away from the tiny dried shrimp in my bowl of wonton soup or plate of sticky rice. Could barely handle the smell when walking past an open air seafood market in Chinatown.
Anytime a delicious Cantonese Steamed Fish was on the dinner table? Blech…too many bones. I just spooned the oily sauce onto my rice and ignored the main event.
Seaweed? My mom and grandmother insisted that it was good for my hair, but it tasted like I was eating old barnacles.
Clams or oysters? YOU MEAN OCEANIC RUBBER BANDS?? NO.
My aversion to the fruits of the sea was apparent even before I was born. When my mom was pregnant with me, she—who’d enjoyed fish and shellfish from the time she first tasted it in Shanghai—couldn’t even look at the stuff. When I came out after 20+ hours of labor (sorry, ma), she later took down a whole cooked fish, in her hospital gown, and then got reprimanded by the nurses for eating so soon after a C-section.
I don’t know when the switch clicked for me on seafood. Perhaps it was the first bite of perfectly flaky steamed striped bass with ginger, scallion, soy sauce, and cilantro—carefully crafted by my dad (with the bones meticulously removed so I’d give it a chance).
Or maybe it was the spicy tuna roll I tried at 16 (hey, this is actually…good?), or when my mom bought frozen fried fish fillets from the grocery store and their fried chicken-finger-like exterior made them somehow more acceptable.
Whatever the watershed moment, I am now a person that likes seafood. When we go out to a nice restaurant, I order the fish—partially because it’s often something that’s harder for me to replicate at home, and partially because I actually like it! One of my favorite foods is linguine with clams—who’d a thunk it!? Now when I visit New England, I can do the right thing and enjoy the seafood rather than skipping straight to the tiny “land” section of the menu.
If you can’t already tell, I’m quite proud of this development.
This recipe is another stepping stone on the journey. Now, I’m not just a person who likes seafood, I’m a person that cooks seafood. Which is perhaps the most important development of all.
How to Purge Sand and Grit from Clams
When it comes to cooking clams, the most important first step is to purge them of sand and grit. There are many methods out there for this—using fresh water or adding flour or cornmeal to the water, for example.
But the best method out there is perhaps the most intuitive. Purge your clams in seawater, or basically, salt water.
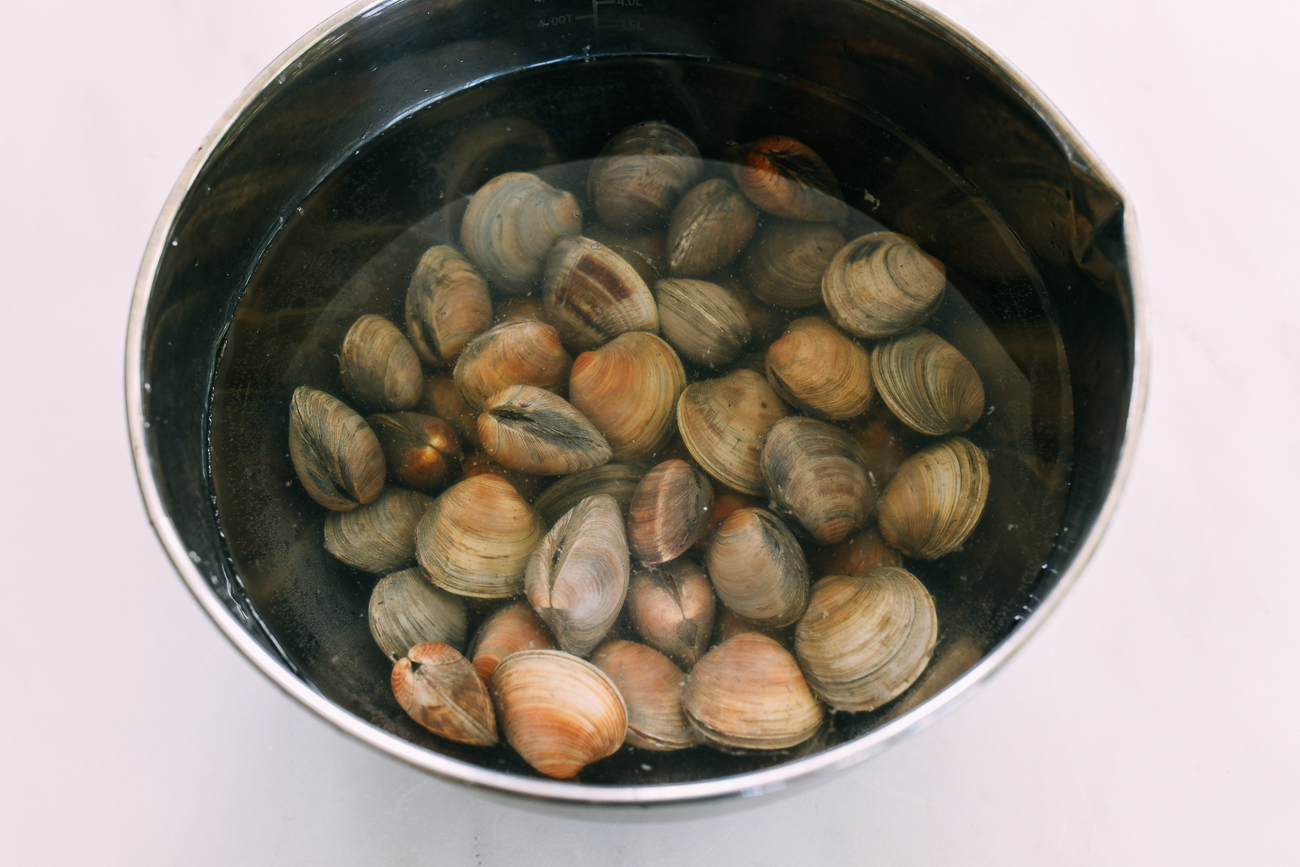
We love this post from Hank Shaw’s blog about purging clams. He explains it perfectly. In order to get the clams to open up, you have to mimic the conditions they live in. That means about 35 grams (7 teaspoons) of sea salt per liter (1000g) of water. It’s important that it be sea salt and not table salt or kosher salt!
Soak the clams out on the counter or in the fridge for 1-20 hours, according to Hank. He does say that you don’t have to purge clams if they’re from the grocery store, as they’ve already been purged. However, I like to soak them for a couple hours to get them really clean.
Every time we’ve used this method, we can see the clams moving/opening/siphoning in real time! Put your phone on time lapse to film the clams in the bowl. You’ll see a ton of movement (that is, as long as the clams are fresh).
Okay, let’s get to the recipe.
Spicy Thai Basil Clams: Recipe Instructions
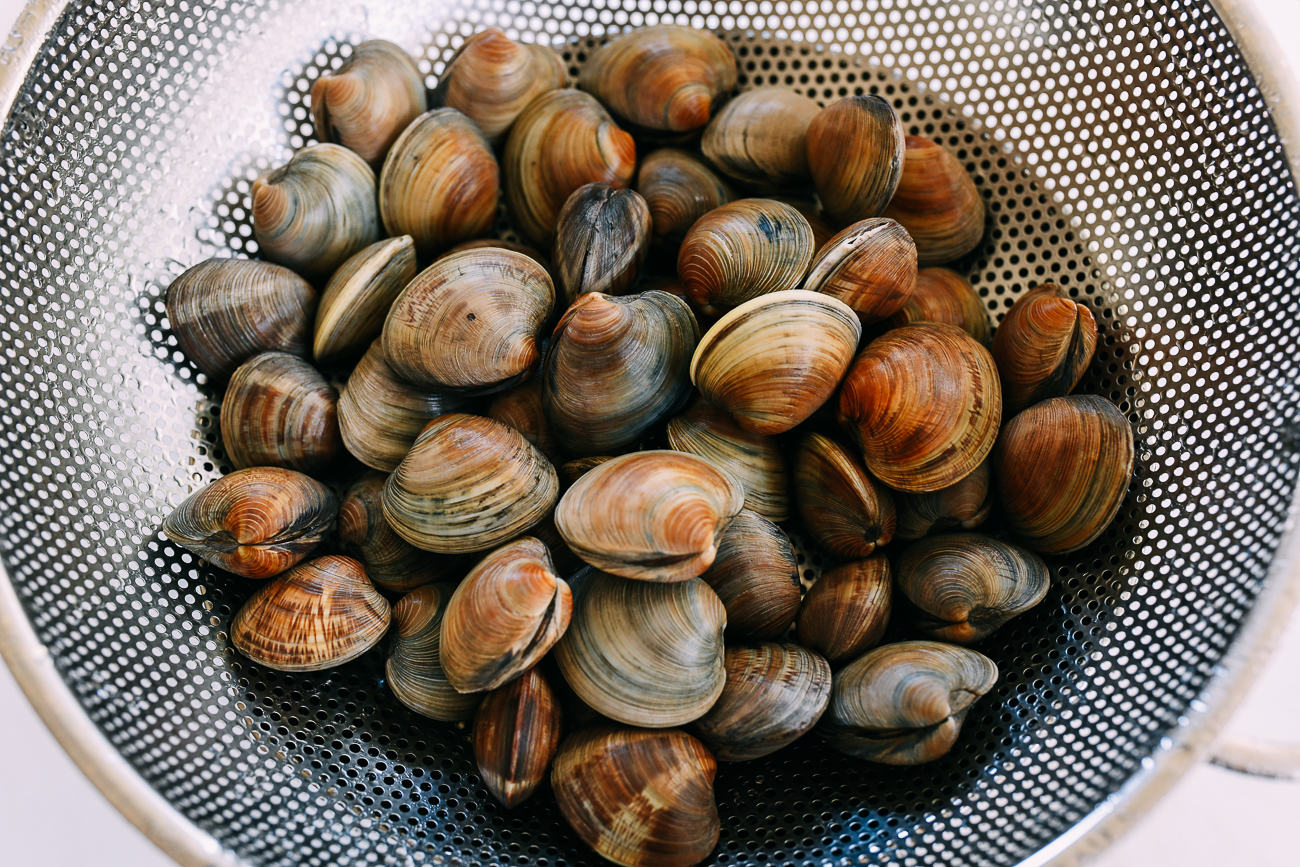
To purge the clams of sand and grit, fill a large bowl with 2 liters of cold water. Add 70g (1/4 cup plus 2 teaspoons) sea salt, and stir until dissolved. (Salinity should be about 3.5%.) Add the clams, and allow them to purge for at least 1 hour on the counter (or up to 20 hours in the refrigerator). Scrub your clams well to remove any surface grit from the shells.
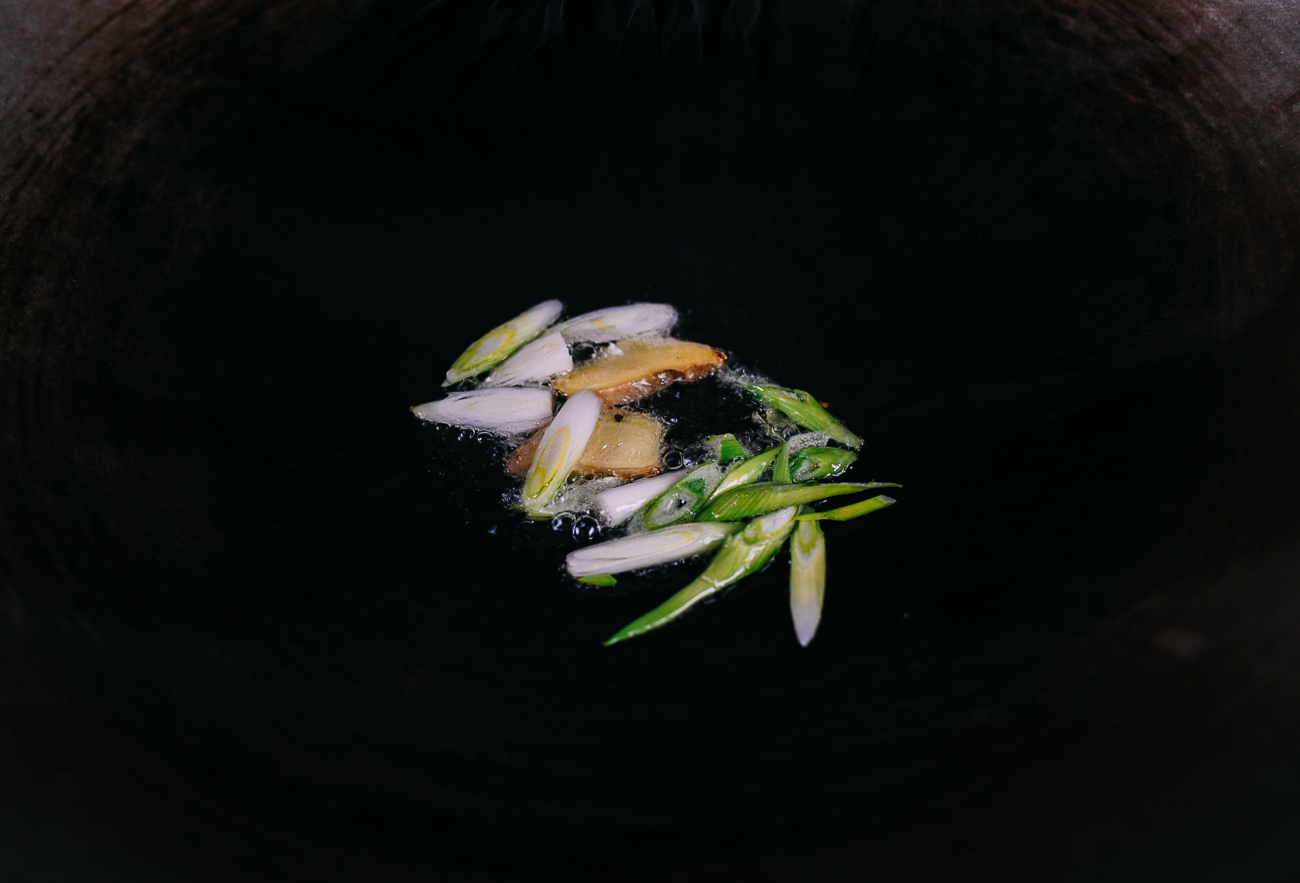
Heat the oil in your wok over medium high heat, and add the ginger and the white parts of the scallions. Cook for 30 seconds.
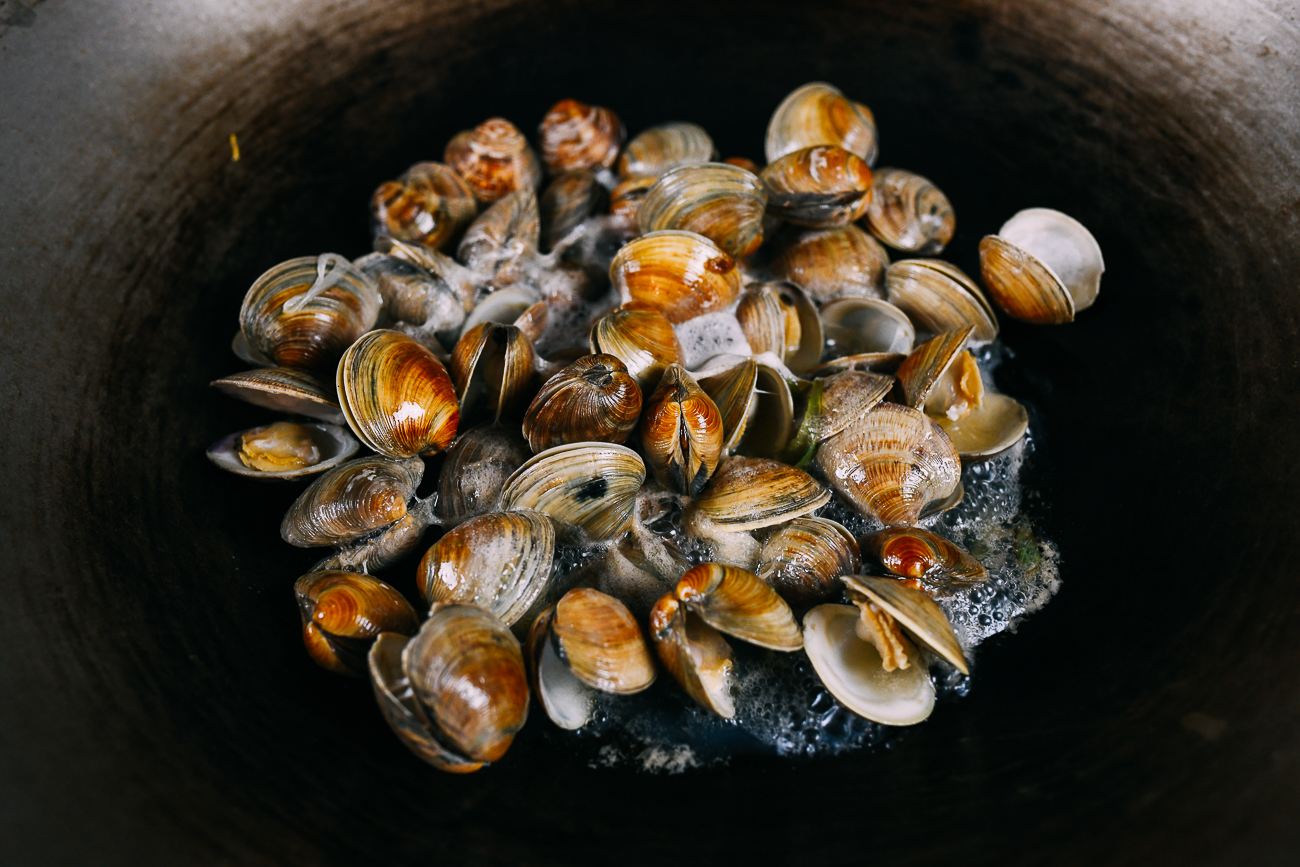
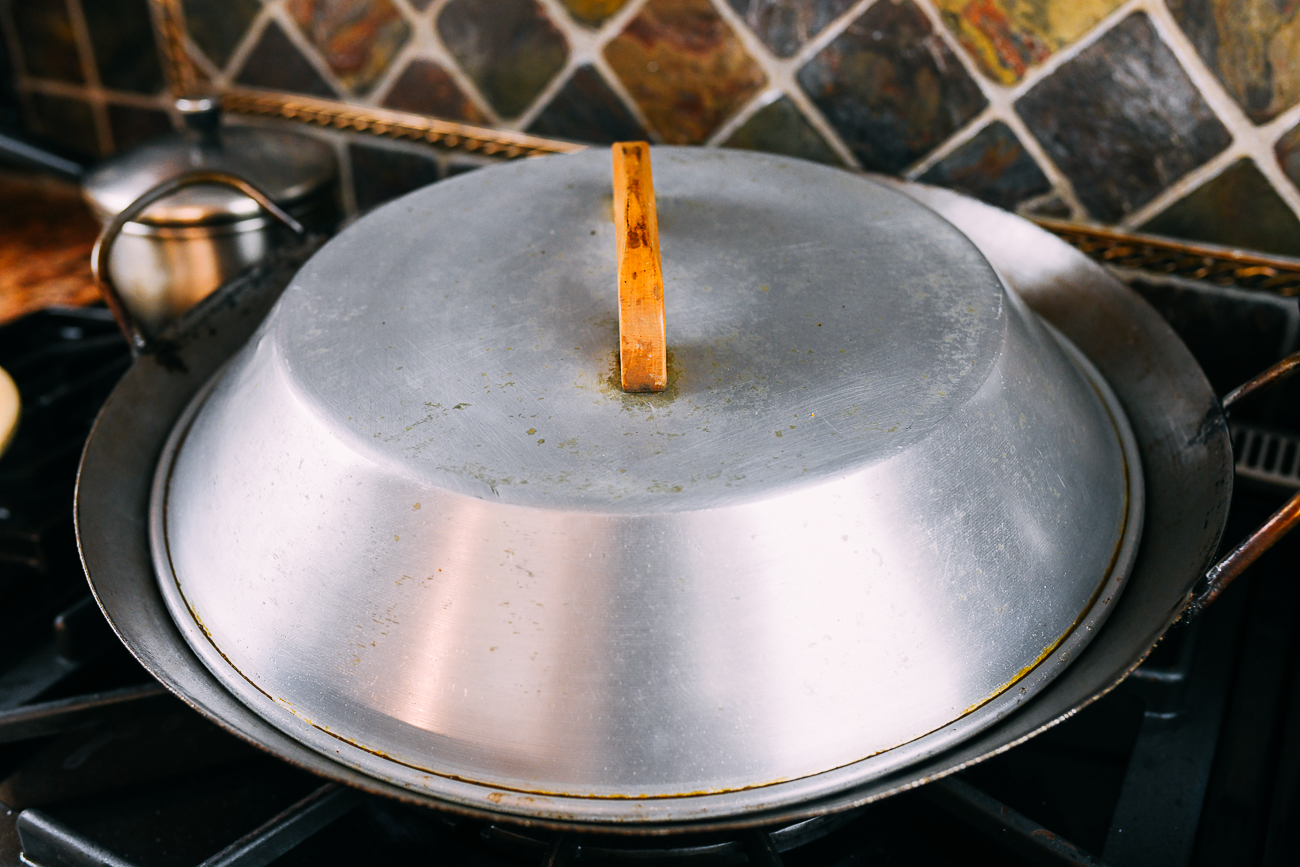
Increase the heat to high, and add the clams. When the wok has heated back up, add the Shaoxing wine, and immediately cover the wok. Reduce the heat to medium, and cook until about 75% of the clams have opened (you can peek under the lid), about 5 to 6 minutes, depending on the size of your clams.
Meanwhile, mix the cornstarch and water to create a slurry.
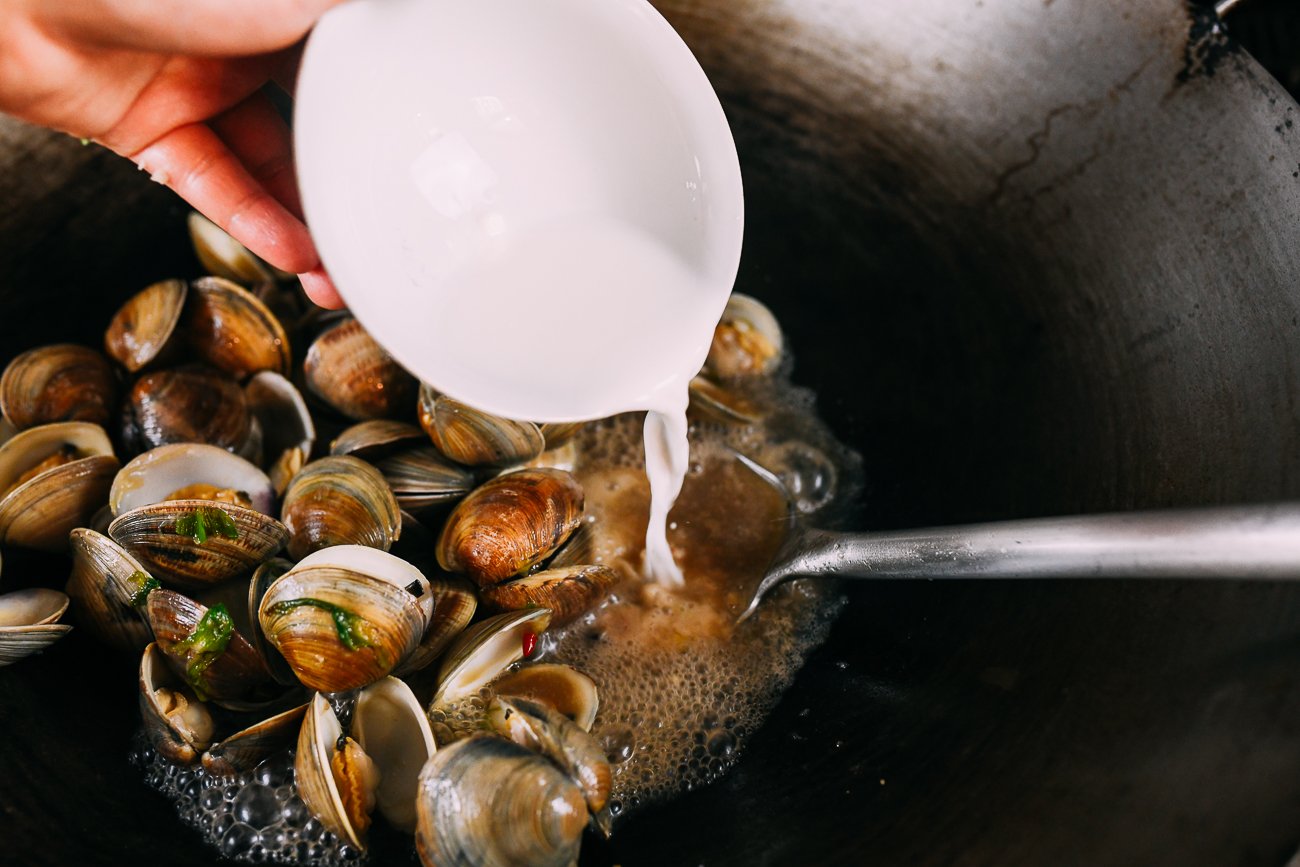
Uncover the wok. Add the garlic, Thai chilies, oyster sauce, and dark soy sauce. Stir to combine, then stir in the cornstarch slurry, which will thicken the sauce.
Add the Thai basil and the green parts of the scallions, and stir-fry just until the herbs are wilted.
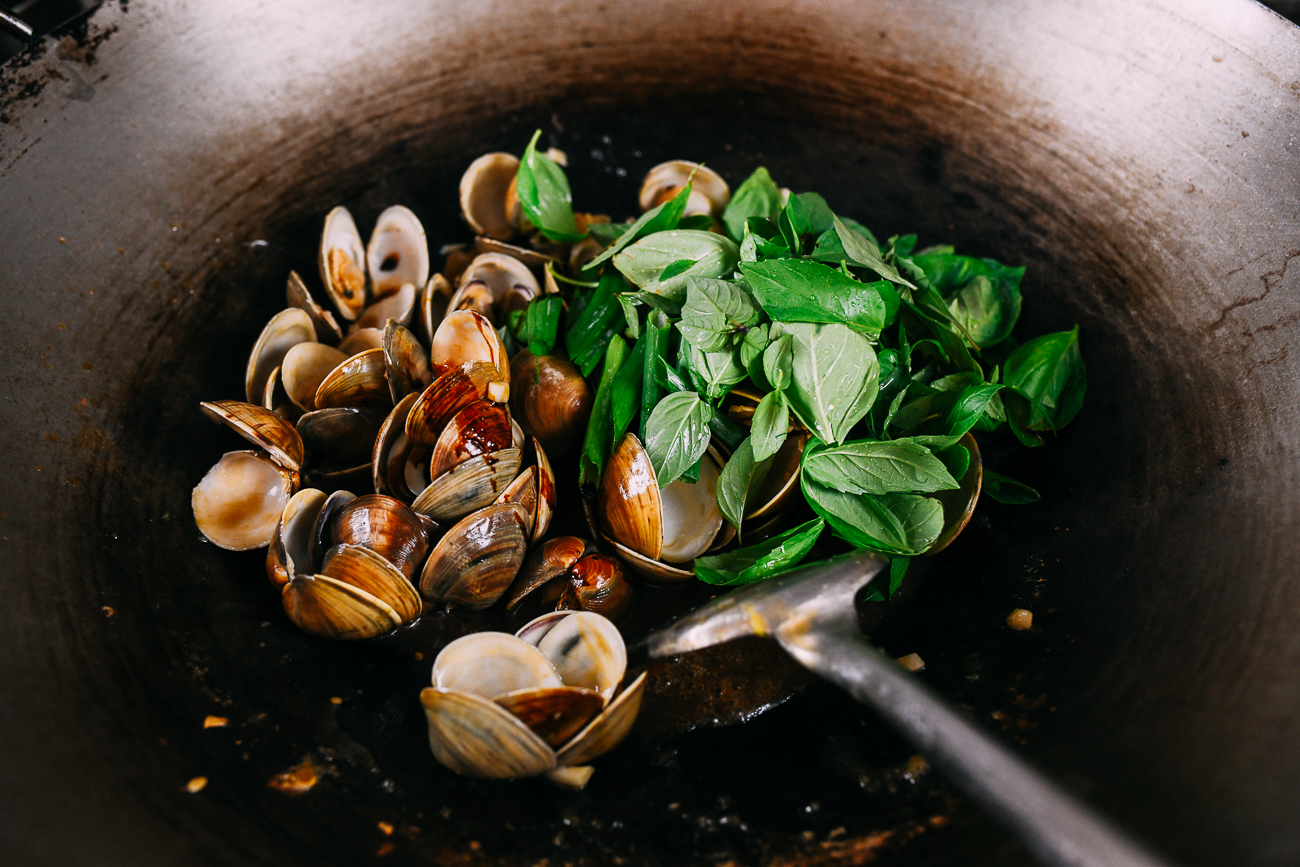
By now, all the clams should be open. If any haven’t opened by now, just discard them. Don’t overcook the remaining clams! Serve immediately with a squeeze of lime if desired.
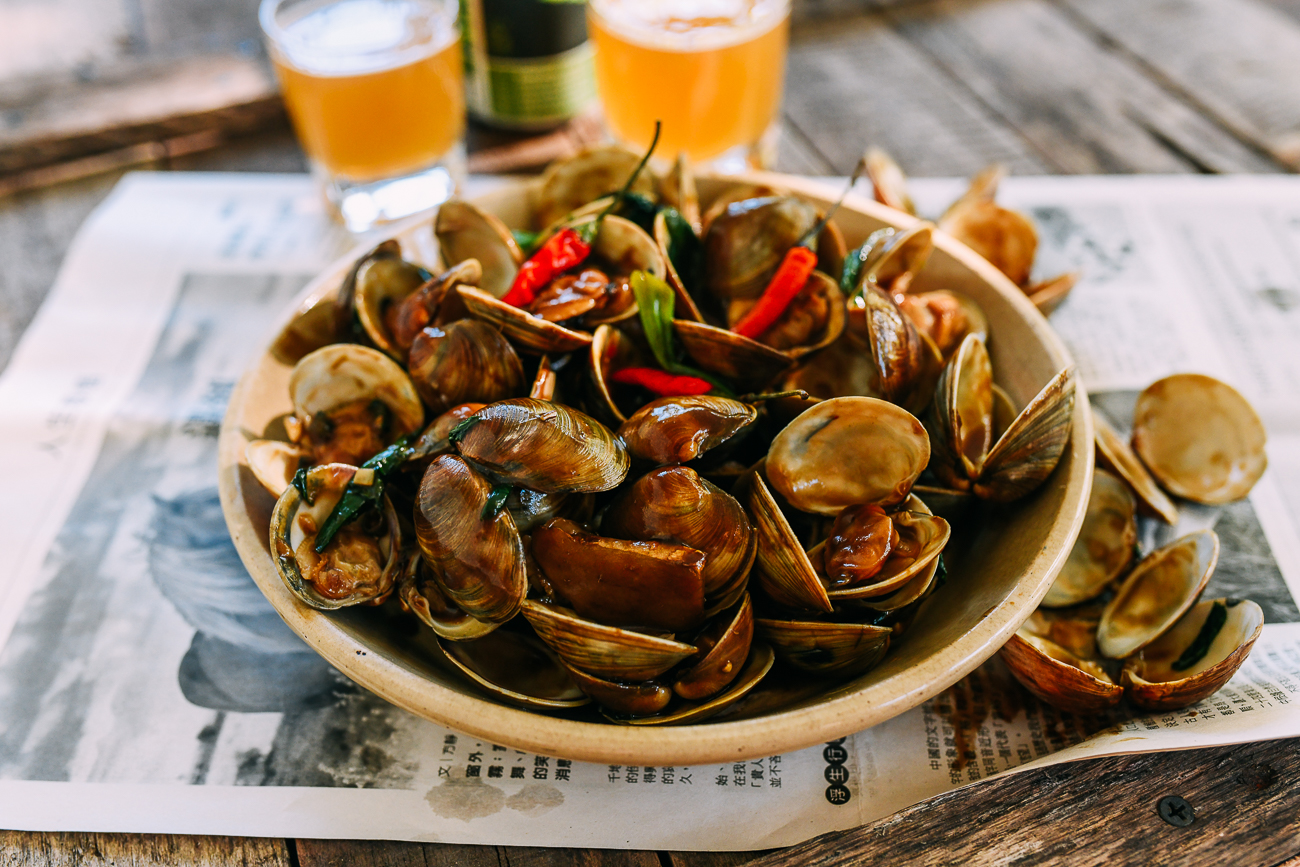
Spicy Stir-fried Thai Basil Clams
Ingredients
- 3 pounds littleneck or cherrystone clams (about 50 small clams)
- 1/2 gallon cold water
- 4 1/2 tablespoons sea salt
- 2 tablespoons oil (any neutral oil)
- 2 slices ginger
- 2 scallions (cut on an angle into 2-inch/5cm lengths, white and green parts separated)
- 2 tablespoons Shaoxing wine
- 2 teaspoons cornstarch (mixed with 1 tablespoon/15ml water)
- 4 cloves garlic (roughly chopped)
- 2 Thai red chilies (chopped)
- 1 tablespoon oyster sauce
- 1 teaspoon dark soy sauce
- 1 cup Thai basil
- fresh lime juice (optional)
Instructions
- To purge the clams of sand and grit, fill a large bowl with the cold water, and add the sea salt. Stir until dissolved (salinity should be about 3.5%). Add the clams, and allow them to purge for at least 1 hour on the counter (or up to 20 hours in the refrigerator). Scrub your clams well to remove any surface grit from the shells.
- Heat the oil in your wok over medium high heat, and add the ginger and the white parts of the scallions. Cook for 30 seconds.
- Increase the heat to high, and add the clams. When the wok has heated back up, add the Shaoxing wine, and immediately cover the wok. Reduce the heat to medium, and cook until about 75% of the clams have opened (you can peek under the lid), about 5 to 6 minutes, depending on the size of your clams.
- Meanwhile, mix the cornstarch and water to create a slurry.
- Uncover the wok. Add the garlic, Thai chilies, oyster sauce, and dark soy sauce. Stir to combine, then stir in the cornstarch slurry, which will thicken the sauce.
- Add the Thai basil and the green parts of the scallions, and stir-fry just until the herbs are wilted. By now, all the clams should be open—discard any that did not open and serve immediately with a squeeze of lime if desired.
