I don’t know when it was exactly that my days of drinking a glass of milk with every meal ended, but I think it was around the same time that one of our family friends turned vegan and started solemnly telling us about how the body doesn’t actually need dairy (or any other animal products, for that matter), his wild-man/vegan beard shaking back and forth as he shook his head.
And it’s true, it was sometimes hard to tell if the discomfort I felt after enjoying an aggressively large helping of ice cream was due to the portion size or the fact that my body just isn’t really that well-equipped to handle dairy. S0 I got to thinking about how to make soy milk.
It seemed like the rest of the food industry was hearing these dinner table conversations, and soy milk and then almond milk blew up as an alternative to any “got milk” tendencies Sarah and I had grown up with.
Even I—an ardent dairy lover—started eating my cereal with almond milk and drinking coffee black. Cheese was minimized but *obviously* not eliminated. (Cheese is life. Cheese is love. I will never abandon cheese.) What’s more, I, like many of my other yuppy peers, was eager to jump onto the soy milk bandwagon, ordering it not only at my family’s favorite Shanghainese breakfast joints, but also with my coffees and lattes.
The Problem with Store-bought Soy Milk
Oddly though, I started to notice that my coffees made with commercial soy milks resulted in an uncomfortable itching in my throat that would get worse with every sip of iced soy latte that I took.
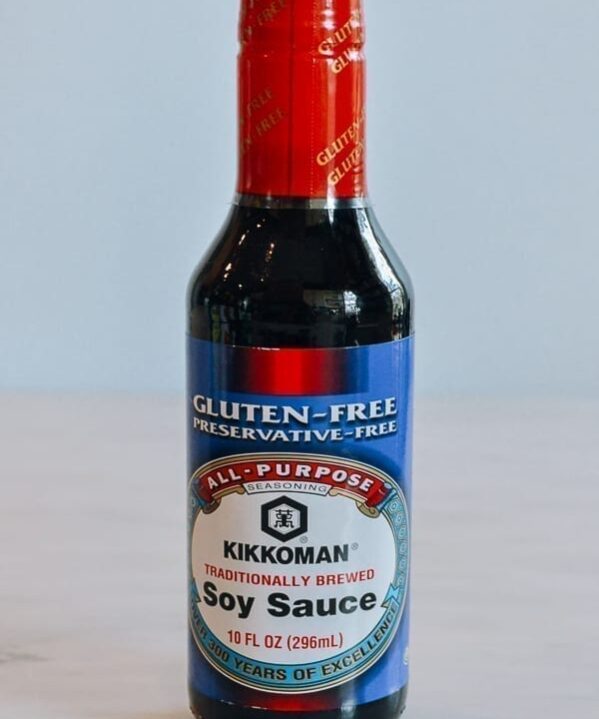
This was a bit shocking, because I have (thankfully) never been allergic to soy products. Tofus of all kinds (firm, silken, threads, knots, puffs), fresh soy milk purchased from the wet markets of Beijing, soy sauce––I consistently enjoy all of these things with zero problems. And yet, it seemed that grocery store soy milk had some odd ingredient or additive that my body didn’t like.
I turned to the internet, a hypochondriac’s best friend, for answers. It turned out that plenty of other people had the same problem with commercial soy milk that they didn’t have with other soy products!
Homemade is King!
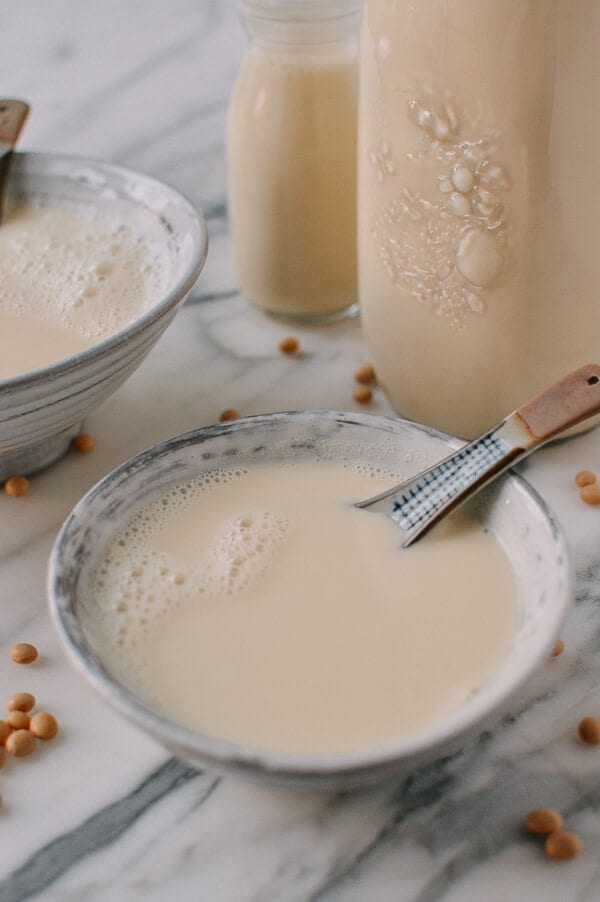
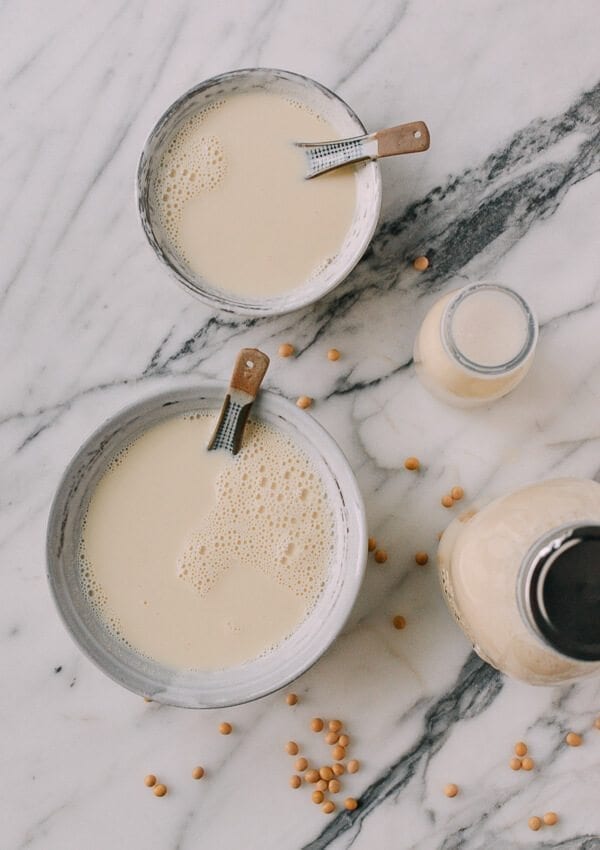
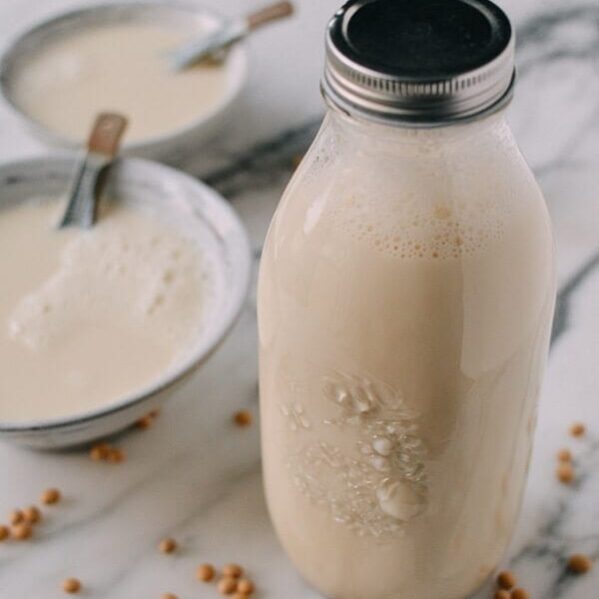
And that brings me to this recipe on how to make soy milk at home. In our family, homemade is always king. It’s comforting to know the origins of all the ingredients that go into your food or, in this case, all the things that *don’t* go into your soy milk. Plus, soy milk is surprisingly easy to make!
The only special equipment you need is a blender (we have a Blendtec at our house). Or, if you want to make it even easier, you can also buy a soy milk maker.
You can make a big batch of this homemade soy milk and keep a bottle at home and at the office for your morning joe. Of course, you can also make Savory Soy Milk Soup with Fried Dough (Dou Jiang), one of our favorite Shanghainese breakfasts! And of course, it’s great for vegan baking recipes!
How to Make Soy Milk: Instructions
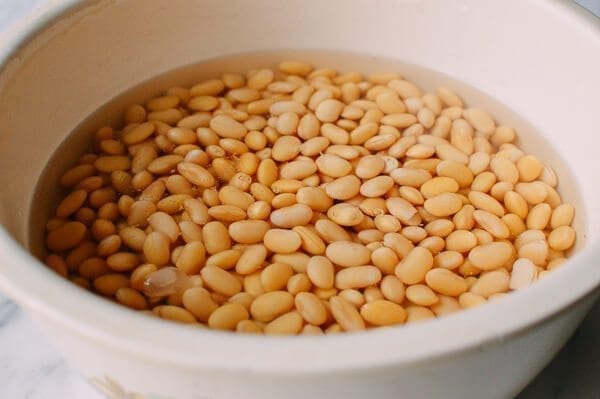
First, rinse your soybeans, put in a large bowl, and completely submerge with cold water. Set aside and let soak overnight.
The next day, rinse the soybeans a couple of times and transfer to a large pot. Add 12 cups of water to the beans, and bring to a boil using high heat and continue to cook for 10 more minutes using medium heat.
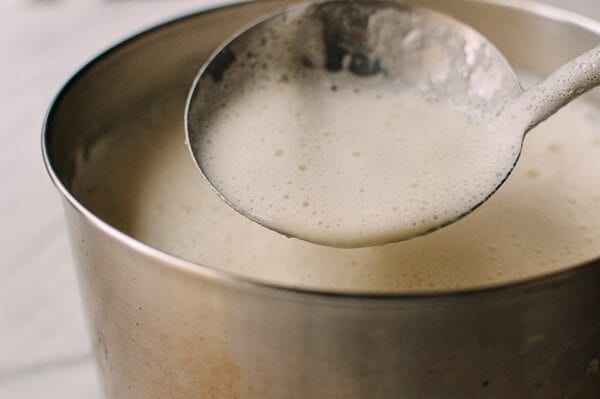
Next, blend the soybeans and water in batches until completely smooth. We used our Blendtec’s “smoothie” setting. Transfer the blended soybean mixture to another pot and let simmer for 40 minutes. Watch it carefully, as it’s easy for the soymilk to boil over! Towards the end of the 40 minutes, add salt and sugar to taste (if using), stirring to dissolve.
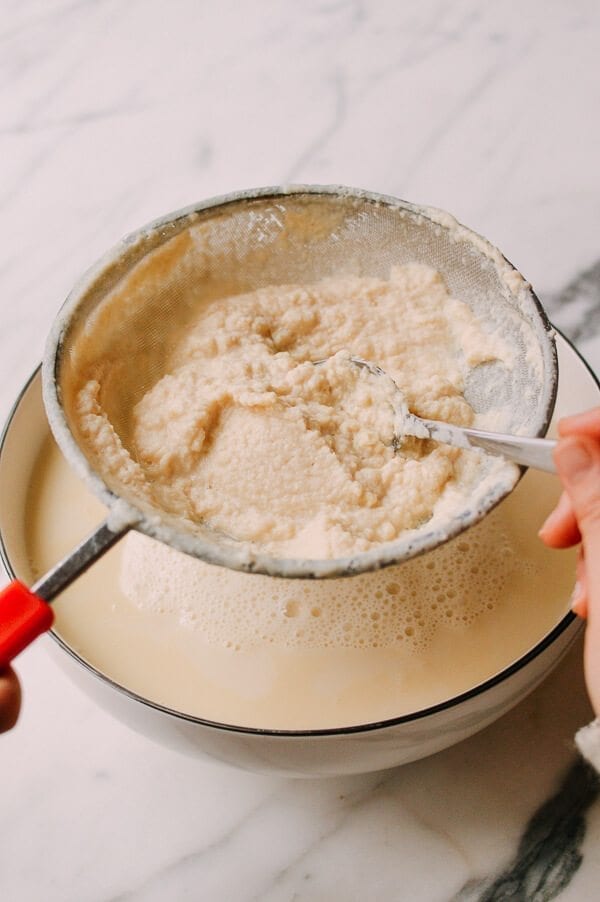
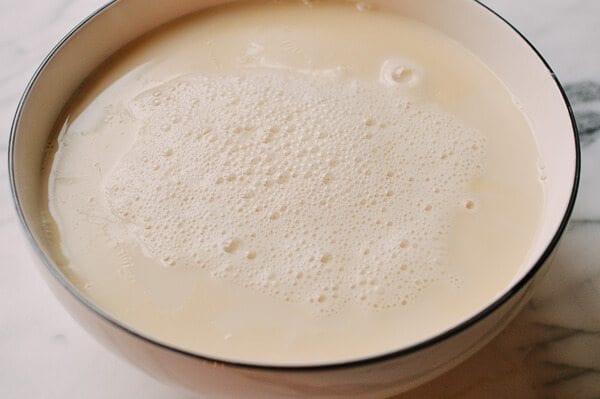
After 40 minutes, strain the soymilk through a fine cheesecloth. It’s ideal to use cheesecloth, which will result in the cleanest and smoothest soy milk, but you can also use a fine-meshed strainer, as we did. If you use a fine-meshed strainer, you’ll want to let your soy milk settle before using it, as there will be some soybean solids at the bottom of whatever bottle or container you use to store it. This is especially important if you’re using the soymilk for coffee. If you’re using it for baking or to make a Chinese dish like Dou Jiang, a few solids are just fine.
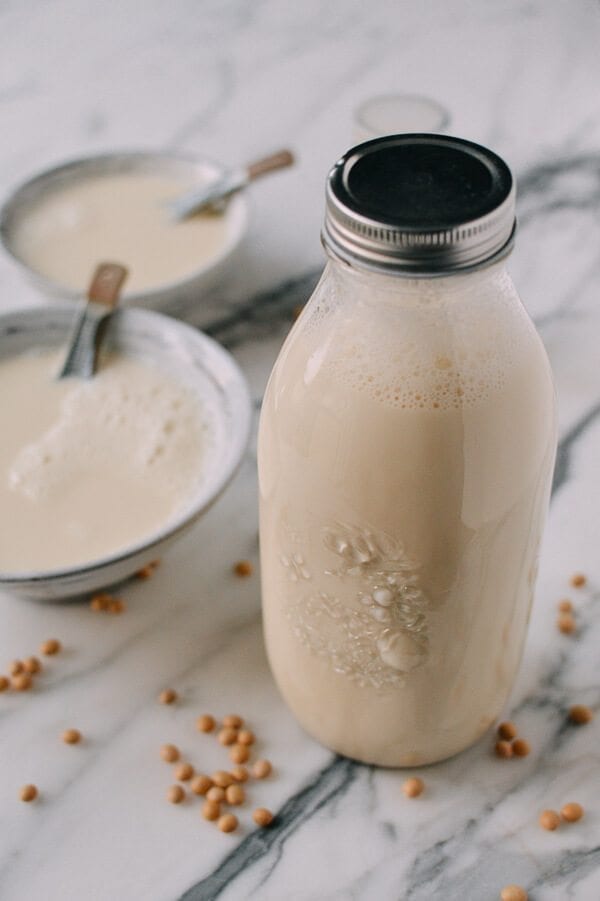
Transfer the soymilk to a bottle, jar, or other airtight container and store in the fridge on the top shelf in the back to preserve it for longer! It’s best to finish it as soon as you can–we wouldn’t recommend keeping it for longer than a few days. As with all homemade staples like pickles, tomato sauce, etc. it’s best to exercise caution!
At our house, we often make soy milk for one of our favorite breakfast foods from Shanghai––Savory Soy Milk Soup with Fried Dough. If you can’t find store-bought fried dough, check out our recipe for the homemade version of You Tiao fried dough here. With these recipes you will learn how to make soy milk and how to make some super-authentic Chinese favorites at home!
How to Make Soy Milk at Home
Ingredients
- 10 ounces soybeans (285g, soaked overnight)
- 12 cups water
- 1/8 teaspoon salt
- Sugar (to taste, optional)
Instructions
- First, rinse your soybeans, put in a large bowl, and completely submerge with cold water. Set aside and let soak overnight.
- The next day, rinse the soybeans a couple of times and transfer to a large pot. Add 12 cups of water to the beans, and bring to a boil using high heat and continue to cook for 10 more minutes using medium heat.
- Next, blend the soybeans and water in batches until completely smooth. We used our Blendtec’s “smoothie” setting. Transfer the blended soybean mixture to another pot and let simmer for 40 minutes. Watch it carefully, as it’s easy for the soymilk to boil over! Towards the end of the 40 minutes, add salt and sugar to taste (if using), stirring to dissolve.
- After 40 minutes, strain the soymilk through a fine cheesecloth. It’s ideal to use cheesecloth, which will result in the cleanest and smoothest soy milk, but you can also use a fine-meshed strainer, as we did. If you use a fine-meshed strainer, you’ll want to let your soy milk settle before using it, as there will be some soybean solids at the bottom of whatever bottle or container you use to store it. This is especially important if you’re using the soymilk for coffee. If you’re using it for baking or to make a Chinese dish like Dou Jiang, a few solids are just fine.
- Transfer the soymilk to a bottle, jar, or other airtight container and store in the fridge on the top shelf in the back to preserve it for longer! It’s best to finish it as soon as you can--we wouldn’t recommend keeping it for longer than a few days. As with all homemade staples like pickles, tomato sauce, etc. it’s best to exercise caution!
nutrition facts
