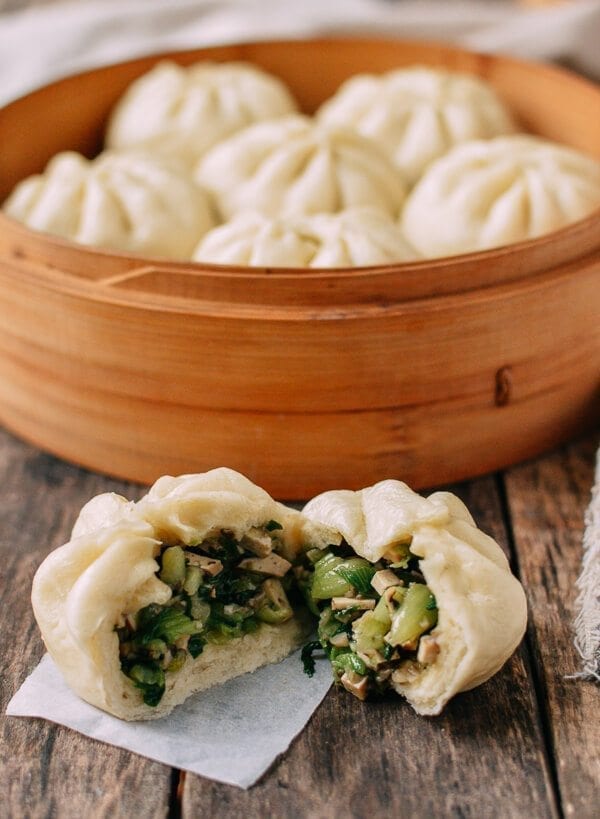
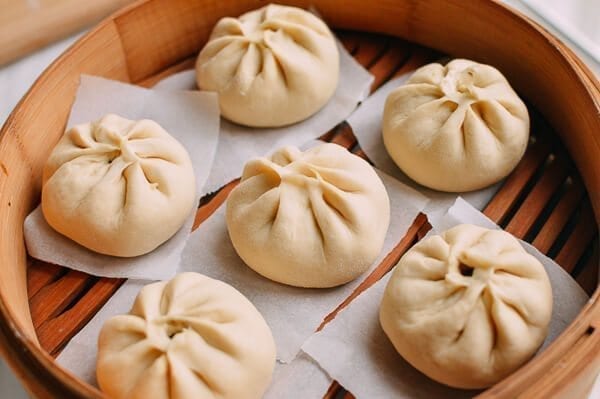
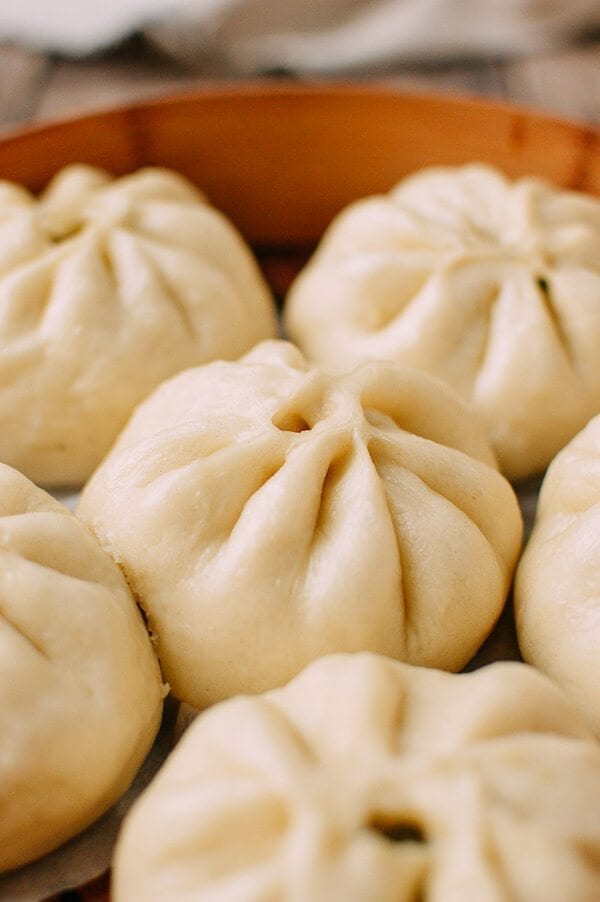
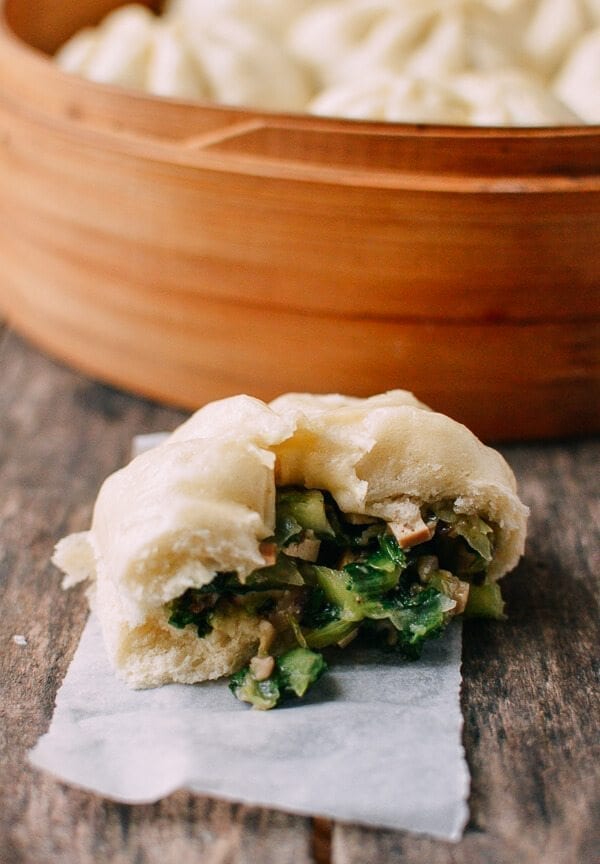
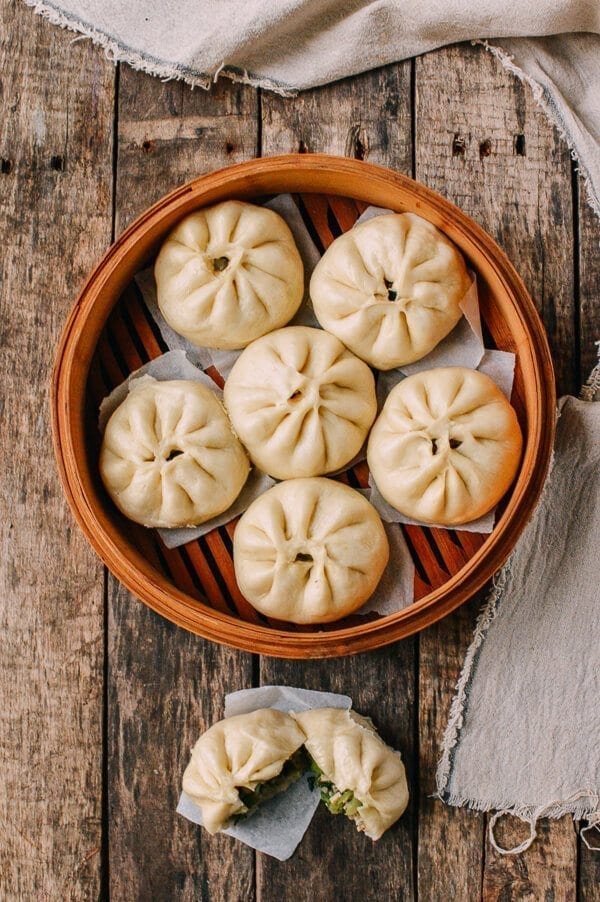
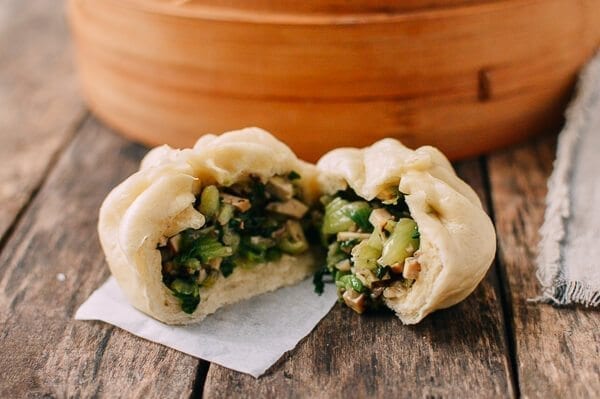
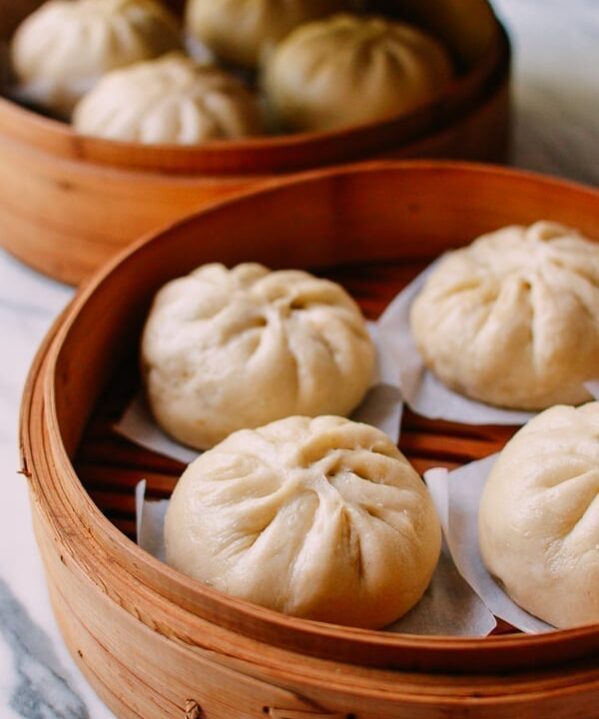
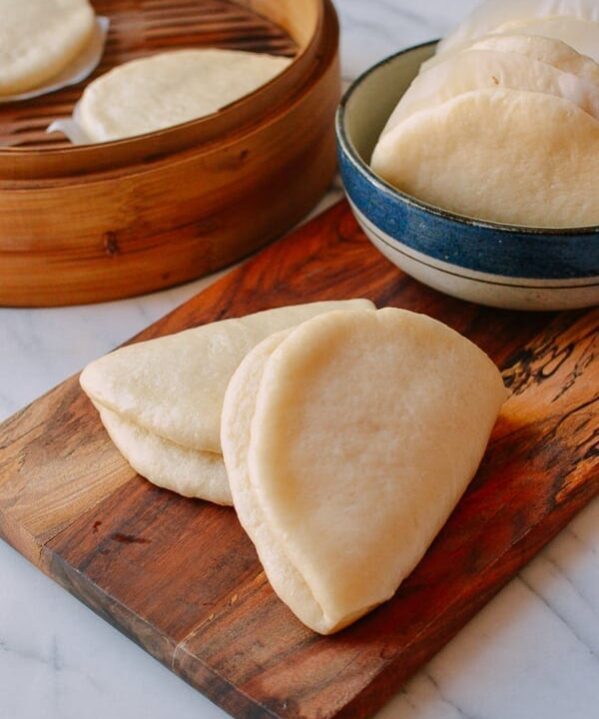
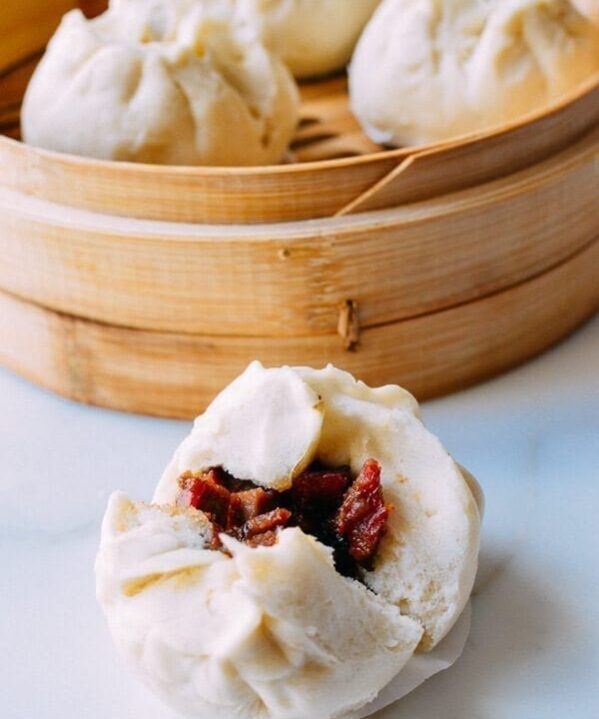
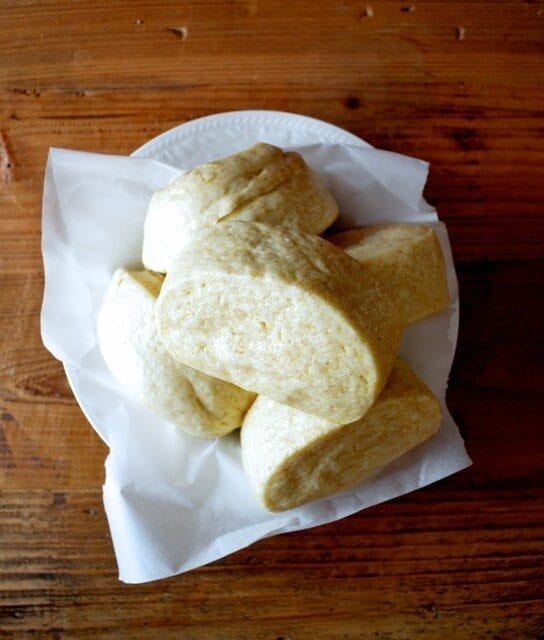
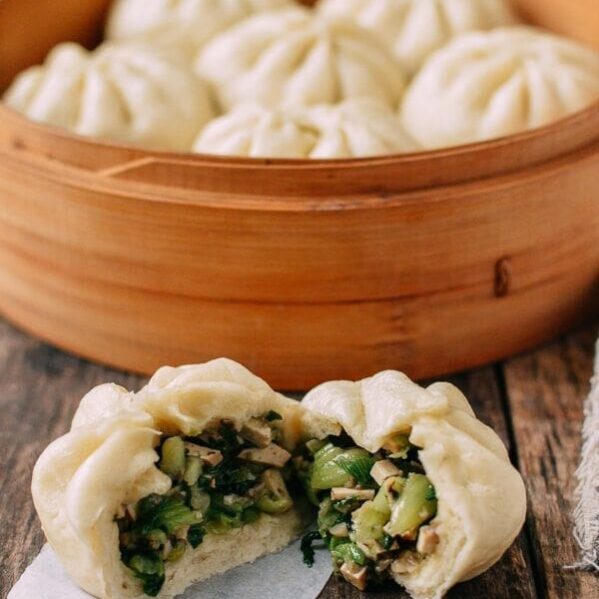
Today, vegetarians and vegans, we’re talking to you! These Steamed Vegetable Buns are 100% vegan—and delicious.
After our recent posts of the Perfect Prime Rib Roast and Bill’s Pernil-Style Pork Roast to name a few, I felt the need to put out something meatless and tasty for our vegan and vegetarian readers or anyone who is really leaning into their New Year’s Resolutions.
Making Homemade Steamed Buns
But I am also under zero illusions. I know many people shy away from making steamed buns. They’re not the most approachable of at-home Chinese recipes, and, trust me, it can definitely be frustrating when they turn out less than impeccable.
But still, it’s a valuable skill to learn and preserve, and, once you’ve learned the basics, you can change up the filling however you want. I’m certainly not a bun-making master, I still find it thrilling to see those fluffy, delicate buns when I lift the steamer cover–a feeling that too few people can relate to!
(Have I said the word “buns” too many times yet for you to go on? No? Good. Buns!!!)
While few people know how to make steamed buns, it seems that more and more people love eating them. It’s a favorite Chinese breakfast item in the winter months, along with porridge, and they’re becoming more mainstream stateside as well!
There are many dough recipes out there, and everyone has their preferred texture. I like mine fluffy and slightly chewy, so I borrowed this bun recipe from Bill’s recipe for Chinese Sausage Buns.
The key to making the dough for any good steamed bun is that the flour and water must be well incorporated, and the texture of the dough must be soft, but not wet.
Recipe Notes
That being said, I do have a handful of other findings that I uncovered during the learning process. I hope these tips can help demystify a thing or two!
- Once the dough is formed, if it still looks lumpy or tears easily, keep kneading! The finished dough must be smooth! We’re going for baby’s butt here, people.
- The dough must be soft and not sticky. Press the dough with one finger–it should dent easily without much resistance.
- It’s important to get rid of ALL air bubbles in the dough after proofing to avoid lumpy-looking buns.
- When rolling out the dough, it’s a good idea to dust some dry flour on your hands as well as on your working surface and your rolling pin. It will be much easier to pleat the buns, and they’ll hold their shapes better.
- If the dough is elastic and pulls back when you’re rolling it out, it hasn’t proofed long enough!
- The filling must be dry and void of any visible liquid. Wet filling destroys the dough, making it impossible to close the buns neatly. What’s more, the buns will slump in the steaming process!
- Avoid the temptation of overstuffing your buns. Get familiar with the pleating process first. Too much filling makes it harder to close the buns.
- When steaming, each batch must start with cold water.
- You must keep the lid on for 5 minutes after the steaming/cooking time has elapsed and the heat is turned off. The dough can collapse when it’s met with cold air too soon.
Steamed Vegetable Buns: Recipe Instructions
Step 1: The vegetable bun filling
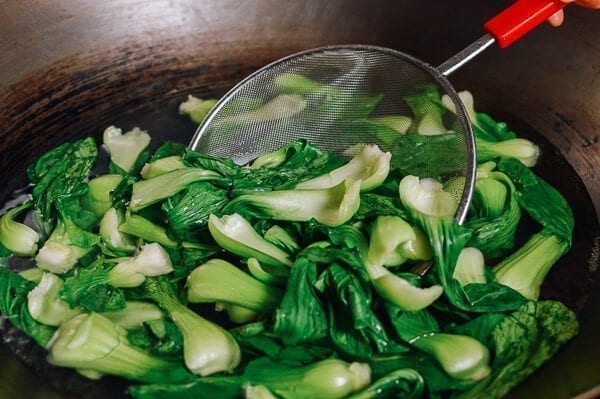
Prepare a pot of boiling water and an ice bath. Once the pot of water is boiling, blanch the baby bok choy for a quick 10 seconds in two separate batches. With each batch, the water should be at a rolling boil before you add the bok choy.
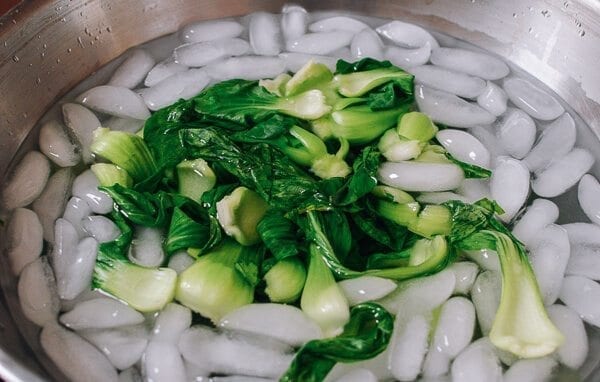
With a large slotted spoon or metal strainer, scoop out the blanched bok choy and immediately transfer to the ice bath to stop the cooking process.
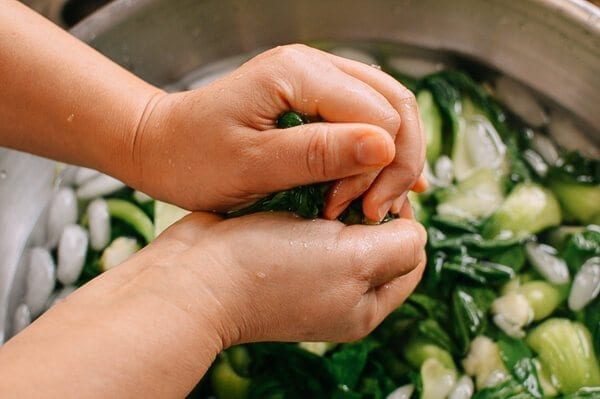
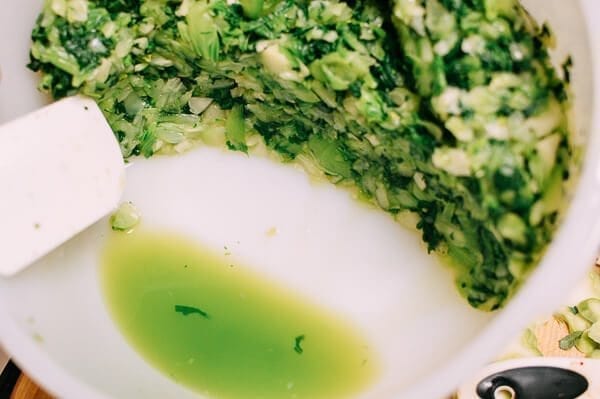
Strain the bok choy once it’s cooled completely in the ice bath. Do your best to squeeze out as much water as you can. This step is very important for preventing soggy buns!
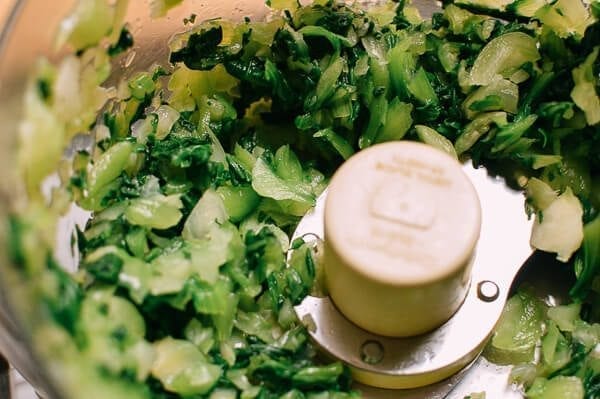
Next, finely chop the bok choy; a food processor is a great time-saver by pushing down on the Pulse button a few times. Transfer to a mixing bowl.
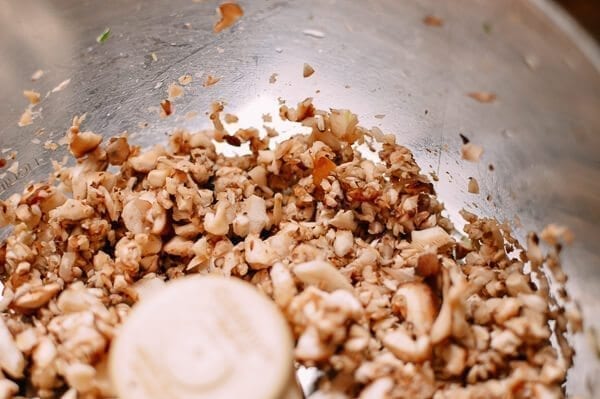
Chop the fresh shiitake mushrooms finely. (I used the food processor for this as well, pulsed it a couple of times only).
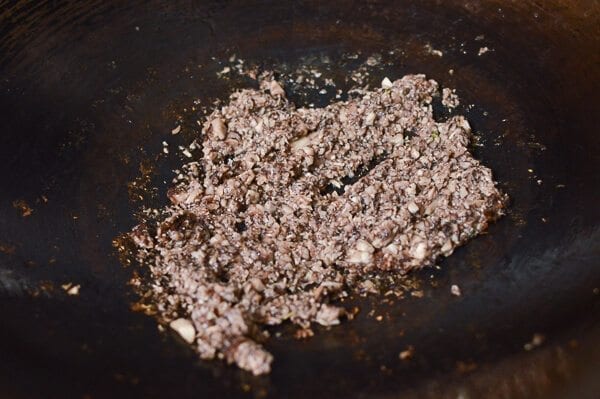
Then cook the chopped mushroom in a wok over medium heat with 2 tablespoons of oil for about 3 to 4 minutes, until they become fragrant. Turn off the heat and let it cool completely.
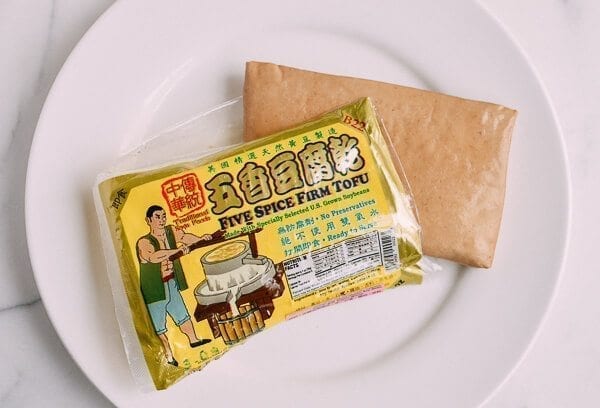
Next, finely chop the dried bean curd and set aside.
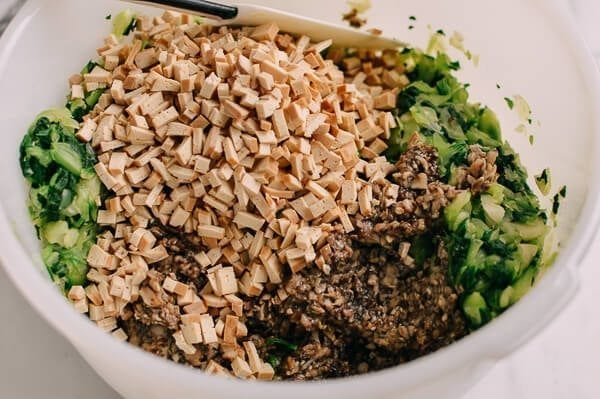
To finish the filling, first pour off any visible liquid in the bowl of chopped bok choy before adding in the cooked mushrooms and dried bean curd.
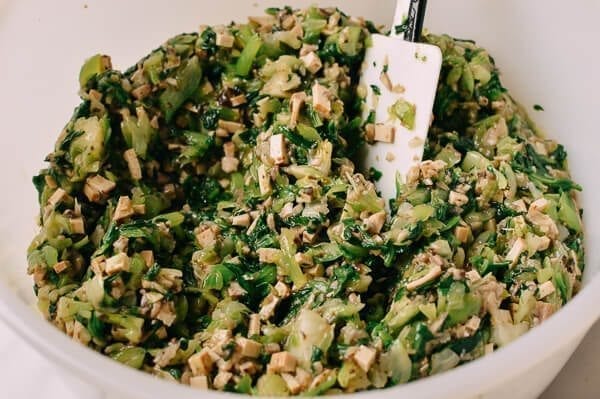
Next, add 1 tablespoon of oil, the light soy sauce, sugar, sesame oil, and white pepper. Mix well. Salt to taste, and put the filling in the refrigerator to marinate. Chilling also helps to keep the bok choy green.
Step 2: The steamed bun dough
In a bowl, whisk together the water, yeast, and sugar until the yeast dissolves. Let the mixture sit until the yeast “blooms” and foams (about 15 minutes). Stir in 1 tablespoon of oil, and set aside.
In the meantime, whisk together the flour, cornstarch, salt, and baking soda in a medium bowl. Stir in the yeast mixture using a spatula. After the dry and wet ingredients are incorporated, knead the dough with your hands (or using a mixer) until the dough becomes smooth and soft.
If the dough looks sticky, add a bit more flour 1 tablespoon at a time. If the dough feels dry, add a few drops of water at a time, and continue kneading until the dough is smooth and soft. The dough should be soft, but not sticky.
Brush the dough with 1 teaspoon of oil and cover with plastic wrap. Let the dough rest (proofing) at room temperature until it doubles in size (about 1 hour).
Once the dough has risen, punch it down, and knead it for a few minutes to get rid of all air bubbles. Portion the dough into 14 equal dough balls. Cover with a clean kitchen towel to prevent them from drying out.
Step 3: Assembling and cooking the vegetable buns
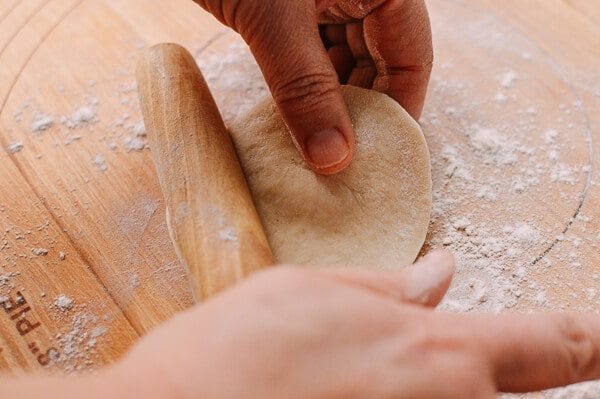
Cut 14 pieces of parchment paper into 3”x3” squares, and set aside. On a clean and lightly floured flat surface, take a dough ball, roll it out from edge to center, rotate, and repeat until it forms a 4-inch circle. The center should be slightly thicker than the edges. Your buns need solid footing, after all.
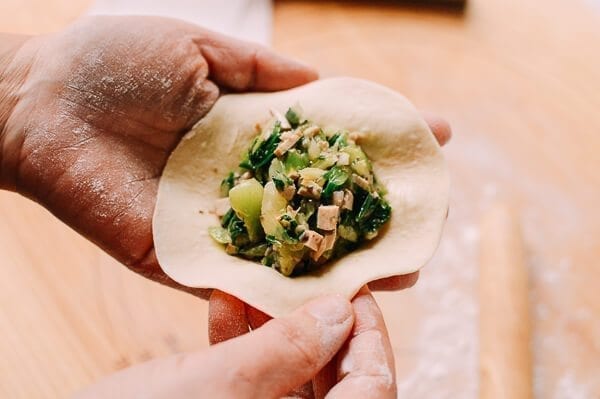
Add about 2½ tablespoons of filling to the center…
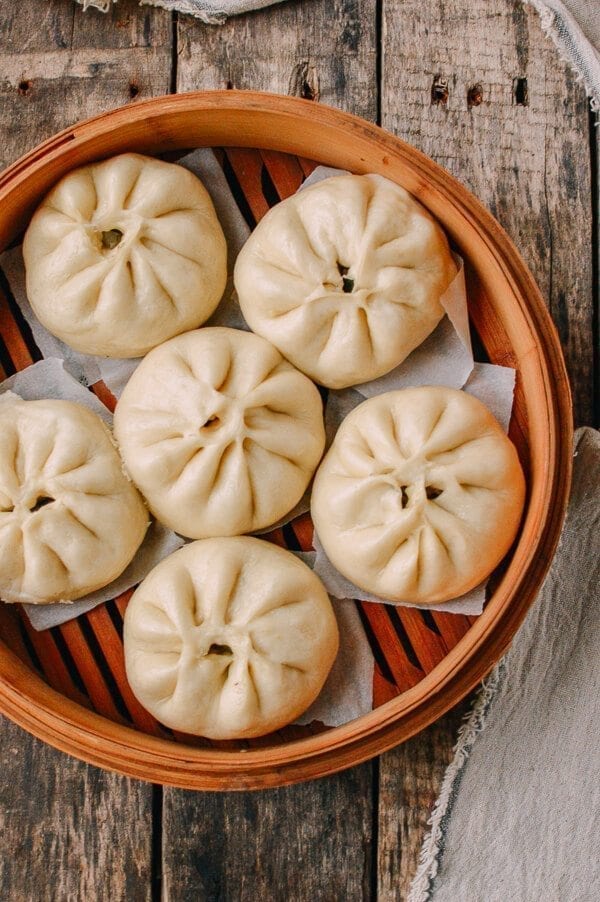
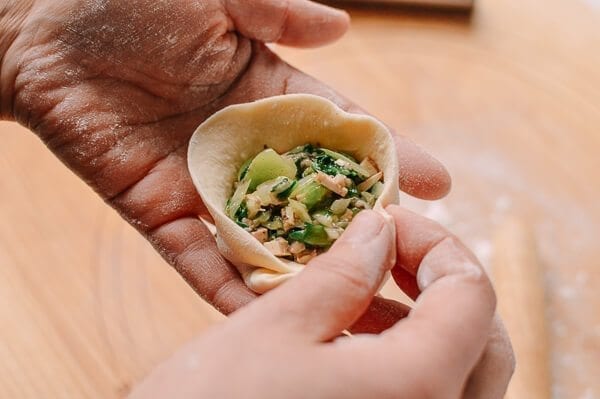
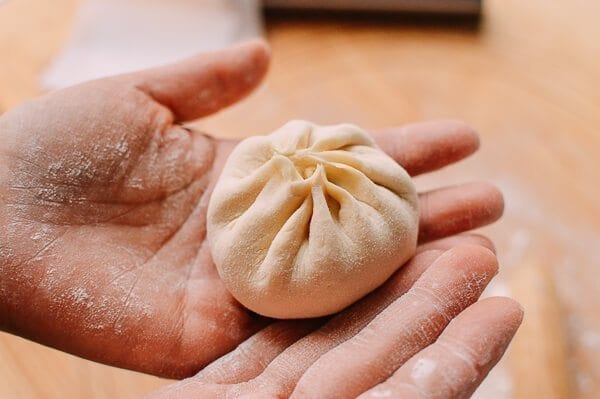
And then pleat and twist the bun repeatedly until the top is closed. We have a short video of how to pleat these kinds of buns in our Carrot Ginger Pork Bun recipe, which is one of my favorites.
Sit the bun on a piece of the prepared parchment paper and place it on the rack of your steaming vessel of choice, with at least 1 cm of clearance on all sides.
Repeat until all the buns are assembled.
Check our Chinese cooking tools page for steamer setup options. You could use a steamer rack in a wok, a multi-level metal steamer or a bamboo steamer. Just make sure the steaming rack is at least 1½ inches above the water so the boiling water doesn’t touch the buns during the cooking process.
Carefully put the buns inside the steamer, cover the lid, and let the buns rest for about 20 minutes (do not turn on the stove yet!). See our post on how to set up a steamer if you’re not familiar with steaming foods in Chinese cooking.
When the vegetable buns are ready to be cooked, turn the heat on high to start the steaming process. Once the water starts to boil and steam is visible, turn the heat down to medium, and steam the buns for another 10 minutes.
After 10 minutes, shut off the heat, and let the buns rest inside the steamer for 5 minutes. DO NOT REMOVE THE COVER.
This is an important step, because if you remove the cover too early, the buns will collapse and lose their fluffiness! And if you are steaming buns in multiple batches, be sure to start each batch with cold water!
These steamed vegetable buns can be enjoyed immediately once they are cooled enough to touch.
You can also store any leftover cooked vegetable buns in an airtight container in the refrigerator or freezer. Reheat in the microwave for about 1 minute or re-steam for about 6-8 minutes.
Steamed Vegetable Buns
Ingredients
For the filling:
- 1 pound baby bok choy (450g, washed thoroughly)
- 8 fresh shiitake mushrooms
- 3 tablespoons vegetable oil (divided)
- 4 ounces dried bean curd (115g)
- 1 teaspoon light soy sauce
- ½ teaspoon sugar
- ½ tablespoon sesame oil
- ⅛ teaspoon ground white pepper
- Salt (to taste, in this case, it’s ok to taste the filling as you’re mixing it, because everything is cooked)
For the dough:
- ¾ cup warm water
- 1 teaspoon instant yeast (3 grams)
- 1 tablespoon sugar (granulated, 15 grams)
- 1 tablespoon vegetable oil (plus 1 teaspoon, divided)
- 2 cups all-purpose flour (300 grams)
- 2 tablespoons cornstarch (20 grams)
- ¼ teaspoon salt
- ⅛ teaspoon baking soda
Instructions
Making the filling
- Prepare a pot of boiling water and an ice bath. Once the pot of water is boiling, blanch the bok choy for a quick 10 seconds in two separate batches. With each batch, the water should be at a rolling boil before you add the bok choy. With a large slotted spoon, scoop out the blanched bok choy and immediately transfer to the ice bath to stop the cooking process.
- Strain the bok choy once it’s cooled completely in the ice bath. Do your best to squeeze out as much water as you can. This step is very important for preventing soggy buns!
- Next, finely chop the bok choy; a food processor is a great time-saver. Transfer to a mixing bowl. Chop the mushrooms finely. Cook them in a wok over medium heat with 2 tablespoons of oil for about 3 to 4 minutes, until they become fragrant. Cool completely.
- Next, finely chop the dried bean curd and set aside.
- To finish the filling, first pour off any visible liquid in the bowl of chopped bok choy before adding in the cooked mushrooms and dried bean curd. Next, add 1 tablespoon of oil, the light soy sauce, sugar, sesame oil, and white pepper. Mix well. Salt to taste, and put the filling in the refrigerator to marinate. Chilling also helps to keep the bok choy green.
Making the dough
- In a bowl, whisk together the water, yeast, and sugar until the yeast dissolves. Let the mixture sit until the yeast “blooms” and foams (about 15 minutes). Stir in 1 tablespoon of oil, and set aside.
- In the meantime, whisk together the flour, cornstarch, salt, and baking soda in a medium bowl. Stir in the yeast mixture using a spatula. After the dry and wet ingredients are incorporated, knead the dough with your hands (or using a mixer) until the dough becomes smooth and soft. If the dough looks sticky, add a bit more flour 1 tablespoon at a time. If the dough feels dry, add a few drops of water at a time, and continue kneading until the dough is smooth and soft. The dough should be soft, but not sticky.
- Brush the dough with 1 teaspoon of oil and cover with plastic wrap. Let the dough rest until it doubles in size (about 1 hour). Once the dough has risen, punch it down, and knead it for a few minutes to get rid of all air bubbles. Portion the dough into 14 equal dough balls. Cover with a clean kitchen towel to prevent them from drying out.
Assembling and cooking the buns
- Cut 14 pieces of parchment paper into 3”x3” squares, and set aside. On a clean and lightly floured flat surface, take a dough ball, roll it out from edge to center, rotate, and repeat until it forms a 4-inch circle. The center should be slightly thicker than the edges. Your buns need solid footing, after all.
- Add about 2½ tablespoons of filling to the center, then pleat and twist the bun repeatedly until the top is closed. Sit the bun on a piece of the prepared parchment paper and place it on the rack of your steaming vessel of choice, with at least 1 cm of clearance on all sides. Repeat until all the buns are assembled.
- Check our Chinese cooking tools page for steamer setup options. You could use a steamer rack in a wok, a multi-level metal steamer or a bamboo steamer. Just make sure the steaming rack is at least 1½ inches above the water so the boiling water doesn’t touch the buns during the cooking process. Carefully put the buns inside the steamer, cover the lid, and let the buns rest for about 20 minutes (do not turn on the stove yet!).
- When the buns are ready to be cooked, turn the heat on high to start the steaming process. Once the water starts to boil and steam is visible, turn the heat down to medium, and steam the buns for another 10 minutes. After 10 minutes, shut off the heat, and let the buns rest inside the steamer for 5 minutes. DO NOT REMOVE THE COVER. This is an important step, because if you remove the cover too early, the buns will collapse and lose their fluffiness! And if you are steaming buns in multiple batches, be sure to start each batch with cold water!
- These buns can be enjoyed immediately. You can also store any leftovers in an airtight container in the refrigerator or freezer. Reheat in the microwave for about 1 minute or re-steam for about 6-8 minutes.
nutrition facts
