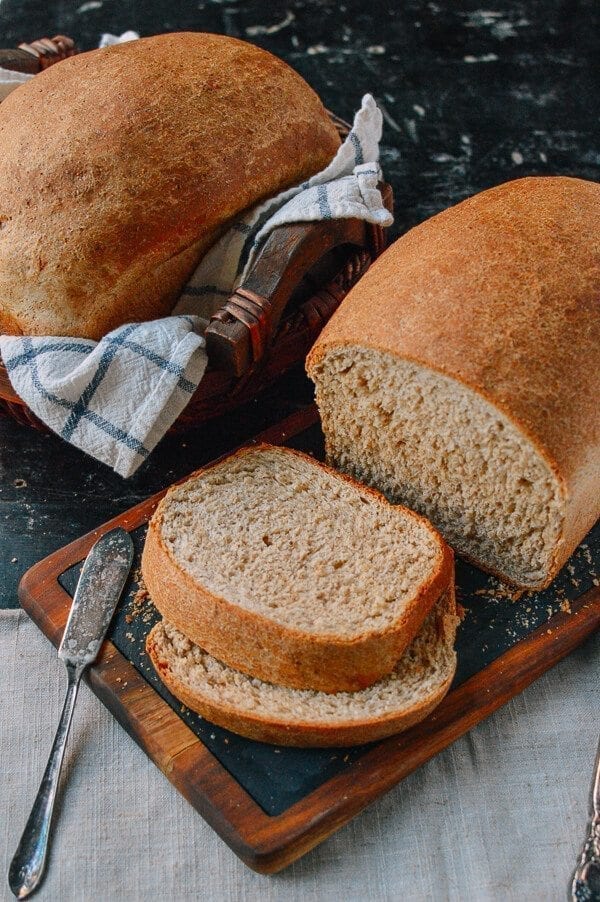
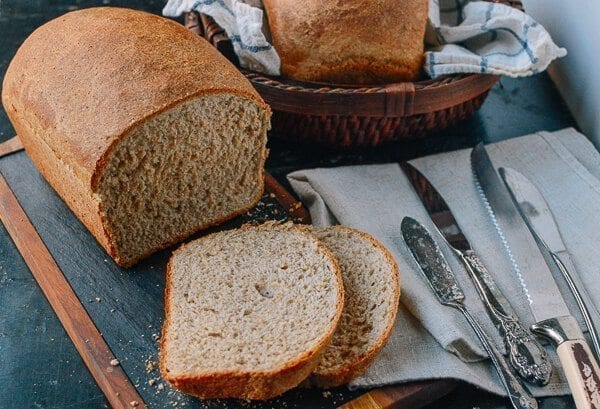
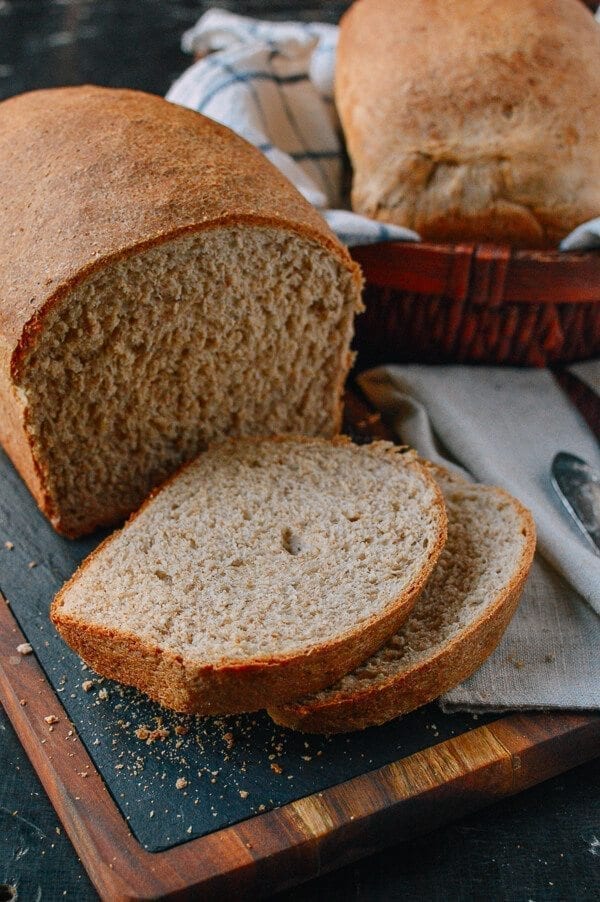
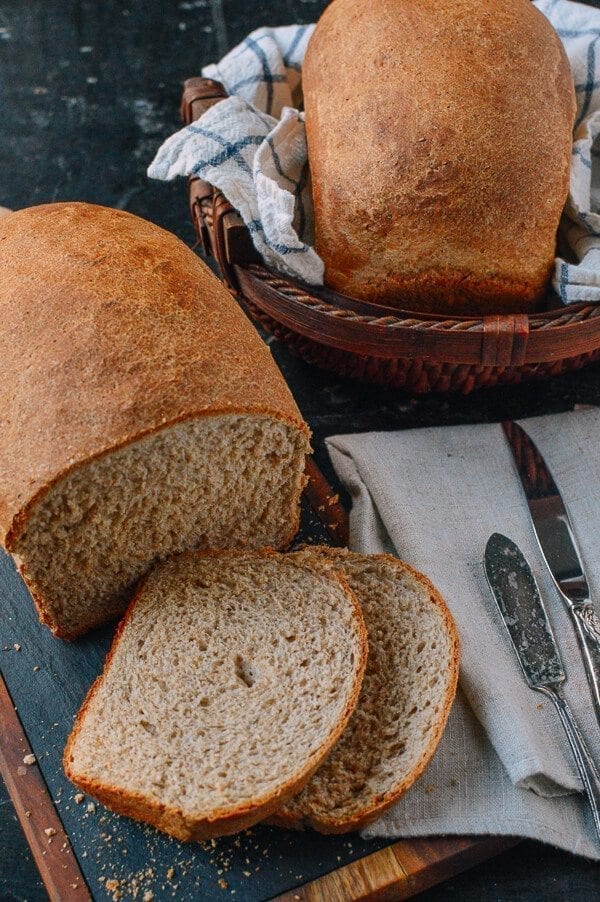
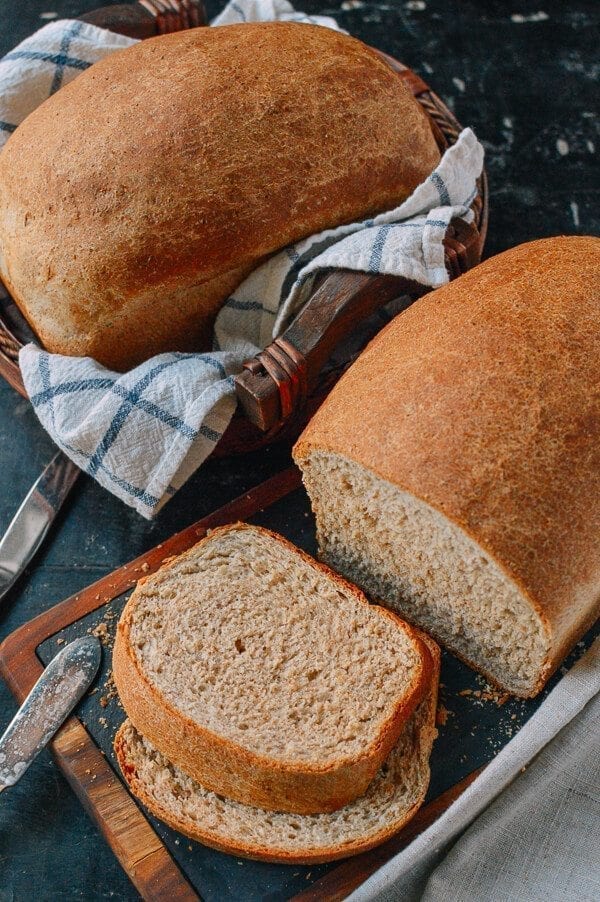
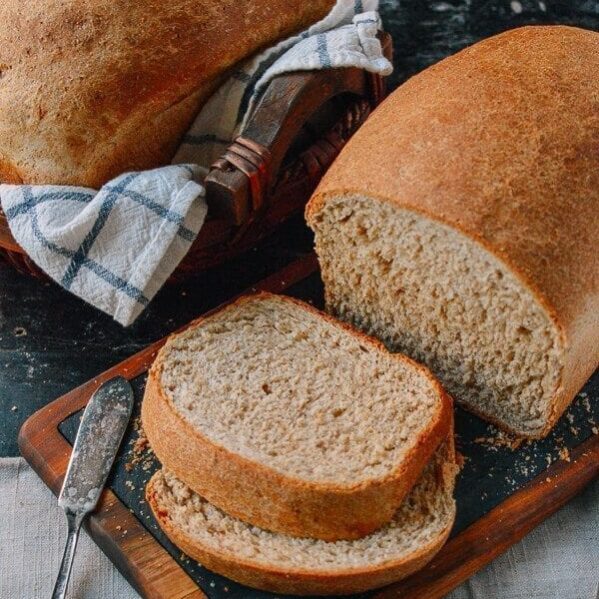
This homemade whole wheat bread recipe yields soft, flavorful whole wheat sandwich bread. It’s delicious with butter right out of the oven, or for toast and sandwiches throughout the week!
Becoming the Family Bread Baker
I talked about my first bread making experience in our Homemade Multigrain Bread recipe a while back. To give you the short version of the story, the resulting “bread” was more akin to a blackened lump of coal when all was said and done. Obviously, not one of my shining moments.
But years later, I have somehow become the bread-maker of our family. Or perhaps more accurately, the dough maker. Whenever a recipe involves any kind of dough—whether that’s breads, buns, dumplings, or dim sum—Bill, Sarah, and Kaitlin will innocently start to talk to me about it, and the project somehow always firmly lands in my lap.
Case in point, Bill has been asking me about making a classic homemade whole wheat bread as a follow-up to our recipe for Homemade Multigrain Bread.
Developing This Recipe
When I came across a “Perfect Whole Wheat Bread” recipe from Beth Hensperger’s Beth’s Basic Bread Book, I had to give it a try, with fingers crossed that the outcome would indeed be that perfect whole wheat loaf. Beth’s whole wheat bread recipe ended up being a great start, but I did take the liberty of making a few adjustments:
- I used 4 tablespoons of melted butter; the original whole wheat bread recipe asked for 3 tablespoons.
- I used a ½ teaspoon of granulated sugar; the original recipe asked for pinch of light brown sugar.
- I used 3 cups of whole wheat flour; the original recipe asked for 2½ cups of whole wheat flour.
- I used 3 cups of all-purpose flour; the original recipe asked for 3½ – 4 cups of all-purpose flour
- I made sure the egg and the milk were at room temperature.
- I reduced the salt to 2 teaspoons; the original recipe asked for 1 tablespoon.
- I baked the bread for 30-35 minutes (the original recipe recommends 35-40 minutes), but I felt that the texture was slightly dry at 40 minutes.
- I used my electric stand mixer with the dough hook attachment to make this recipe, but some elbow grease can accomplish the same result if you don’t have one.
This homemade whole wheat bread makes for great sandwiches and toast, and the taste is rich and complex. Best of all, this recipe is very easy to follow and execute.
One great thing about this is that the proofing can be done at room temperature, which, for anyone who has ever tried finding an elusive and vague “warm spot” in your home, is kind of a big deal.
I love this whole wheat bread, the rest of the family loved it, and hopefully you will too!
Whole Wheat Bread: Recipe Instructions
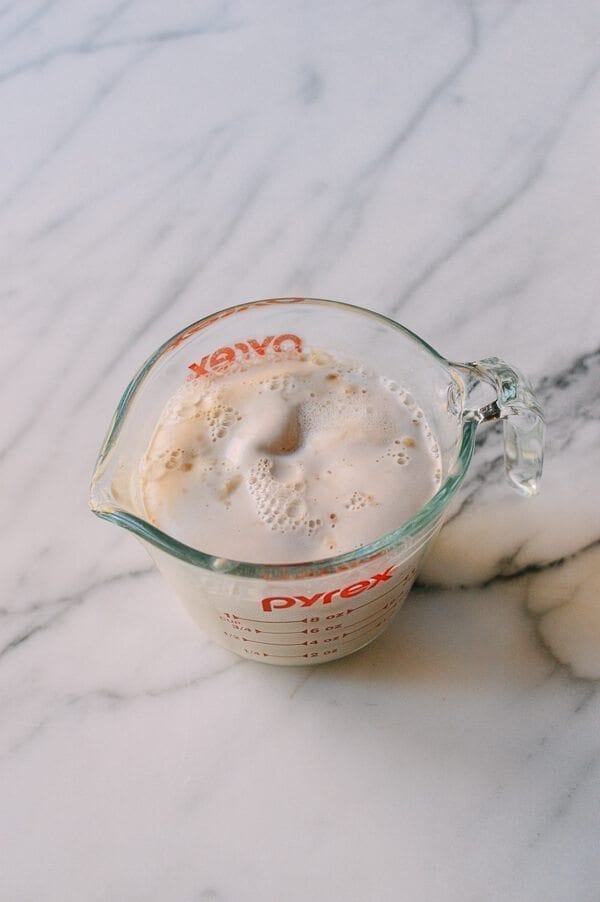
Dissolve the yeast and sugar in the warm water. Let stand for 15 minutes until foamy.
While the yeast is working, whisk together the melted butter, light brown sugar, egg, milk, and salt. Make sure everything is dissolved and thoroughly combined.
With the mixer on low, add the whole wheat flour to the milk mixture, one cup at a time.
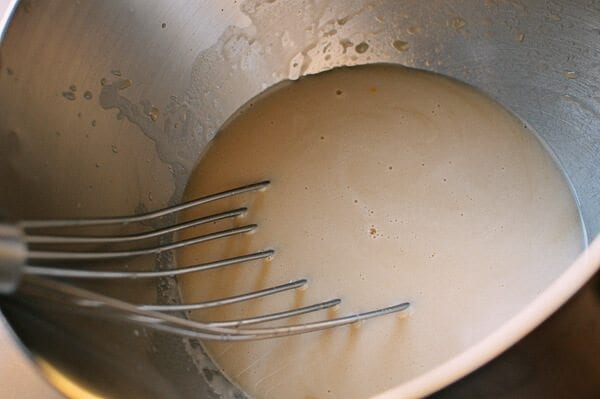
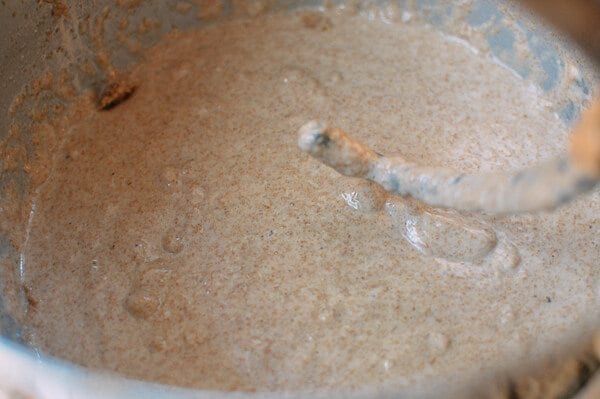
Now add the foamy yeast liquid to the dough, keeping the mixer on low speed until you get a well combined wet dough mixture (see the photo). This process will take a few minutes. Now it’s time to add the all-purpose flour, ½ cup at a time, with the mixer still at low speed. Added on 4/12/2018: Change to adding 1 tablespoon at a time with the last 1/2 cup of all-purpose flour until the dough “lifts” away from the sides of the mixing bowl, because you might not need all 3 cups of all-purpose flour in the drier months.
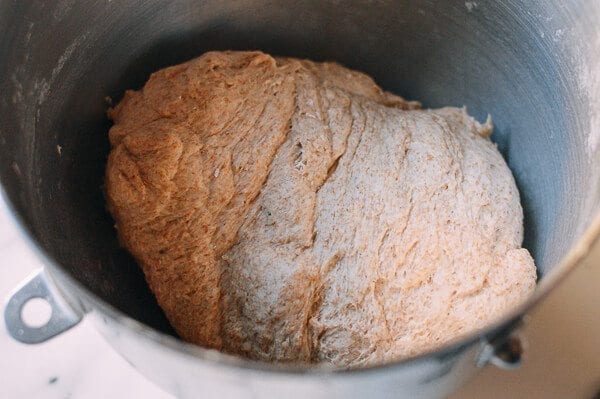
If the dough is still wet, add one tablespoon of flour at a time, until the dough “lifts” from the sides of the mixing bowl. Try not to add too much flour, though. The dough should be soft without sticking to your hands or the mixing bowl. Once the dough ball is formed, knead the dough for another 5 to 7 minutes. The additional kneading helps generate more gluten, and gluten is what gives the bread its signature texture!
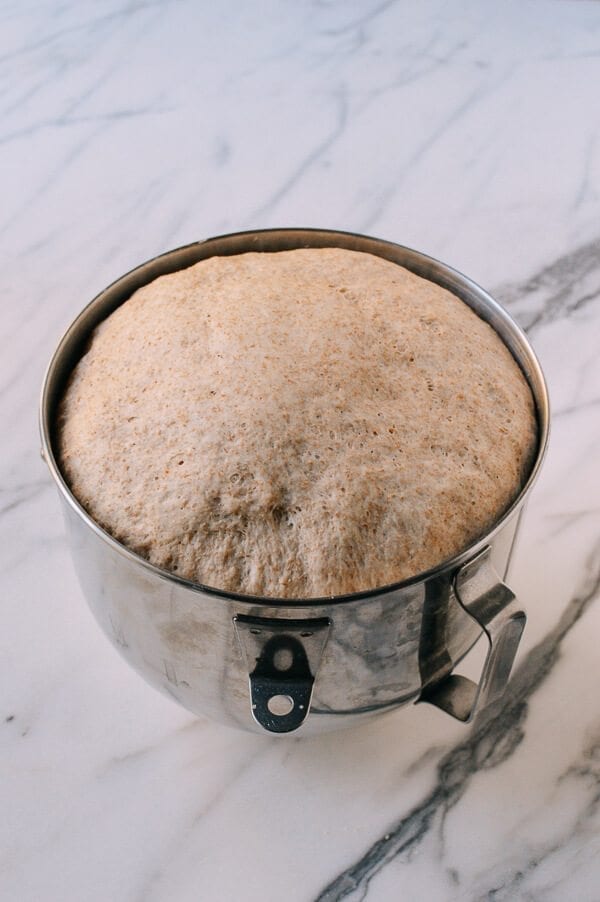
Cover the dough with a clean kitchen towel, and let it proof at room temperature for 1 hour, or until it doubles in size.
While the dough is proofing, grease two loaf pans with butter, and set them aside. I usually just rub a cold stick of butter along the sides and bottoms of the pans.
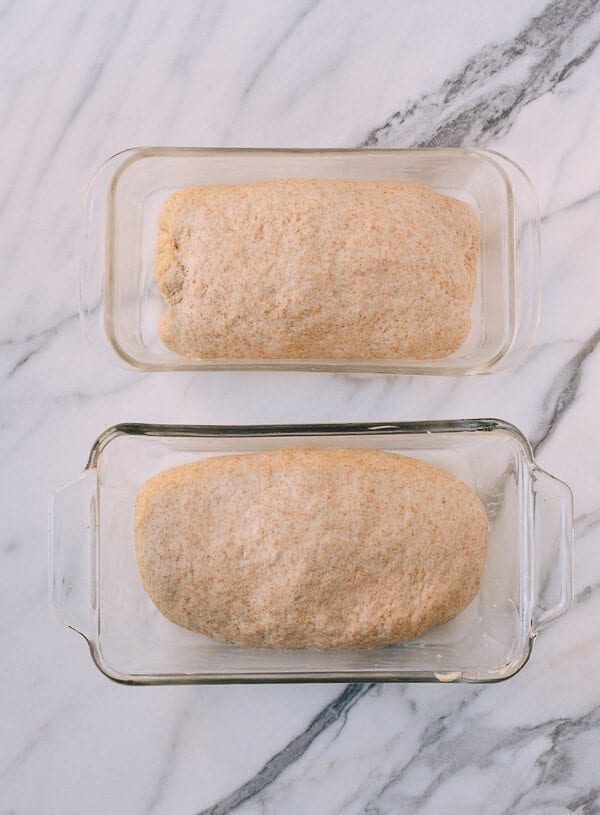
Once the dough is done with the first hour of proofing, punch it down, and put it back in the mixer. Mix the dough on low speed for 3 to 5 minutes to get rid of any air bubbles. Divide the dough in half. Shape each half into a loaf, and place into each of your greased loaf pans.
Cover the loaves once again with your clean kitchen towel, and let them proof for another 30 minutes at room temperature, until almost doubled in size. (The dough will continue to rise during baking as well.)
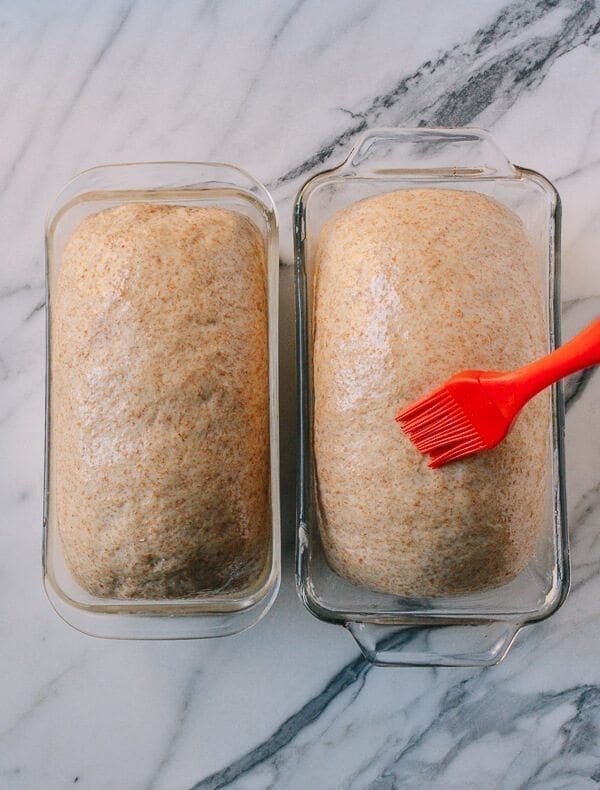
While the dough is proofing, preheat the oven to 375° F and place a rack in the center of the oven. Before putting the loaves in the oven, quickly brush the tops with oil.
Bake for 30-35 minutes. If the color of the bread gets too dark, tent the loaves with aluminum foil.
After baking, carefully take the loaves out of the baking pan, and let them cool on a rack. If not, hot steam will moisten the crust, which you don’t want! Once your whole wheat bread is completely cooled, store them in zip-top bags.
Perfect Whole Wheat Bread
Ingredients
- 2 tablespoons active dry yeast (about 17g)
- ½ teaspoon granulated sugar (2g)
- 1 cup warm water (235 ml)
- 4 tablespoons butter (57g, melted)
- ⅓ cup packed light brown sugar (70g)
- 1 egg (at room temperature)
- 1 cup milk (235 ml, at room temperature)
- 2 teaspoons salt
- 3 cups whole wheat flour (each cup weighs about 140 grams)
- 3 cups all-purpose flour (each cup weights about 130 grams)
- 1 tablespoon oil
Instructions
- Dissolve the yeast and sugar in the warm water. Let stand for 15 minutes until foamy.
- While the yeast is working, whisk together the melted butter, light brown sugar, egg, milk, and salt. Make sure everything is dissolved and thoroughly combined. With the dough hook attachment, turn the mixer on low, and add the whole wheat flour to the milk mixture one cup at a time.
- Now add the foamy yeast liquid to the dough, keeping the mixer on low speed until you get a well combined wet dough mixture (see the photo). This process will take a few minutes. Now it’s time to add the all-purpose flour, ½ cup at a time, with the mixer still at low speed. Added on 4/12/2018: Change to adding 1 tablespoon at a time with the last 1/2 cup of all-purpose flour until the dough "lifts" away from the sides of the mixing bowl, because you might not need all 3 cups of all-purpose flour in the drier months.
- If the dough is still wet, add one tablespoon of flour at a time, until the dough “lifts” from the sides of the mixing bowl. Try not to add too much flour, though. The dough should be soft without sticking to your hands or the mixing bowl. Once the dough ball is formed, knead the dough for another 5 to 7 minutes. The additional kneading helps generate more gluten, and gluten is what gives the bread its signature texture!
- Cover the dough with a clean kitchen towel, and let it proof at room temperature for 1 hour, or until it doubles in size.
- While the dough is proofing, grease two loaf pans with butter, and set them aside. I usually just rub a cold stick of butter along the sides and bottoms of the pans.
- Once the dough is done with the first hour of proofing, punch it down, and put it back in the mixer. Mix the dough on low speed for 3 to 5 minutes to get rid of any air bubbles. Divide the dough in half. Shape each half into a loaf, and place into each of your greased loaf pans.
- Cover the loaves once again with your clean kitchen towel, and let them proof for another 30 minutes at room temperature, until almost doubled in size. (The dough will continue to rise during baking as well.)
- While the dough is proofing, place a rack in the center of the oven and preheat to 375°F. Before putting the loaves in the oven, quickly brush the tops with oil. Bake for 30-35 minutes. If the color of the bread gets too dark, tent the loaves with aluminum foil.
- After baking, carefully take the loaves out of the baking pan, and let them cool on a rack. If not, hot steam will moisten the crust, which you don’t want! Once the bread is completely cooled, store them in zip-top bags.
