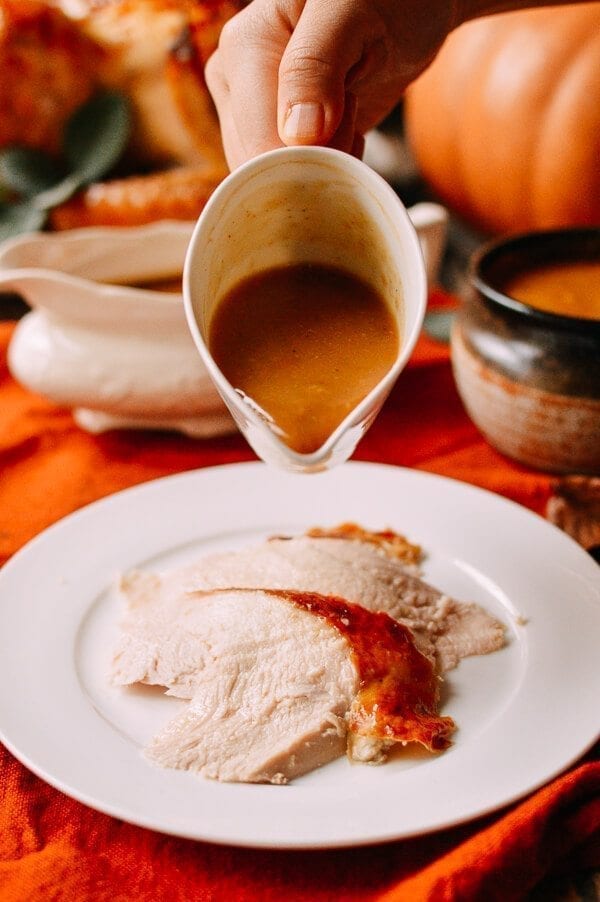
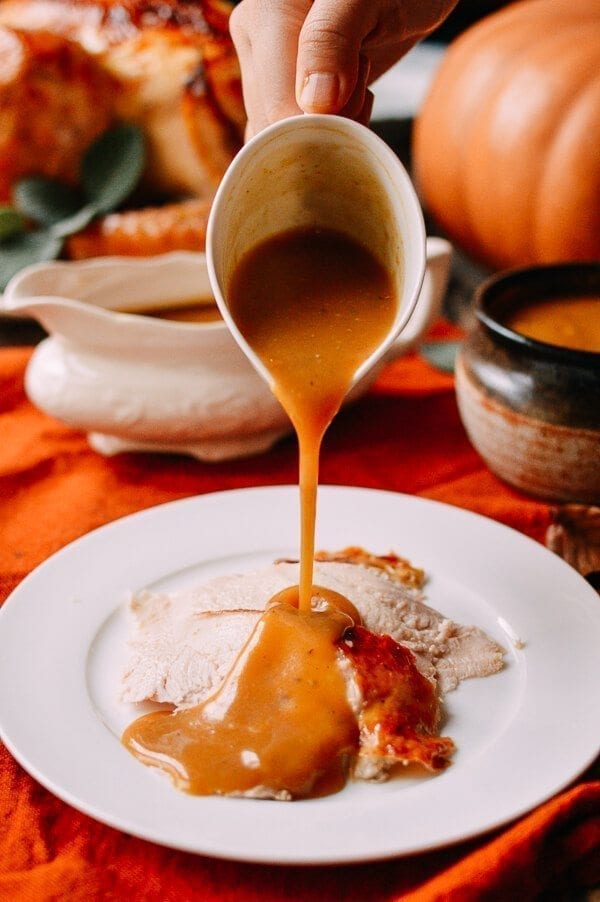
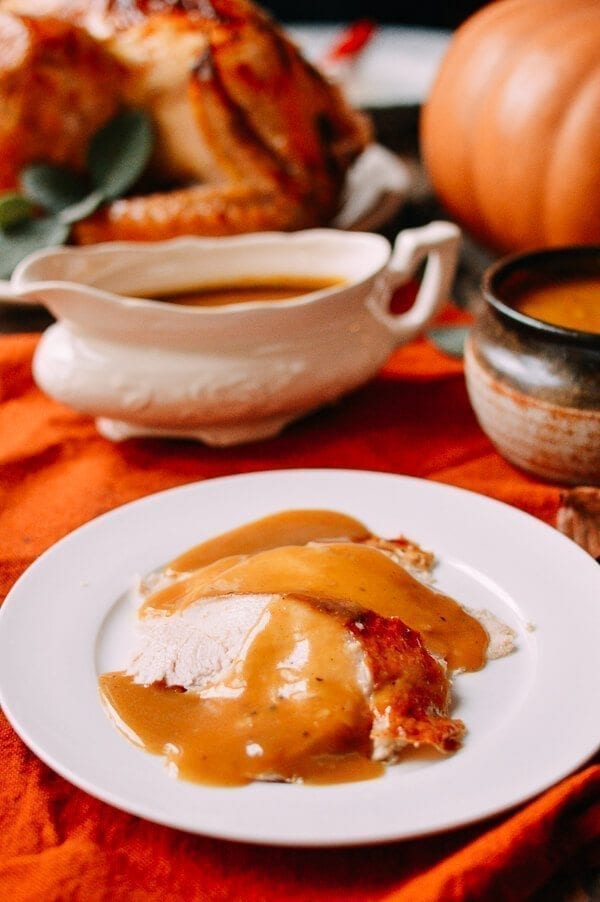
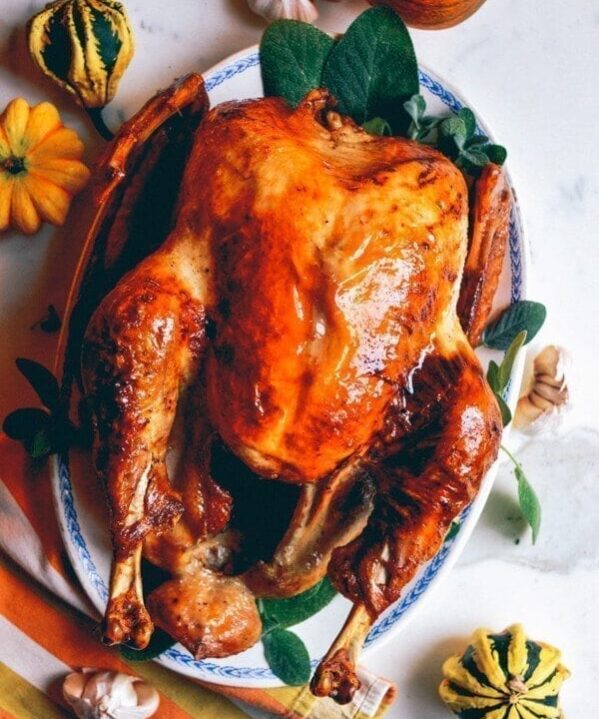
Up until now, I’ve never thought about sharing a turkey gravy recipe, because making homemade gravy for Thanksgiving dinner has always just been the final step of cooking a turkey. You marinate and roast the turkey using our go-to Thanksgiving turkey recipe, and then just use the pan drippings to make gravy…right?
Well, I’ve realized that many people don’t quite have this casual view of gravy-making, so today I’m sharing how to reliably make a flavorful, lump-less, delicious turkey gravy that your entire family will love. We also have tips, substitutions and all of the variations we have gathered over the years–smooth no nonsense gravy, giblet gravy–all the gravy!
The Keys to Good Turkey Gravy!
Like the best gravy, this recipe is a last-minute effort in our lineup of Thanksgiving Day preparations. After all, piping hot gravy is usually the final addition to all your hard-earned turkey and sides. In our house, it gets made just as all the other dishes are brought to the table.
The first step to an awesome-tasting turkey gravy is a great base. That is, turkey pan drippings and juices. If you need advice on how to marinate and roast the perfect turkey, try our recipe for Grandpa’s Perfect Roast Turkey, Roast Turkey Breast, or our Five Spiced Roast Turkey.
Each of these recipes has details on making gravy, but we’ve synthesized them into two key points:
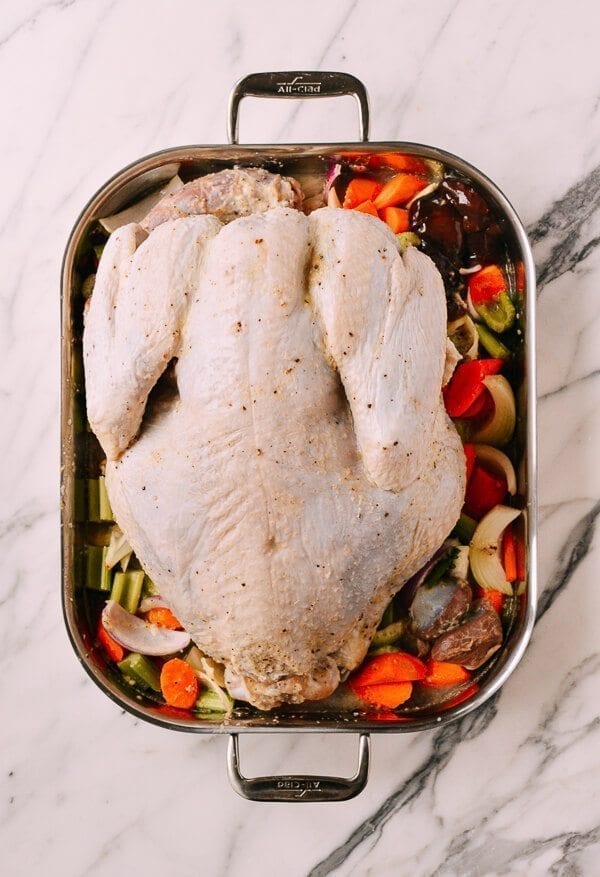
- Use a nice base of vegetables as a bed for your roast turkey, so you have plenty of tasty pan drippings
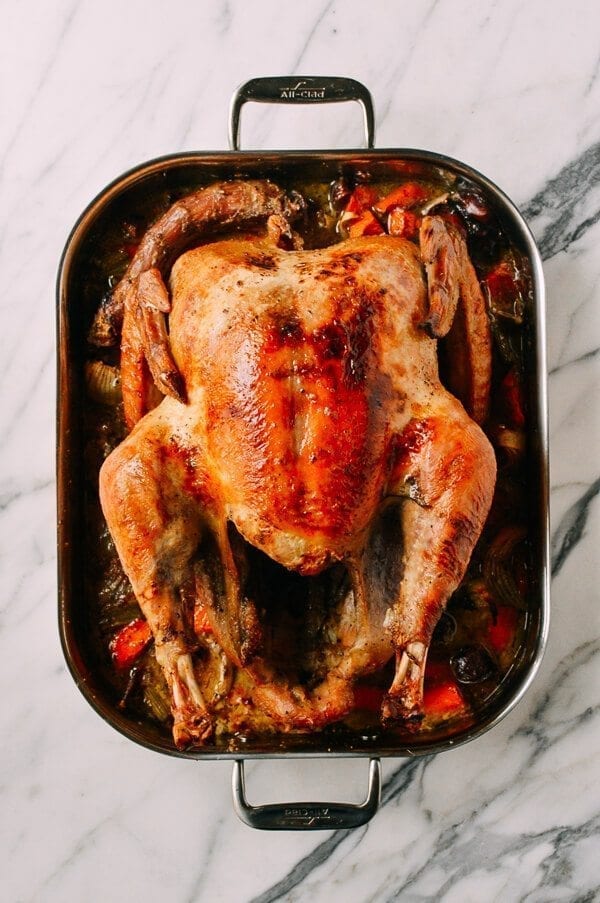
- While the turkey is roasting, make sure that you add water to the roasting pan if it dries out, because you definitely don’t want gravy that tastes like burnt turkey!
If, for whatever reason, your roasting pan gets burned or you don’t have enough pan drippings, don’t fret! You can supplement them with butter and chicken stock, and still make a tasty turkey gravy for your Thanksgiving dinner.
Ok, on to the recipe!
Roast Turkey Gravy Recipe Instructions
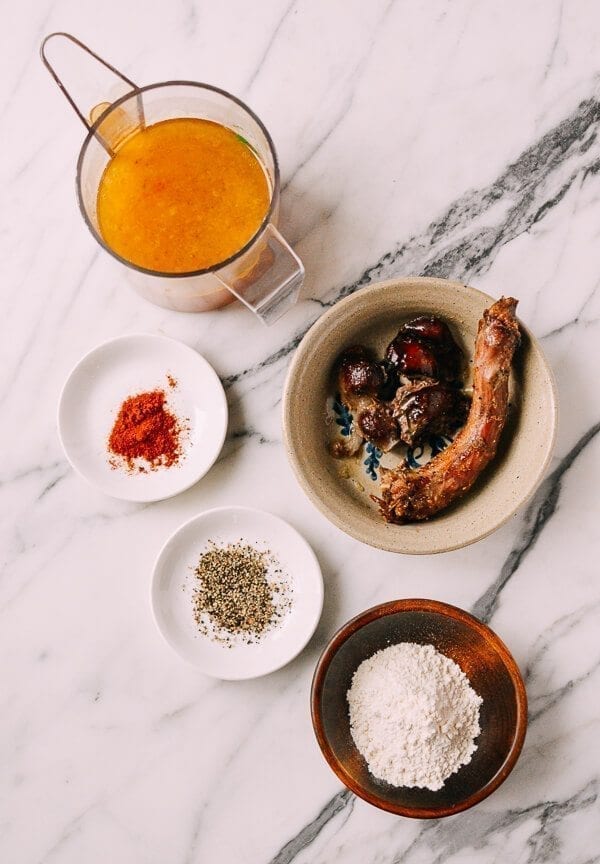
For this turkey gravy recipe, you’ll need:
- Turkey juices from the roasting pan
- Turkey fat drippings from the roasting pan (if you don’t have quite enough, supplement with butter or vegetable oil until you have ⅓ cup)
- Turkey or chicken stock
- Butter
- Paprika
- Freshly ground black pepper
- All-purpose flour
- Turkey giblets and/or turkey neck (optional)
- Vegetables from the roasting pan (optional)
- soy sauce and dark soy sauce (sounds surprising, but don’t knock it till you try it!)
- Salt, to taste
- An optional cornstarch slurry
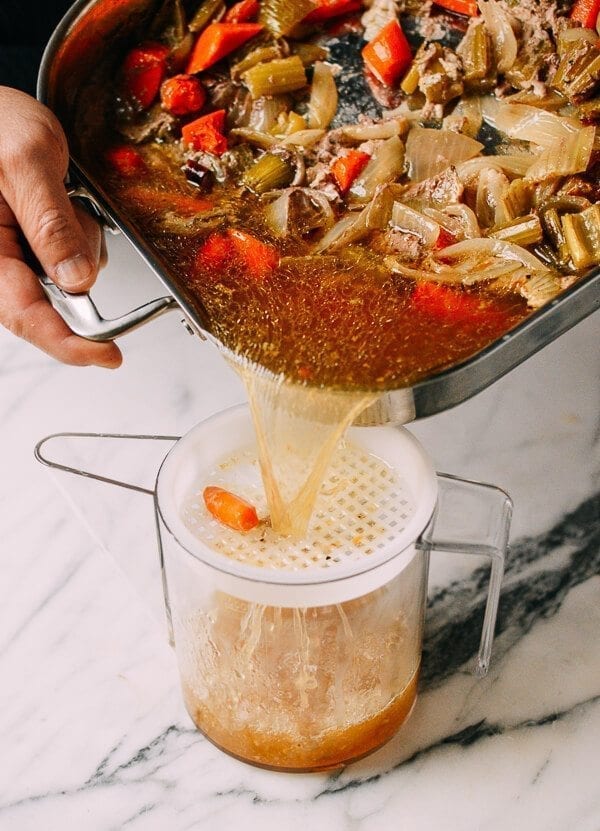
A useful gadget that comes in handy for making your turkey gravy is a fat separator. It saves crucial time when you’re in the home stretch of preparing a gravy for any roast turkey, chicken, or even a prime rib.
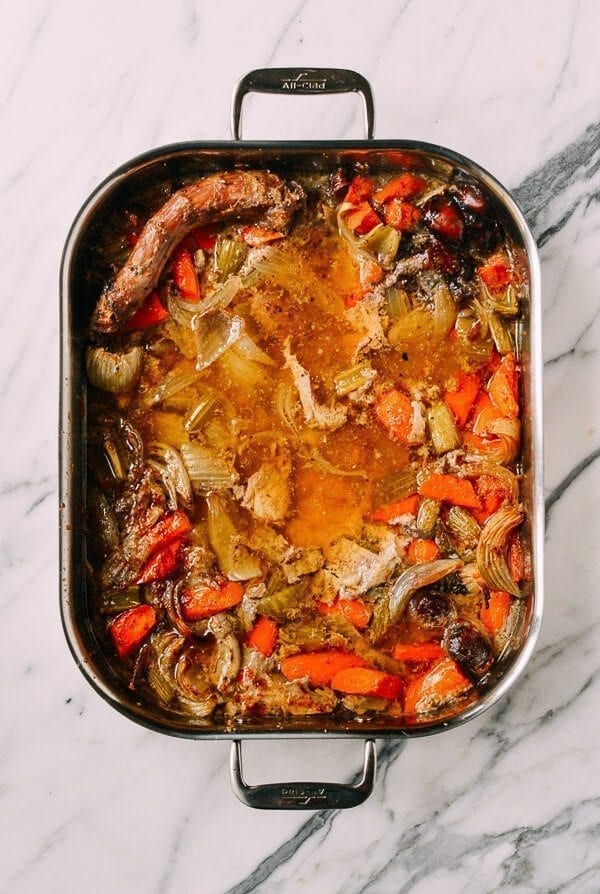
Once you’ve taken your cooked turkey out of your roasting pan, you should be left with a bunch of vegetables in the pan, the giblets, and your lovely drippings. Cover your turkey with some aluminum foil to keep it warm and while it’s resting you can make your gravy!
Carefully pour the pan drippings through a strainer into your fat separator. You will see all of the fat float to the top. The fat separator allows liquid juices to be poured out from the bottom of the separator, keeping it separate from the fat (neat, right?).
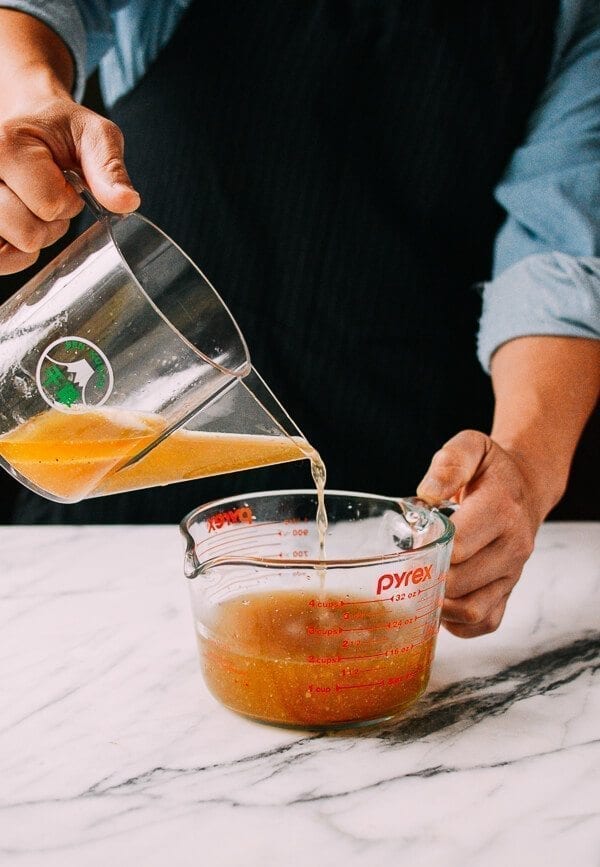
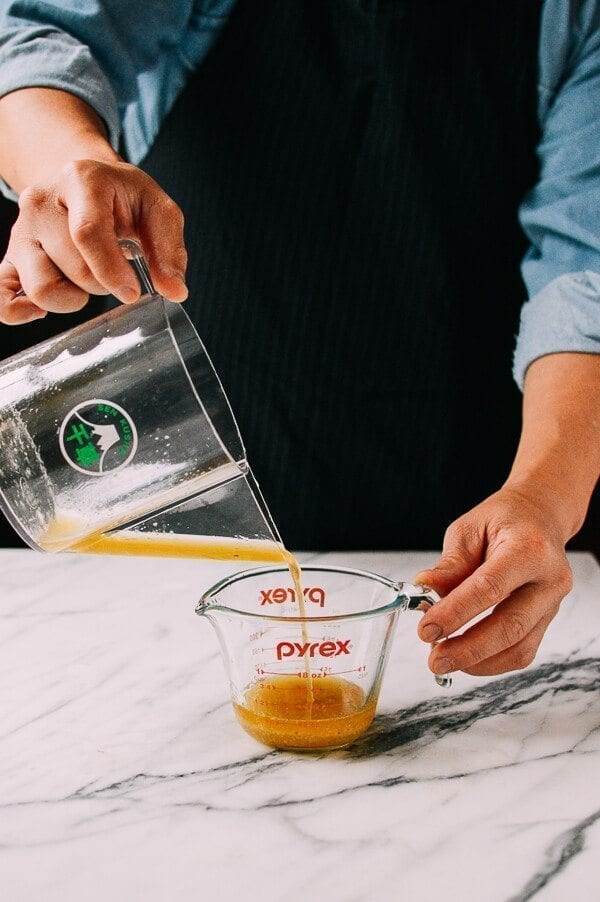
Now that all your turkey fat and juices are in the fat separator, pour the juices into a measuring cup. At this point, you will have to supplement those drippings with additional liquid to get a total of 3 cups of liquid to make your gravy. One great tip is to add some hot water to your roasting tray and deglaze it to make additional “broth” from the pan. You can also add a high-quality store-bought chicken or turkey stock to get your 3 cups of liquid.
Next, pour the fat left in the fat separator through the strainer into a measuring cup until you have ⅓ cup, and set aside. If you don’t have ⅓ cup of turkey fat, supplement with vegetable oil or melted butter until you reach ⅓ cup.
Here is where you are going to decide what kind of gravy you want to make. We have two enhancements: one that uses the roasted vegetables and onions from your turkey pan, and one that uses the giblets/neck to enrich the gravy. Of course, they can be combined as well! These two enhancements will thicken the gravy and add more flavor. They are also totally optional if all you want is a smooth, traditional gravy. We sometimes make a few versions if we are in the mood. Otherwise, it’s up to the chef for the day!
One quick note on giblets–I don’t recommend using the liver for gravy; instead, we save it for Barley’s Thanksgiving meal!
Turkey gravy recipe enhancement #1: Roasted Vegetable Turkey Gravy
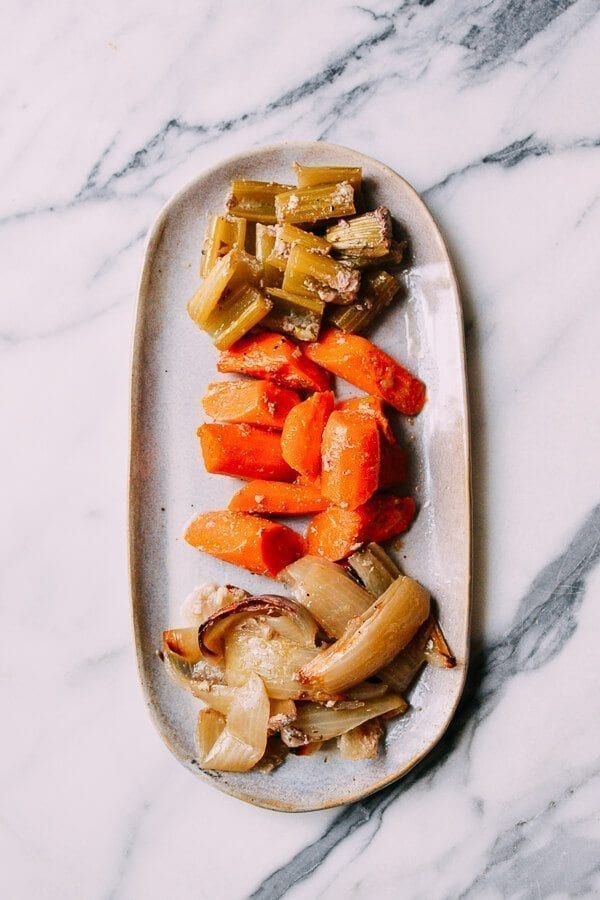
For our turkey, we use a mix of celery, carrots, and onions as the base in the roasting pan. After the turkey is roasted, put one cup of the vegetables into a blender with ¼ cup of your 3 cups of turkey broth. Remember that the carrots will add sweetness to the gravy, so you can put more onions/celery if you want to keep the gravy on the saltier side. Use the juice or soup setting on your blender, and blend for 30 seconds or until smooth. This will get stirred into the gravy.
Turkey gravy recipe enhancement #2: Giblet Gravy
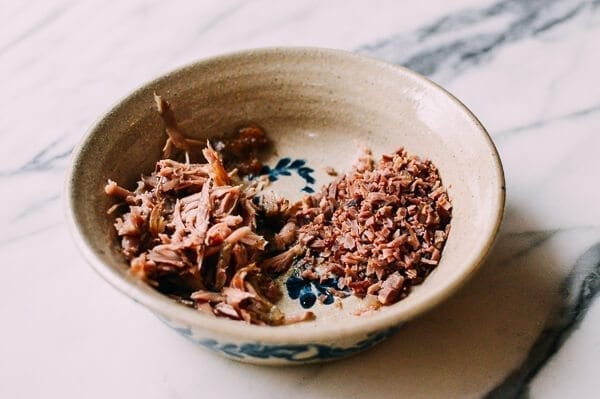
Mince the giblets and the meat from the turkey neck and set aside. If you don’t like a chunky texture, you can add them to the blender with the broth (or add them to the vegetables from enhancement #1!) and blend everything together. The giblet mixture (whether minced or blended) will get stirred into the gravy. Giblet gravy has a richer turkey flavor than regular gravy, and has become a family favorite!
Turkey gravy recipe enhancement #3: The Combo
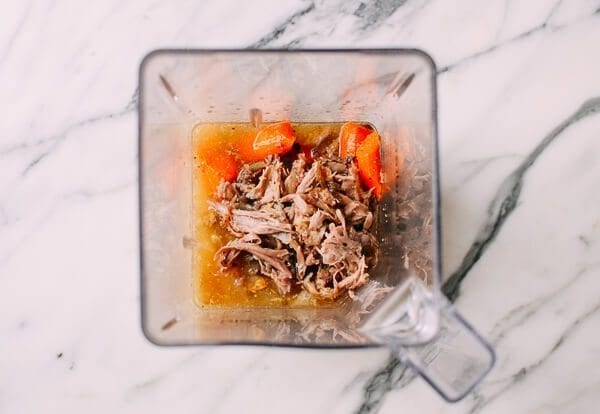
A combination of #1 and #2––Add the giblets/neck meat and vegetables to a blender, whizz it all up, and add to the gravy.
Ok, now that you have your fat, your liquid, and your enhancements (if using), here’s how to put it all together.
In a large saucepan over medium heat, add the turkey fat, 1 tablespoon of butter, the paprika, and the fresh ground black pepper. When the fat starts bubbling, gradually whisk in ⅓ cup of all-purpose flour until you have a roux. Continue to cook the roux on medium heat for 1 to 2 minutes. Cooking the roux longer will darken your gravy and add more flavor as the flour in the roux gets cooked. This combination of turkey fat, oil, and butter not only adds huge amounts of flavor and thickens your gravy, there is no water involved in this step, which is usually the culprit of a lumpy gravy! The oil and fat melts away any lumps of flour as you whisk it in.
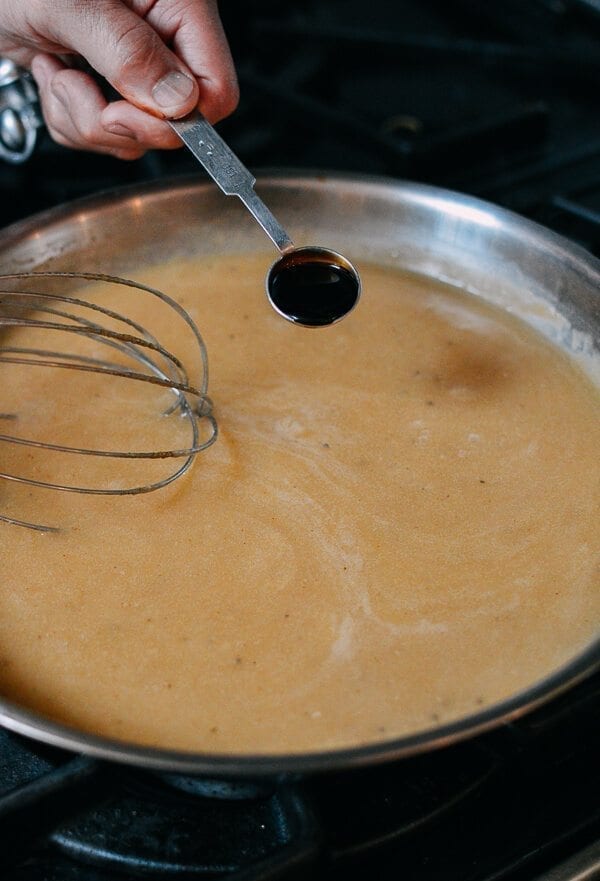
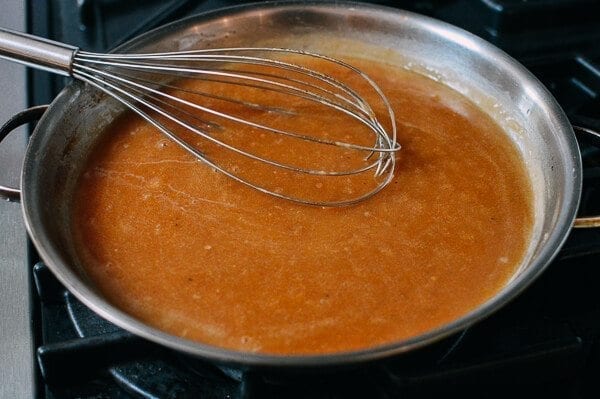
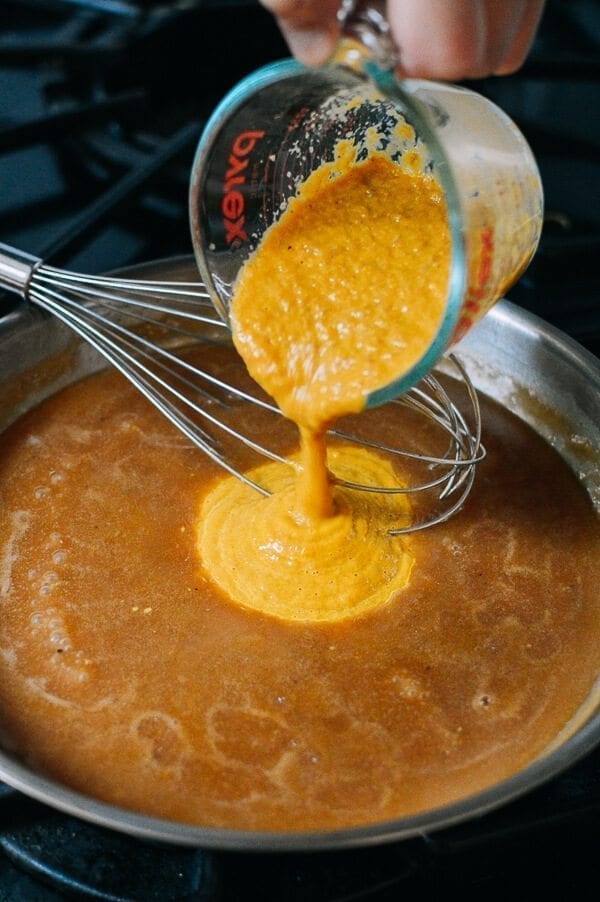
Next, whisk in the 3 cups of turkey drippings/stock into the roux, turning up the heat to medium-high and whisking constantly. Continue to whisk the gravy for another 2 minutes until it has thickened enough to coat a spoon. At this point, you can whisk in your giblets and/or vegetable mixture, if you’ve chosen to do one or both of the “gravy enhancements.” Add the soy sauces, salt, and more pepper to taste. We find that dark soy sauce gives gravy a richer flavor and deeper color, which is why we add it!
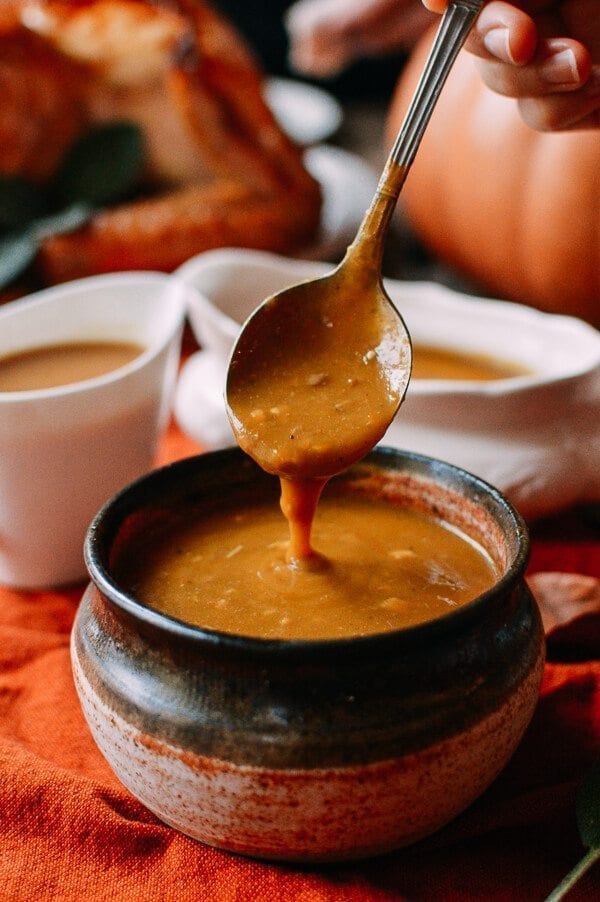
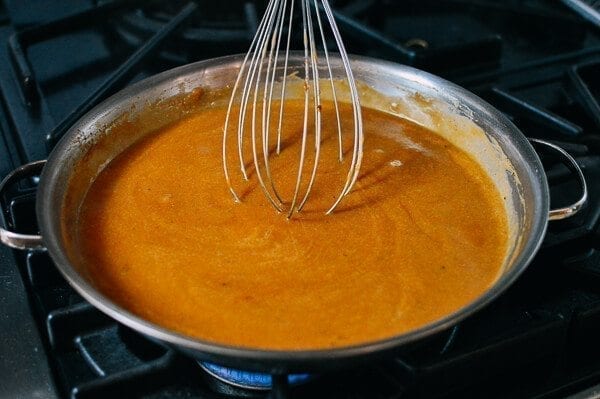
Here’s what the gravy looks like with the vegetable/giblet mixture added:
At this point, if you need to troubleshoot a bit, there’s no cause for alarm – it’s normal to make minor adjustments to any turkey gravy recipe. If the gravy is too thin, use a water and cornstarch slurry to thicken the gravy to your preference. If the gravy is too thick, add more stock. Remember that the gravy will always seem thinner when it is hot, and will thicken a bit as it cools.
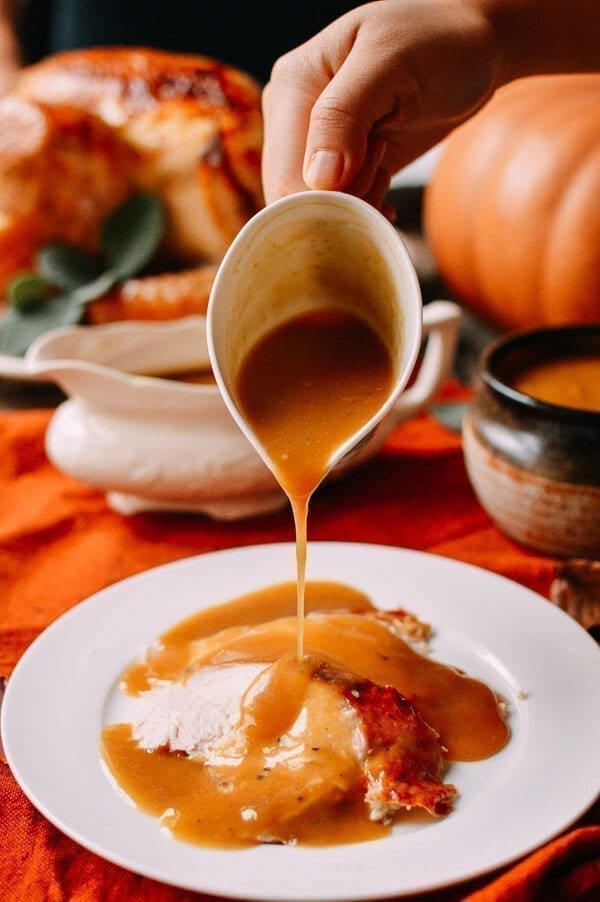
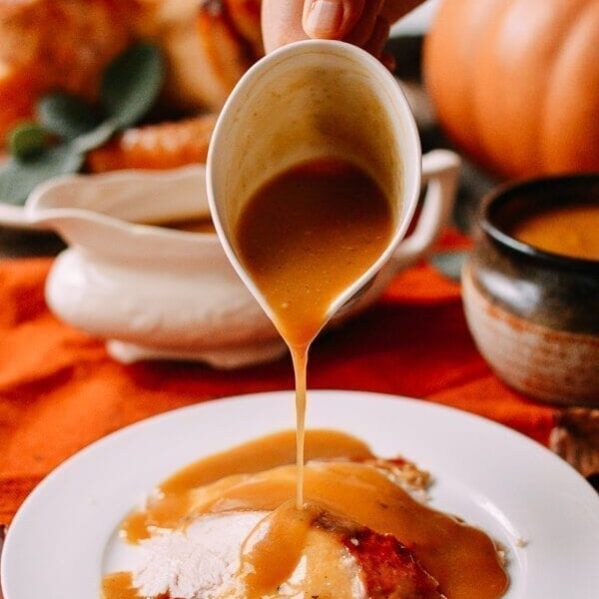
Once you’ve reached your desired gravy consistency, pour it into a gravy boat, and serve immediately with your Thanksgiving turkey and mashed potatoes!
Happy Thanksgiving everyone!
Perfect Turkey Gravy Recipe: Three Ways
Ingredients
- Turkey juices from the roasting pan
- 1/3 cup turkey fat drippings from the roasting pan (if you don’t have quite enough, supplement with butter or vegetable oil until you have ⅓ cup)
- 2 to 3 cups turkey or chicken stock
- 1 tablespoon butter
- 1 teaspoon paprika
- ½ teaspoon freshly ground black pepper (or to taste)
- ⅓ cup all-purpose flour
- Turkey giblets (except the liver. May add turkey neck meat, optional)
- 1 cup vegetables from the roasting pan (optional)
- 1 teaspoon soy sauce
- 1 teaspoon dark soy sauce
- Salt (to taste)
- Optional cornstarch slurry: 1 tablespoon cornstarch mixed with 1 tablespoon water
Instructions
- Carefully pour the pan drippings through a strainer into a fat separator. Now that all your turkey fat and juices are in the fat separator, pour the juices into a measuring cup. At this point, you will have to supplement those drippings with additional liquid to get a total of 3 cups of liquid to make your gravy. One great tip is to add some hot water to your roasting tray and deglaze it to make additional “broth” from the pan. You can also add a high-quality store-bought chicken or turkey stock to get your 3 cups of liquid.
- Next, pour the fat left in the fat separator through the strainer into a measuring cup until you have ⅓ cup, and set aside. If you don’t have ⅓ cup of turkey fat, supplement with vegetable oil or melted butter until you reach ⅓ cup.
- In a large saucepan over medium heat, add the turkey fat, 1 tablespoon of butter, the paprika, and the fresh ground black pepper. When the fat starts bubbling, gradually whisk in ⅓ cup of all-purpose flour until you have a roux. Continue to cook the roux on medium heat for 1 to 2 minutes. Cooking the roux longer will darken your gravy and add more flavor as the flour in the roux gets cooked.
- Next, whisk in the 3 cups of turkey drippings/stock into the roux, turning up the heat to medium-high and whisking constantly. Continue to whisk the gravy for another 2 minutes until it has thickened enough to coat a spoon. At this point, you can whisk in minced giblets or a blended mixture of vegetables from the roasting pan, if desired. Add the soy sauces, salt, and more pepper to taste.
- At this point, if the gravy is too thin, use a water and cornstarch slurry to thicken the gravy to your preference. If the gravy is too thick, add more stock. Remember that the gravy will always seem thinner when it is hot, and will thicken a bit as it cools.
- Once you’ve reached your desired gravy consistency, pour it into a gravy boat, and serve immediately.
Tips & Notes:
nutrition facts
